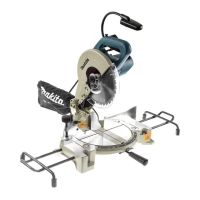
EasyManuals Logo

Makita LS1040F Technical Information

Makita LS1040F
8 pages
To Next Page IconTo Next Page
To Previous Page IconTo Previous Page
Page #5 background imageLoading...
Page #5 background image
Repair
P 5 / 8
Fig. 11
Link plate
Arm
Link plate
Arm
Fig. 12
Fig. 13 Fig. 14
Hex socket head
bolt M6x10
Rod 16
Fig. 12A
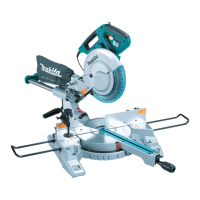
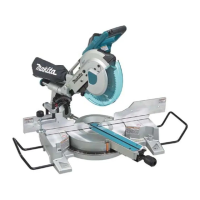
(3) Mount the motor unit to arm aligning the arm's holes with blade cases holes for inserting rod 16. See Fig. 11.
(4) Insert rod 16 which works as an axis for swinging motor unit. See Fig. 12. And fasten rod 16 with hex socket
head bolt M6x10. See Fig. 12A.
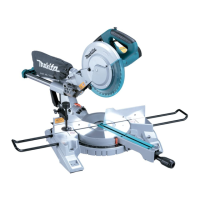
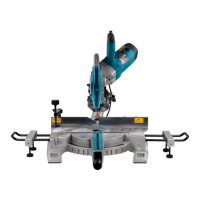
(5) Fasten link plate to arm with hex socket button head bolt M6. See Fig. 13.
And then, pressing down the motor unit, take off 2 bars from the side holes of blade case. See Fig. 14.
Hex socket button
head bolt M6
Flat washer 7
Ring 7
Link plate
Arm
Bars
<Note> Apply adhesive to hex socket button head bolt M6.

Other manuals for Makita LS1040F

Questions and Answers:

Question and Answer IconNeed help?

Do you have a question about the Makita LS1040F and is the answer not in the manual?

Makita LS1040F Specifications

General IconGeneral
Input power1650 W
Power sourceAC
Blade bore30 mm
Blade diameter255 mm
Dust bag includedYes
Idle speed (max)4600 RPM
Miter setting (left)45 °
Miter setting (right)52 °
Cutting capacity 0°93 x 95 mm
Cutting capacity 45° miter93 x 67 mm
Weight and Dimensions IconWeight and Dimensions
Weight12600 g

Related product manuals