8
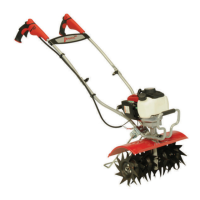
Carry Handle Assembly
ASSEMBLY (continued)
Step 5
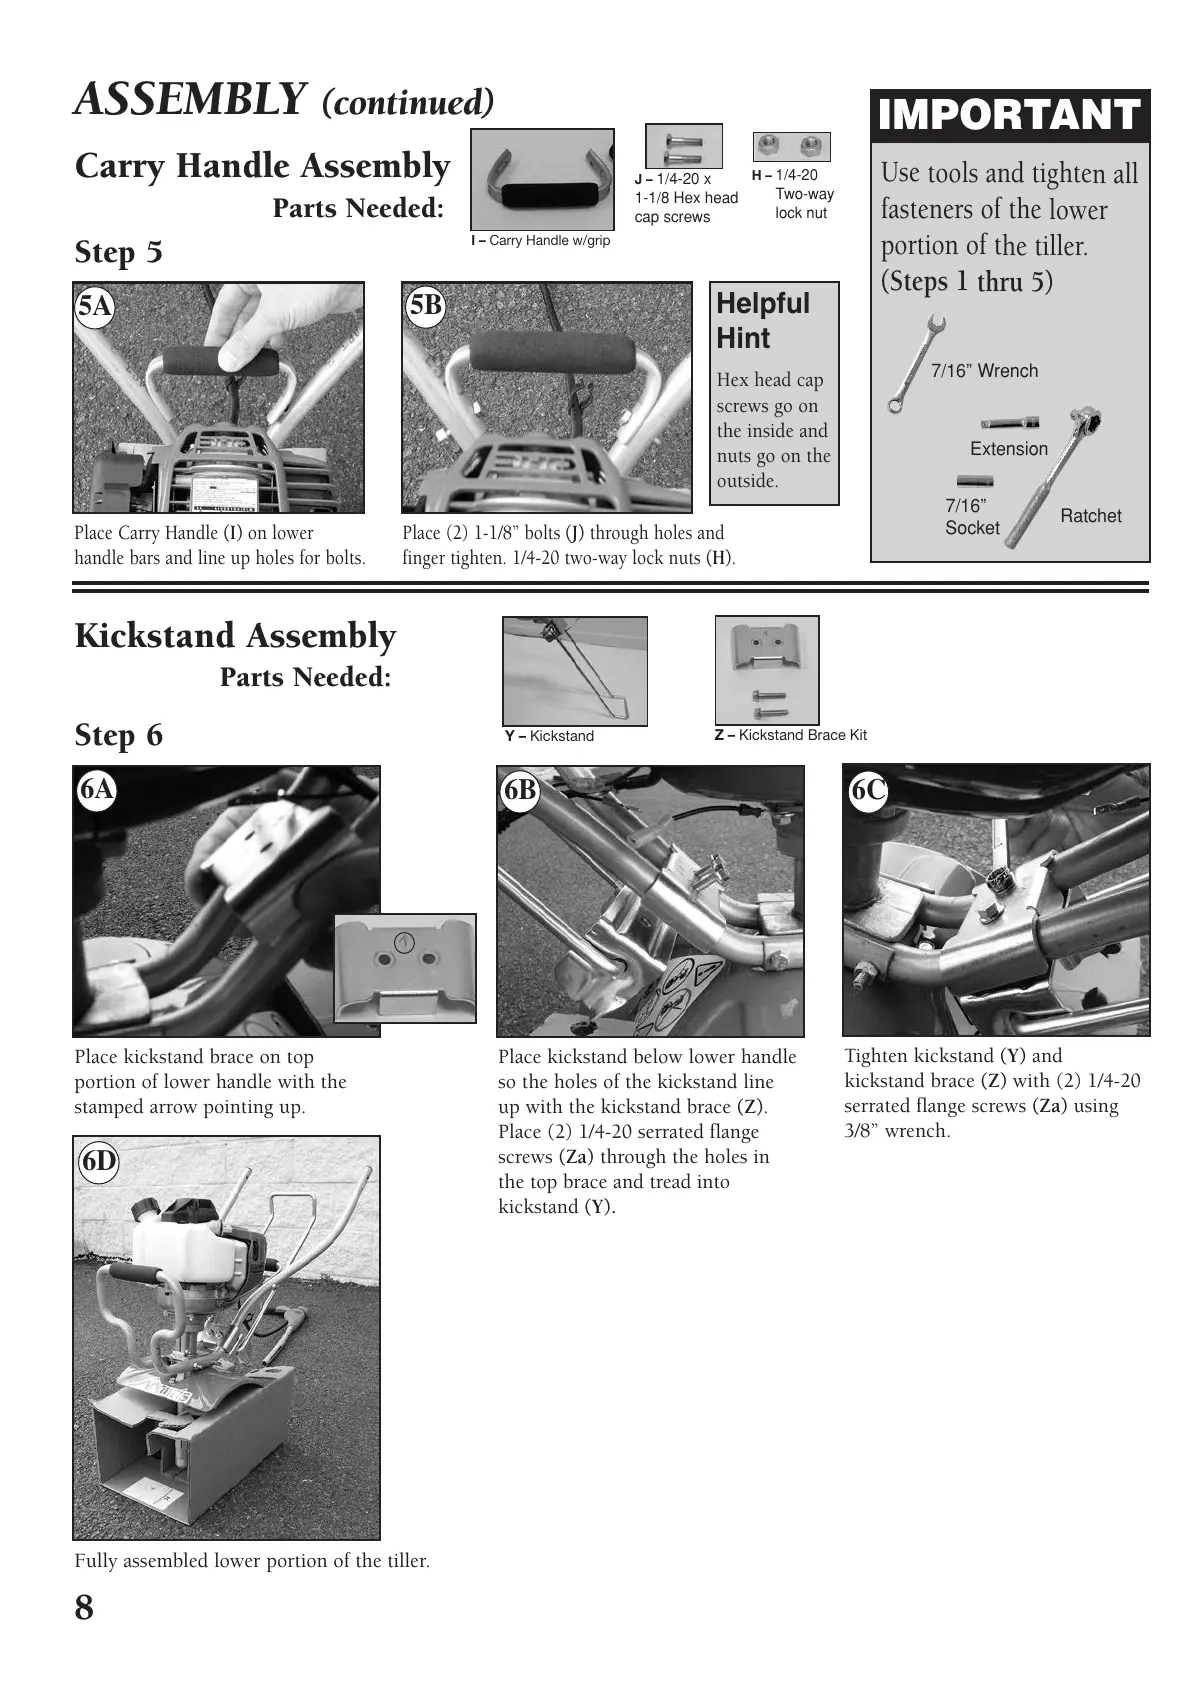
Place Carry Handle (I) on lower
handle bars and line up holes for bolts.
Place (2) 1-1/8” bolts (J) through holes and
finger tighten. 1/4-20 two-way lock nuts (H).
Hex head cap
screws go on
the inside and
nuts go on the
outside.
Helpful
Hint
Use tools and tighten all
fasteners of the lower
portion of the tiller.
(Steps 1 thru 5)
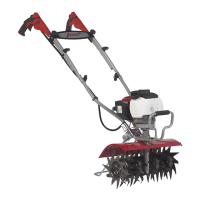
Kickstand Assembly
Step 6
Place kickstand brace on top
portion of lower handle with the
stamped arrow pointing up.
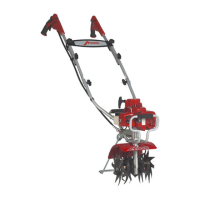
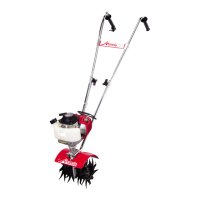
Fully assembled lower portion of the tiller.
Place kickstand below lower handle
so the holes of the kickstand line
up with the kickstand brace (Z).
Place (2) 1/4-20 serrated flange
screws (Za) through the holes in
the top brace and tread into
kickstand (Y).
Tighten kickstand (Y) and
kickstand brace (Z) with (2) 1/4-20
serrated flange screws (Za) using
3/8” wrench.
Ratchet
7/16” Wrench
Extension
7/16”
Socket
Parts Needed:
Parts Needed:
 Loading...