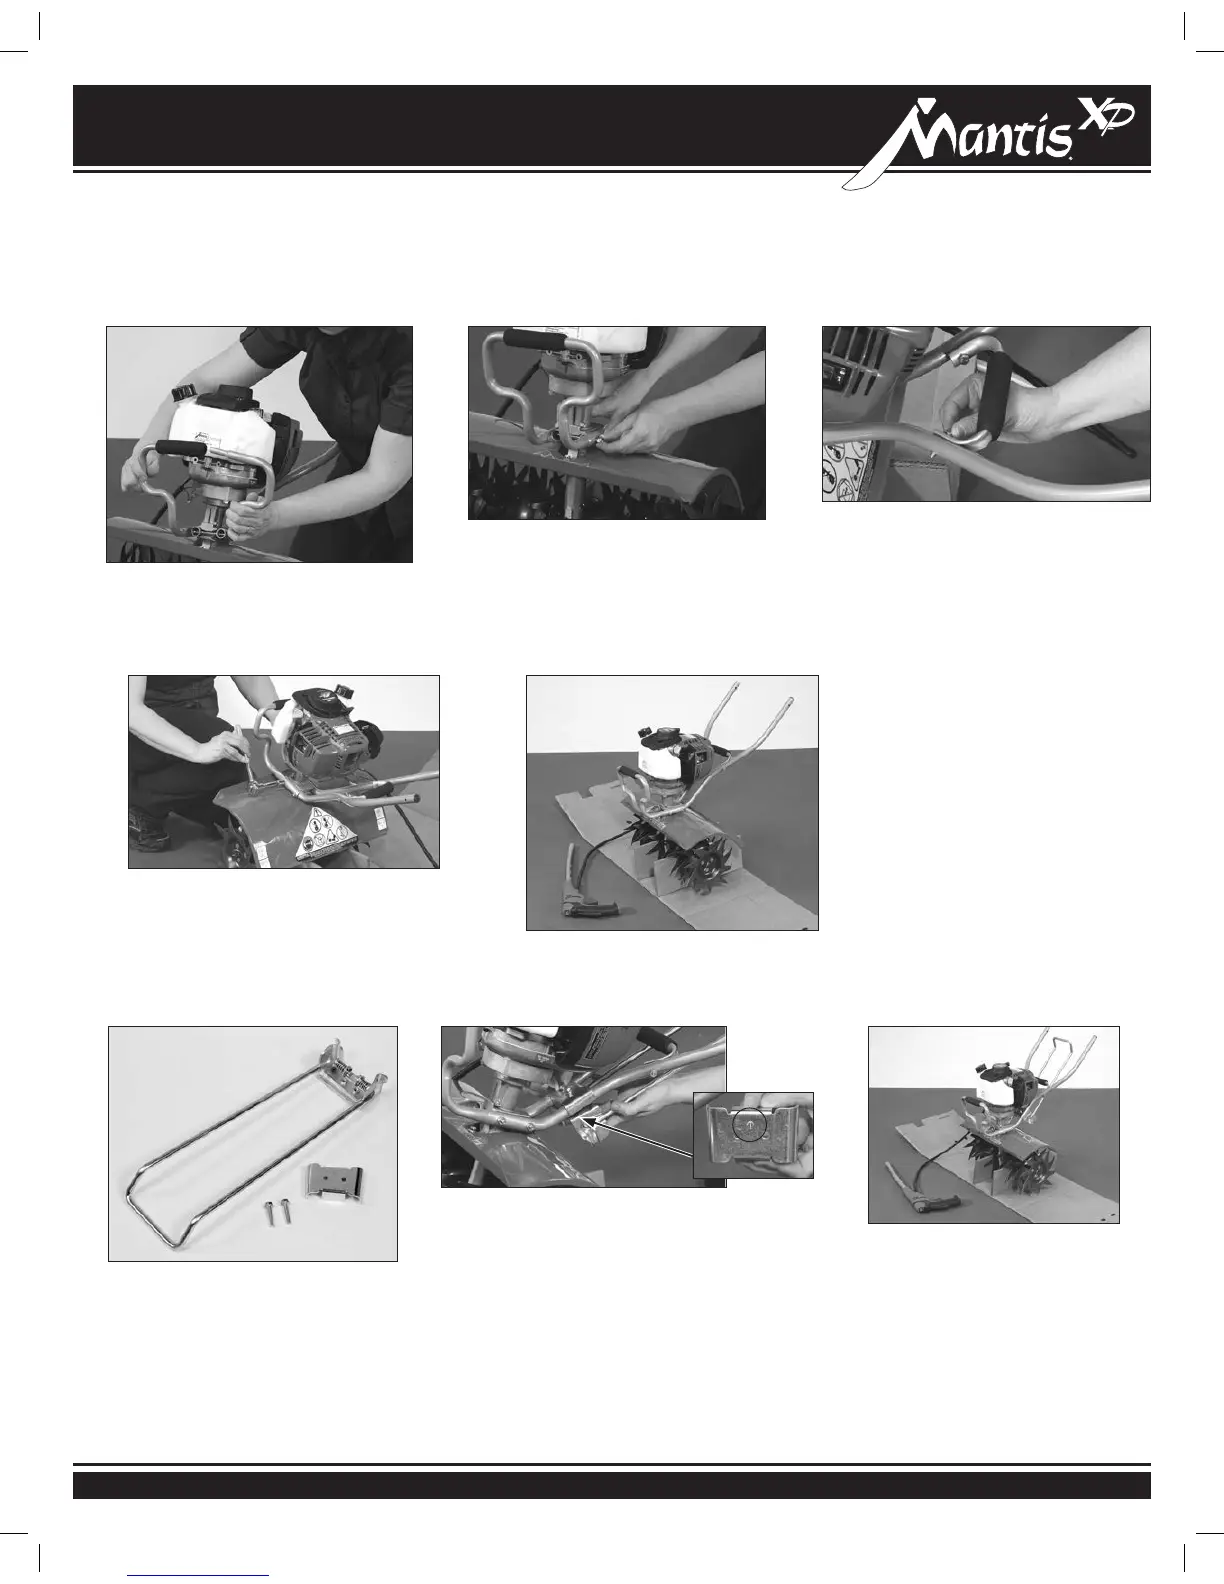
Assembly
• Slide the left loop handle into the
foam grip and right loop handle.
7
LOWER HANDLE ASSEMBLY (CONTINUED)
• Slide loop handle through bolts
and over top lower left handle,
then take two lock nuts and
fasten them nger tight.
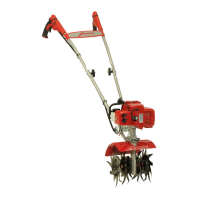
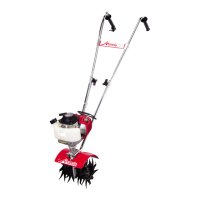
• At this point, your Mantis
®
Deluxe XP
Tiller should look like this when lower
handle assembly is complete.
• Place the carry handle between the
lower handles and line up the holes
• Place two of the 1.125” bolts through
holes with hex head on inside of carry
handle and with two lock nuts fasten
them tight with wrench and socket.
• Position the kickstand bracket
just above the bend of the lower
handles. The stamped arrow
should be pointing up.
• Position the kickstand under the
lower handles, line up the holes
and thread the kickstand bracket
bolts into the kickstand.
• Tighten with the 3/8” crescent
wrench.
• Use the 7 /16” wrenches and socket
to tighten the rest of the handle bolts.
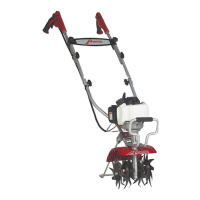
• Your Mantis
®
Deluxe XP
Tiller will look like this when
lower handle assembly and
kickstand is complete.
KICKSTAND ASSEMBLY
1
8
2
9
3
10
11
401780 Mantis XP Deluxe tiller manual.indd 9 1/24/13 4:07 PM