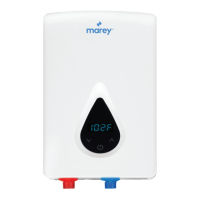
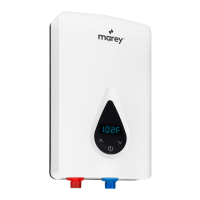
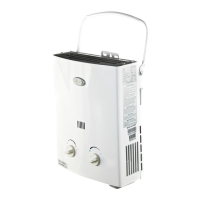
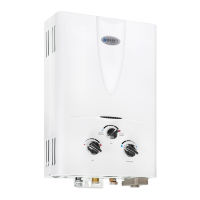
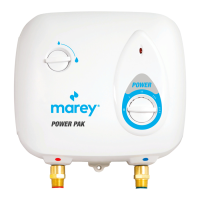
After power is supplied a beep can be heard. Turn on hot water faucet unit will
activate
upon water ow, display should show actual outlet temperature. Push power button
if
unit does not change due to water ow. Set desired temp with the up and down
arrows.
Test water to prevent scalds.
Attention: This unit requires a 7OA double pole breaker. For more information please
4) Operation
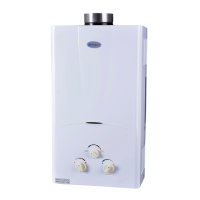
Plot the three holes for the mounting screws onto the wall. Mount vertically on a at
surface (i.e. board or walI) larger than the unit itself. Make sure heater is secure by
utilizing a stud or the provided wall anchors. Keep away from any potential splashing
or
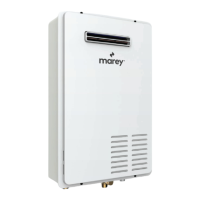
Plumbing connections are ½" NPT, and both the inlet and outlet can be found at the
bottom of the unit. When installing your water connections make sure to use ½" NPT
ttings. Please use the provided gaskets to prevent leaks. When tightening ttings,
use
a back-up wrench on inlet and outlet ttings (at sides of ttings are located behind
front cover). The cold water inlet is on the right side it should be preceded by a high
pressure discharge valve and a shut o valve in that order. The hot water outlet is on
the
left side and runs to your hot water source. NEVER USE PVC ON HOT WATER
OUTLET. Use instead CPVC or other high temperature rated materials. Run water
through the heater for a few minutes to purge all air from the system. Shut o ow at
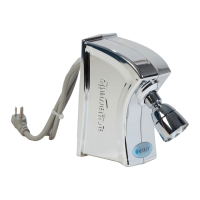
Power wires and ground come into the unit from the upper right hand side of the back
panel. Use 6 AWG for your ground wire, running from the "E" space in the terminal
block all the way to the ground bar of the breaker panel. Run one 6 AWG wire from
each of the "L1" and "L2" connection points of the terminal block to the double pull 7O
amp breaker at your panel.
3) Electrical Connections
2) Water Connections
1) Mounting
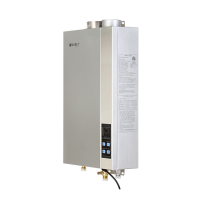
ECO150
QUICK START GUIDE
04