INDUSTRIAL PRINTER QUICK START GUIDE
14
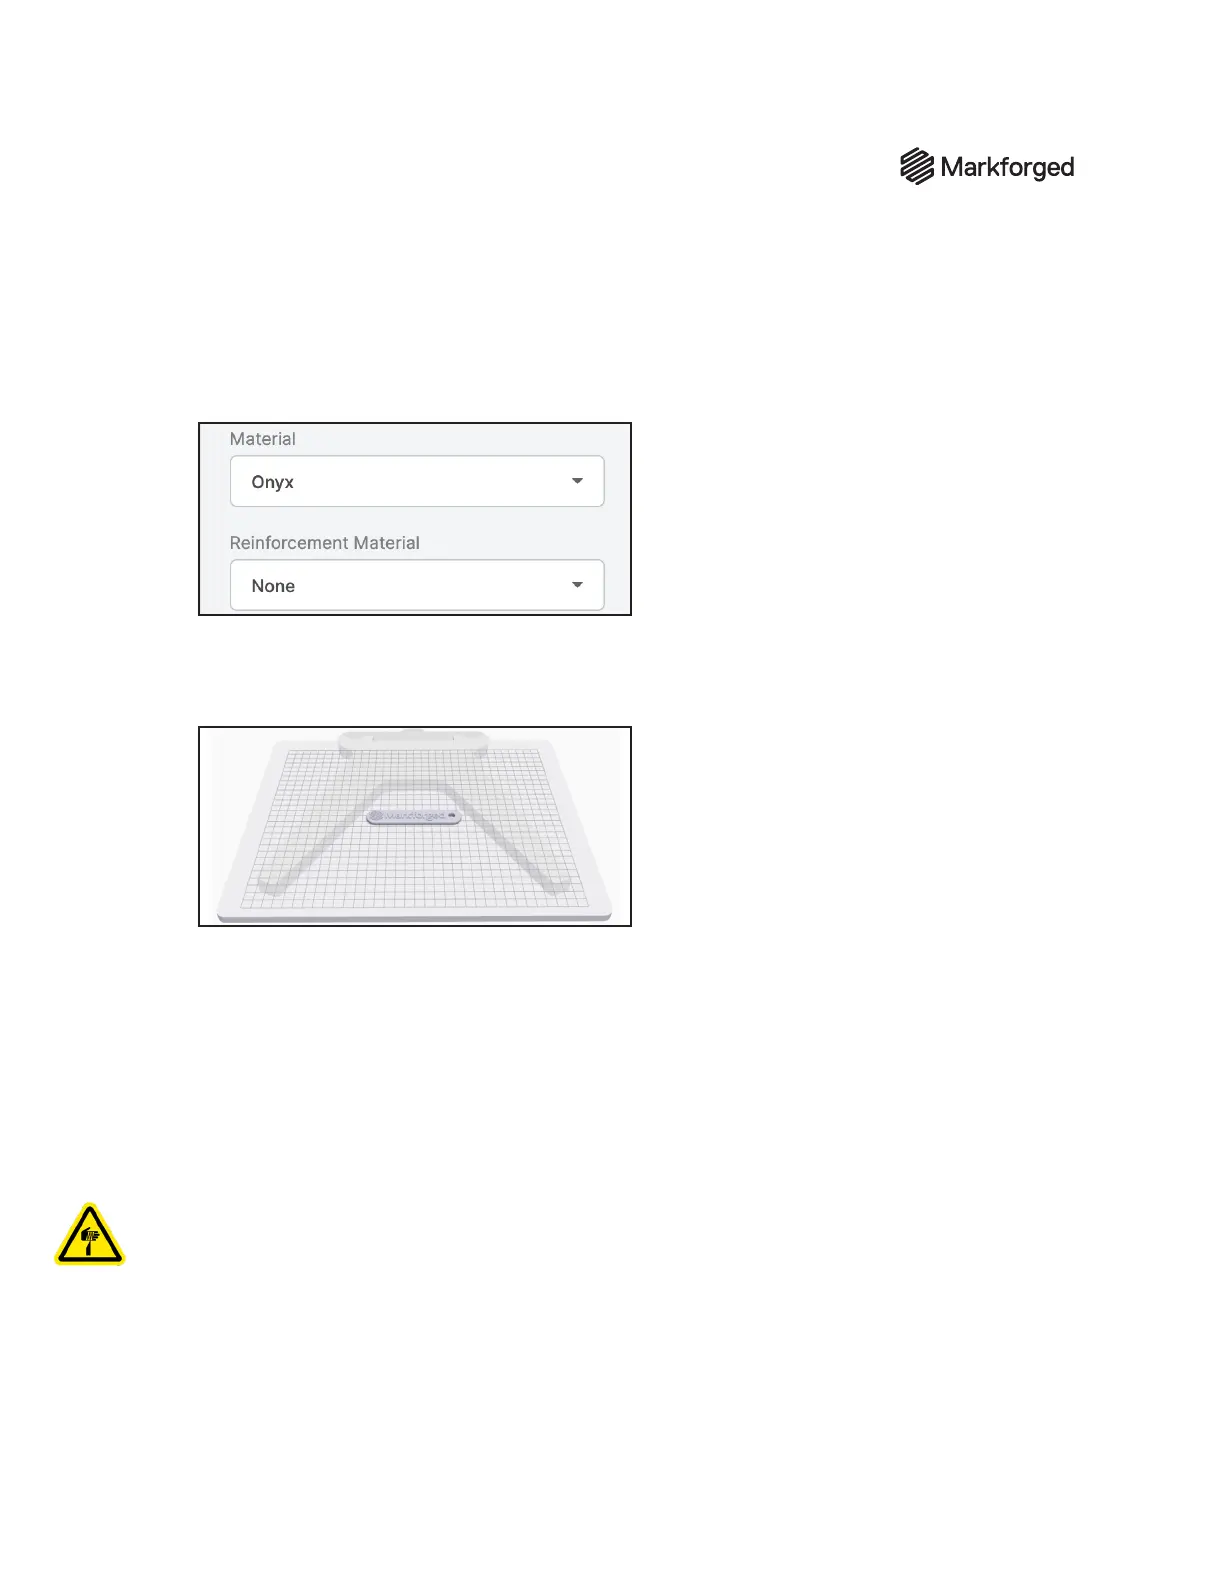
5. Select the material types that you will use for this print from the Material and Reinforcement
Material drop-down menus.
Note: This part can be printed with any combination of fiber and plastic. If you have loaded
materials other than the defaults for this part, update the material fields in Eiger. If printing this
part in nylon, rename the part in the top left corner of the page to reflect the material change.
6. ClickSave.
7. ClickPrint at the bottom right corner of the screen.
8. Move the part to the center of the printable area displayed on the screen.
9. Select your printer from the Select Printer drop-down menu in theBuild Settingspanel at the
right side of the screen.
10. Click the Print button in the bottom right corner of the page.
11. Verify the print details and address any warnings listed in the pop-up, then select Print Now.
12. Wait for the print to nish successfully; this should take less than an hour.
13. Remove the print bed from the printer and use the provided scraper to remove the part from the
print bed.
Warning: The provided scraper is sharp and can cause injury if used incorrectly.
Tip: Always scrape away from your body. When removing a part, brace the bed in a vertical position
against a sturdy level surface. Slide the scraper under the corner of the part. Always keep fingers or
other body parts out of the path of the scraper when removing a part from the print bed. Maintain an
acute angle between the scraper and the print bed while you are removing your part.
14. Use warm water to clean the glue o the print bed.
Note: Do not use soaps or other cleaners, as these may damage or leave residue on the bed.