11
INDUSTRIAL PRINTER QUICK START GUIDE
8. When the ber is under tension on the spool, remove the tape from inside the spool and set it aside
for later use. We recommend taping it to the front face of the spool.
9. At the end of the Load Fiber routine, remove the cut piece of ber from the print head.
SET UP YOURPRINT BED
Before printing a part, you will need to level your print bed and apply glue to the region of the bed where the
parts will print. Leveling the print bed provides the best chance of print success and minimizes warping.
Applying glue keeps the part attached to the bed during printing and allows for easier part removal. Follow
the instructions below to set up your print bed.
1. Install the print bed on the printer.
2. Run theLaser Bed Levelutility by selectingMenu>Bed Level>Laser Bed Levelon your
printer’s touchscreen and following the onscreen instructions.
Note: The print head will move autonomously during this utility.
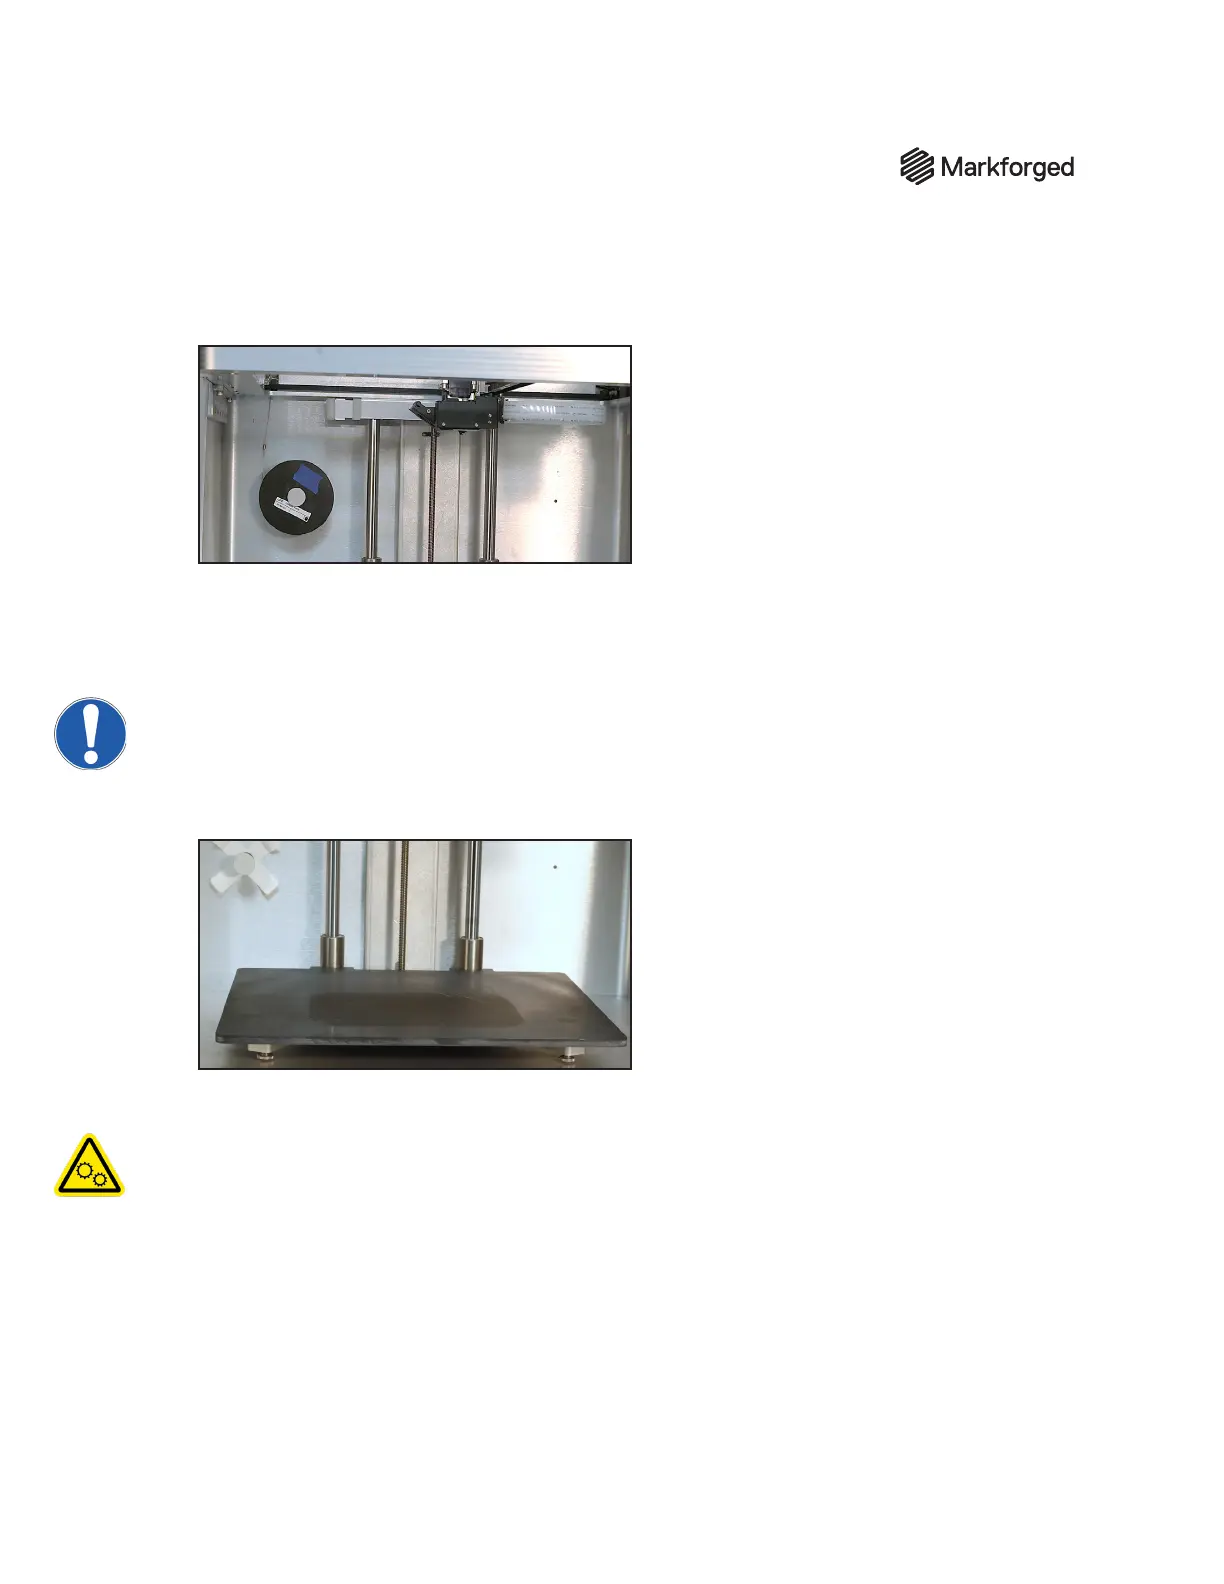
● When prompted, adjust the thumbscrews (see above image) indicated by the utility until the
onscreen arrow points to the green region of the Laser Reading bar.
● If the utility displays an error, you may need to adjust the Z oset. To do so, select the menu icon
from the dashboard and navigate to Bed Level > Adjust Print Bed Z Offset, then follow the
onscreen instructions.