M
A
R
A
T
H
O
N
2
1
Nm11
4
5
22
Dx. Sx.
FIG. 26
Lubricate O-Rings (1) on the foot nuts (2)
and screw them onto the cartridge (5) and
(22) threaded ends.
Tighten to the specified torque.
Pump the stanchions up and down several
times to check proper assembly.
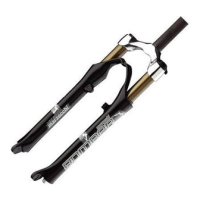
REASSEMBLING CARTRIDGES
FIG. 25
Push the stanchions up to slider bottom and
slightly grease O-ring (4), then fit it on
cartridge rod (5).
Fit the hydraulic cartridge (5) into the R.H.
stanchion and push until it reaches the
bottom.
Fit the air-operated cartridge (22) into the
L.H. stanchion and push to the bottom.
23
10
10
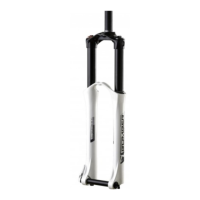
CROWN AND STANCHIONS
ASSEMBLY
FIG. 24
Fit the crown and stanchions assembly (23)
- with the dust seals in place - gently into the
sliders seals.
WARNING: to avoid any damages
to sealing surfaces, keep the stan-
chions duly lubricated and squared into the
sliders.
Check to see that the stanchions slide unre-
stricted by cycling the fork up and down
several times.
The tube should slide freely inside the seal
assembly without any side play. In the event
it is too hard or too soft, repeat the previous
steps described above and check compo-
nents to ensure they are not damaged.
Seat the dust seals (10) on top of the
sliders.
 Loading...