Masport F33-1 Freestanding Gas Stove 9
LOG AND EMBER INSTALLATION
Diagram 2
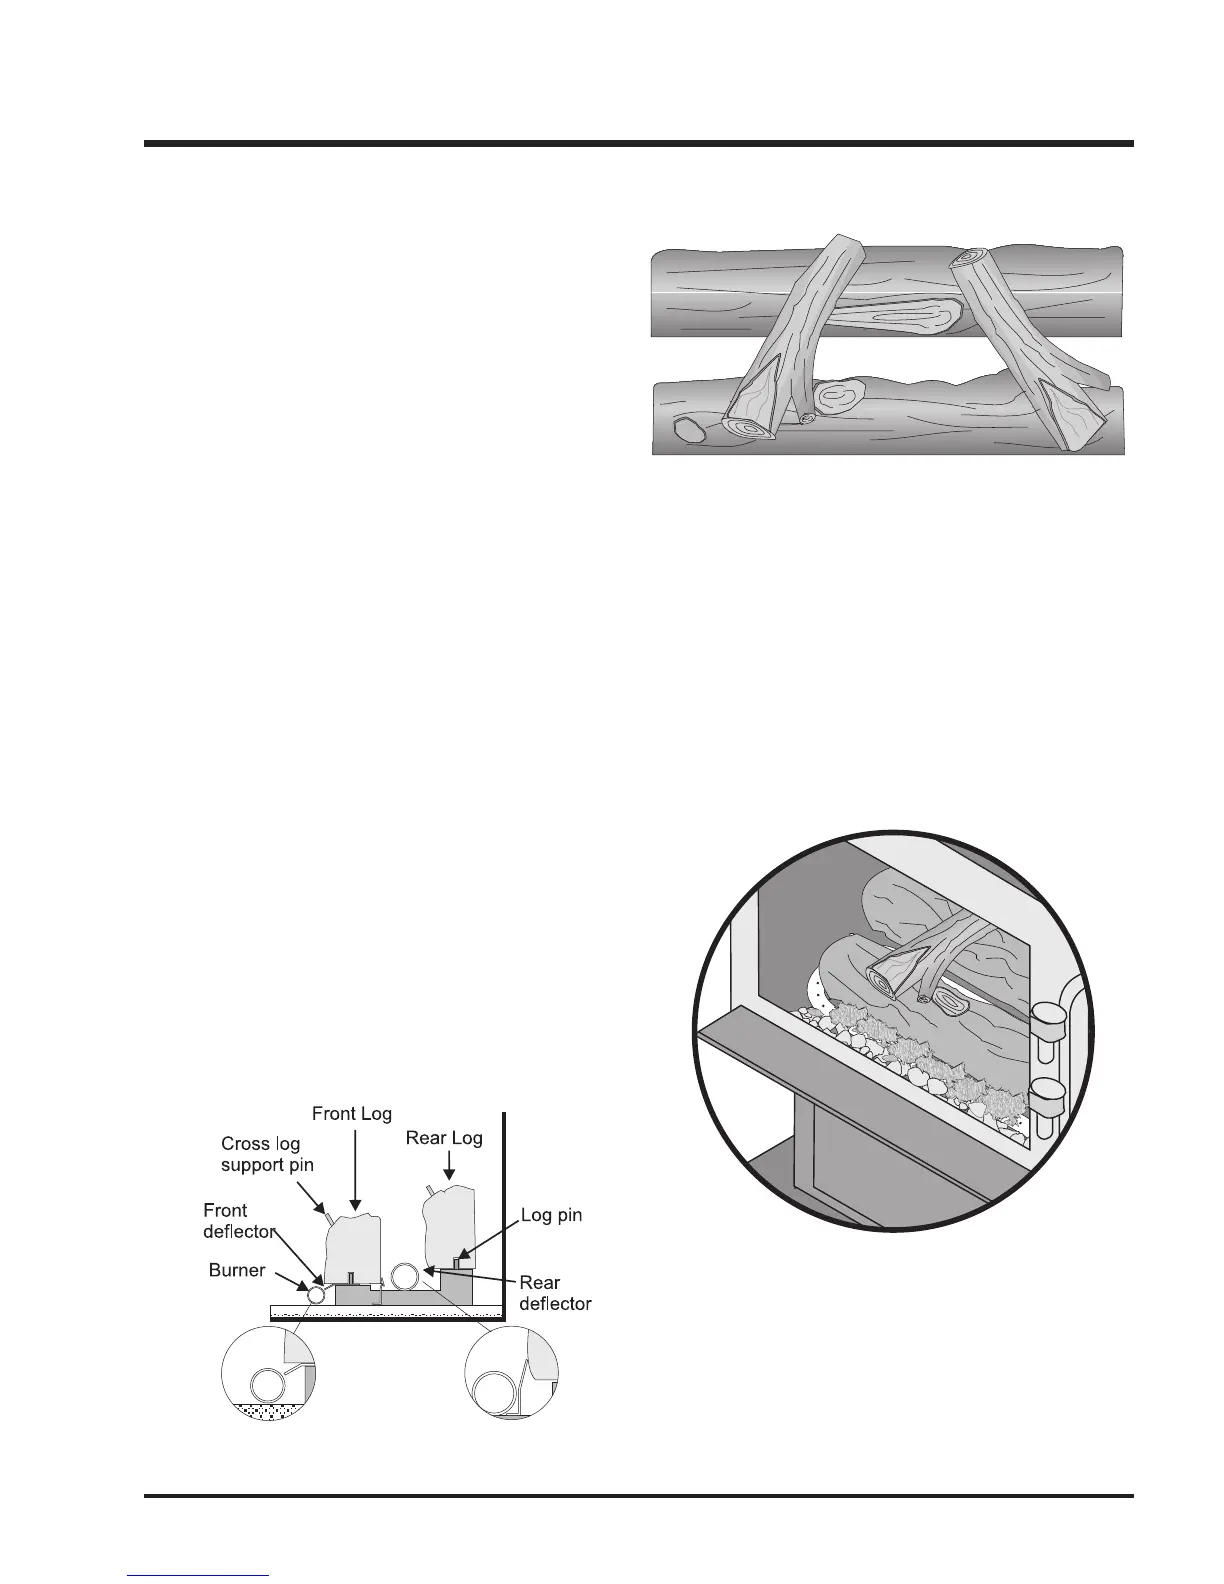
7) Distribute the embers along the mesh ember tray, but do not
cover the burner ports. (Burner ports are the little holes on
the top of the burner tube.) Pull off ember size pieces from
the rock wool. Gently place the pieces on top of the embers.
See diagram 3.
Do not put the rock wool directly on the burner. Close the
door and turn the unit on as per lighting instructions. Watch
the flame to see if it flows smoothly around from one end to
the other. (Use Extreme Caution and ensure proper light off
of burner.)
8) If the flame hesitates at any point, check the area of hesita-
tion and see if there is an ember or rock wool blocking a
burner port or ports. If so, move the obstruction and then
check the flame flow again.
Diagram 3
Diagram 1
INSTALLATION
WARNING: Dangerous operating conditions may occur if
these logs are not positioned in their approved locations.
Read the instructions below carefully and refer to the
diagrams. If logs are broken do not use the unit until they
are replaced. Broken logs can interfere with the pilot and
burner operation.
The gas log kit contains the following:
a) Front Log
b) Rear Log
c) Small Cross Logs (2)
d) Bag of embers
e) Bag of rock wool
1) Remove the logs from the box and carefully unwrap them.
The logs are fragile, handle with care. Do not force into
position.
2) Place the rear deflector on the rear log support pins in the
back of the unit.
3) Place the rear log into the rear of the firebox, aligning the
holes on the underside of the log with the rear log support
pins and carefully push the log down onto the pins. See
diagrams 1 and 2.
4) Ensure the front deflector is over front log pins. See diagram
1.
5) Place the front log in the front of the unit, aligning the holes
on the underside of the log with the log support pins in the
front of the unit. Carefully push the log down onto the pins.
See diagram 1.
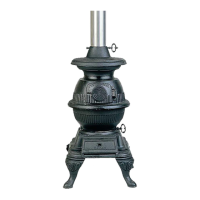
6) Place the cross logs on top of the larger logs aligning the
holes on the underside of the cross log with the log pins in
the larger logs. See diagrams 1 & 2. Carefully push the
cross logs onto the pins.
 Loading...