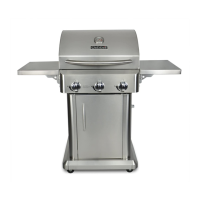
L
Q
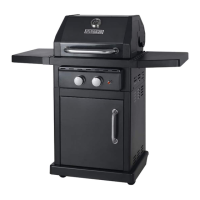
ASSEMBLY INSTRUCTIONS
12
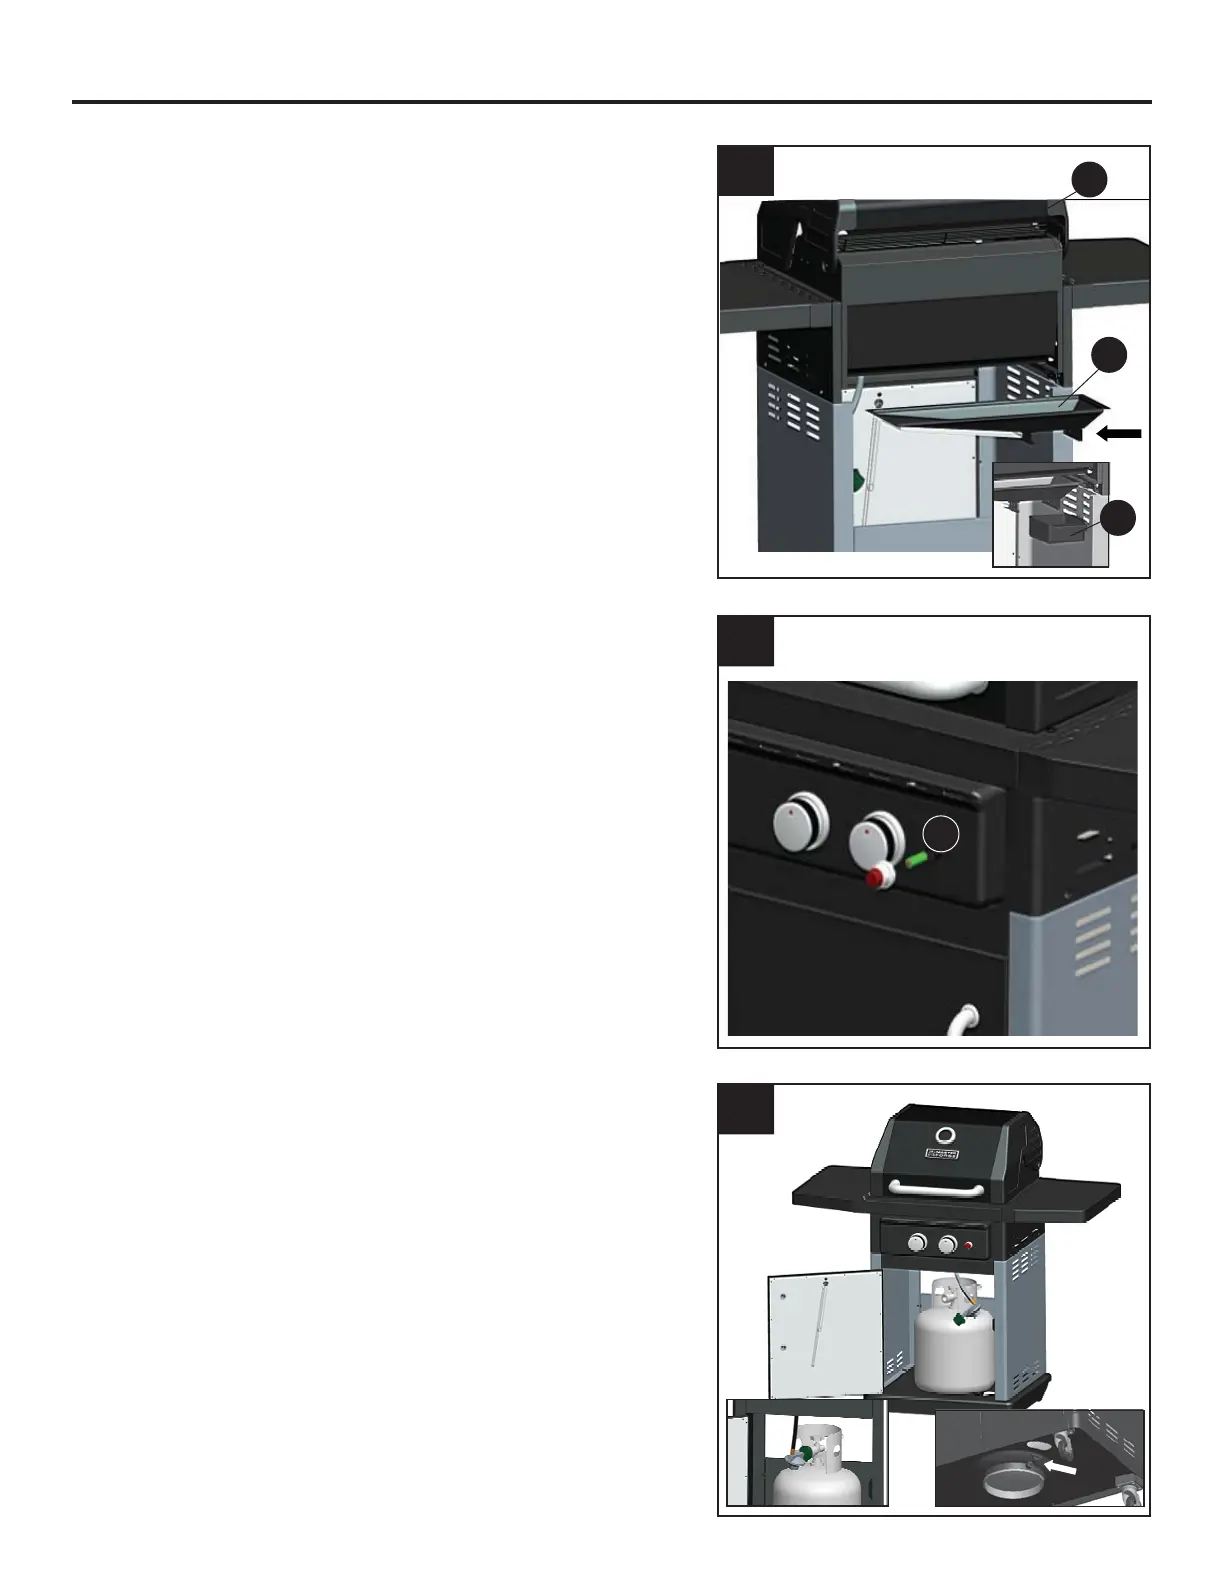
13. Insert the grease pan (Q) into position by
sliding it in the grill body (L) from the rear,
along the rails located just below the
underside of the grill body (L). Insert the
grease cup (R) into position by sliding it onto
the rails located on the bottom side of the
grease pan (Q).
14. Remove the igniter cap by turning it counter-
clockwise. Insert the AAA battery (Y) into the
LJQLWHUERG\ZLWK3RVLWLYHµ¶HQGIDFLQJRXW
Replace the igniter cap.
15. Open the cart door and insert the LP gas
cylinder (sold separately) into the nesting hole
located in the bottom shelf. Align the hand
screw coupling of the hose/regulator with the
threaded valve of the cylinder by turning the
LP gas cylinder until positioned correctly.
Hand-tighten the hose/regulator coupling to
the threaded valve of the LP gas cylinder.
Tighten the tank screw until the cylinder is
secure inside the nesting hole of the cart.
15
14
13
R
Y
Tank
screw