9 10
20V max* LITHIUM-ION CORDLESS RECIPROCATING SAW - 054-8151-420V max* LITHIUM-ION CORDLESS RECIPROCATING SAW - 054-8151-4
DESCRIPTION
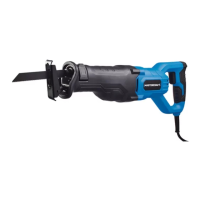
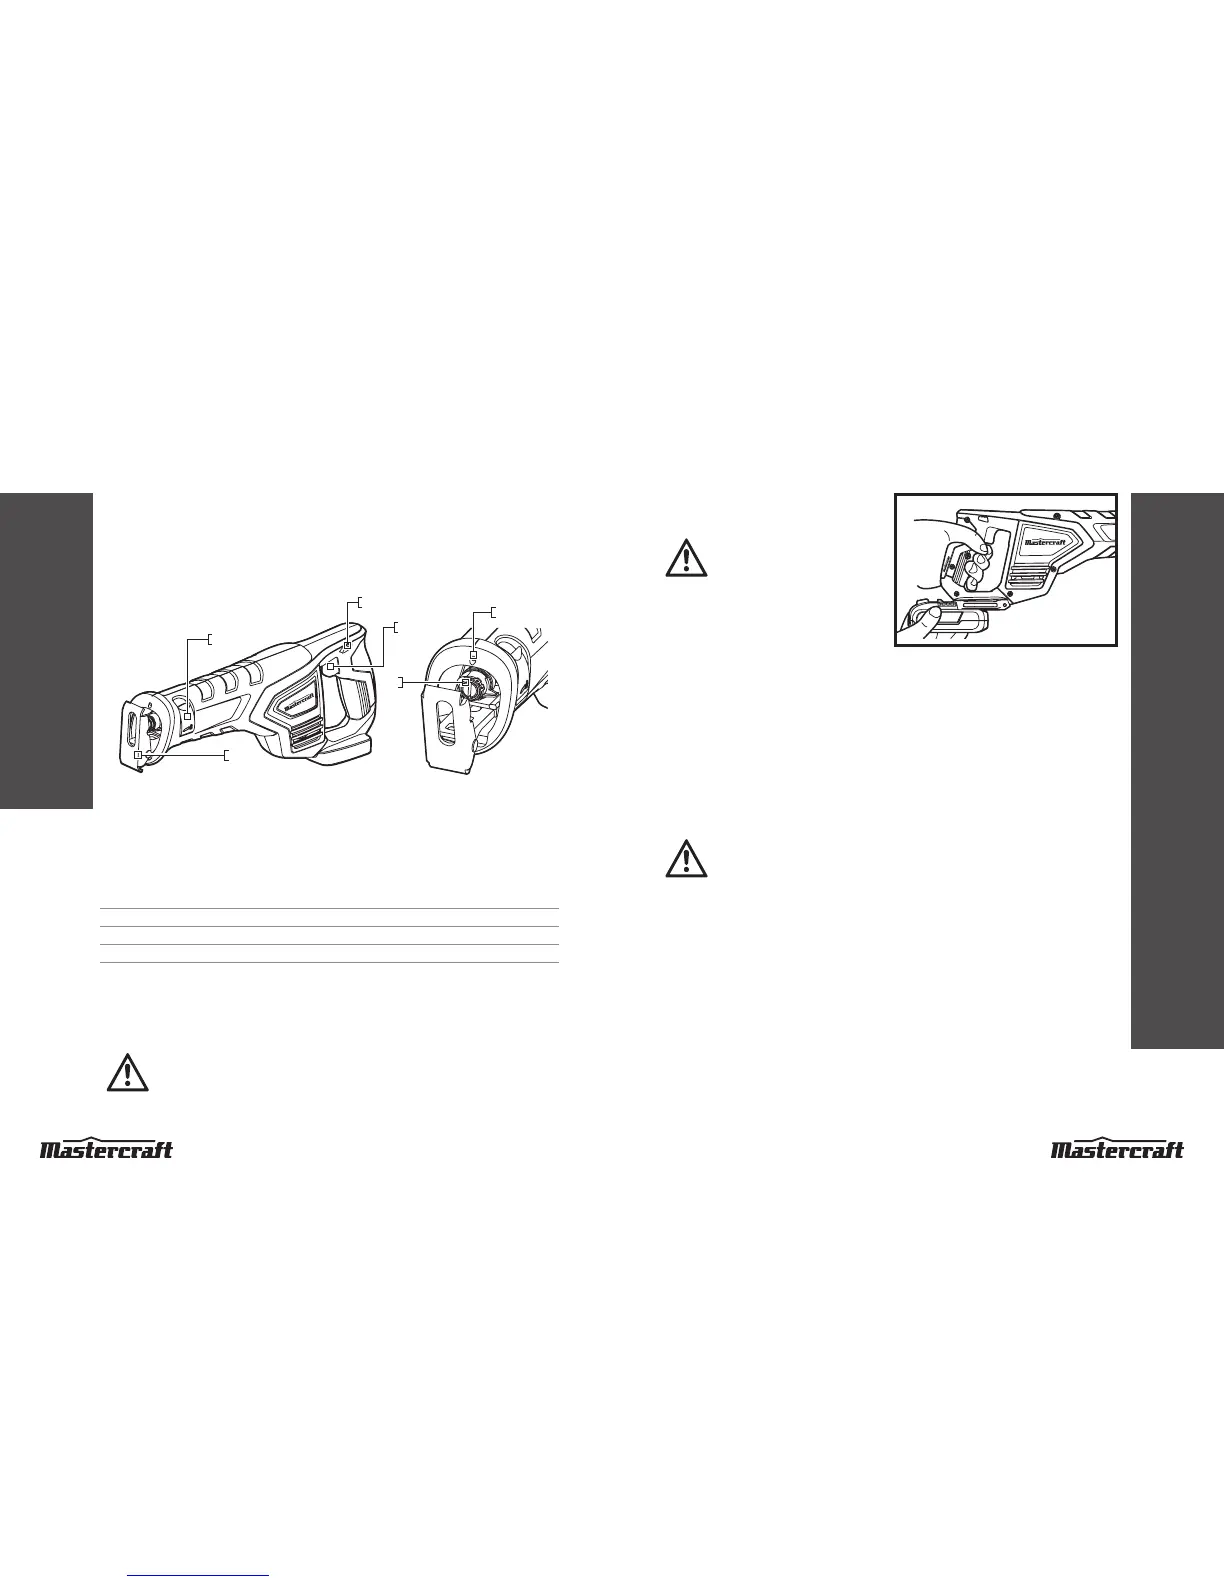
Knowyourcordlessreciprocatingsaw
No. Description No. Description
1 Pivot shoe 4 Lock-off button
2 Tool-less Blade clamp lever 5 LED worklight
3 Variable-speed trigger switch 6 Tool-less Blade clamp
Before attempting to use this tool, become familiar with all of its operating features and safety
requirements. For optimum performance and safety, read the following operating instructions carefully
before using this product.
WARNING!
Do not allow familiarity with the Cordless Reciprocating Saw to cause a lack of alertness. A
fraction of a second of carelessness is enough to cause severe injury.
OPERATING INSTRUCTIONS
To attach battery pack
(g 1)
CAUTION!
Avoid the possibility of accidental
starting. Always take care not to
activate the trigger switch when you
are attaching the battery pack or
performing other adjustments to the
tool.
NOTE:
When placing a battery pack on the tool, be sure that the raised rib on the battery pack aligns with
the groove on the cordless Reciprocating Saw and the latches snap into place properly. Improper assembly
of the battery pack can cause damage to internal components.
1. Ensure that the trigger switch is in the “off” position.
2. Align the raised rib on the battery pack with the grooves on the bottom of the saw, and then attach the
battery pack to the saw.
To detach battery pack
(g 1)
CAUTION!
Avoid the possibility of accidental starting. Always take care not to activate the trigger switch
when you are detaching the battery pack or performing other adjustments to the tool.
1. Ensure that the trigger switch is in the “off” position.
2. Depress the battery-release button located on the front of the battery pack to release the battery pack.
3. Pull the battery forward to remove from the tool.
fig 1
6
1
2
4
5
3