11
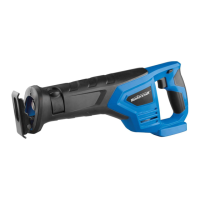
20V max* LITHIUM-ION CORDLESS RECIPROCATING SAW - 054-8151-420V max* LITHIUM-ION CORDLESS RECIPROCATING SAW - 054-8151-4
OPERATING INSTRUCTIONS
12
OPERATING INSTRUCTIONS
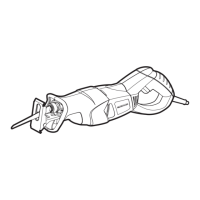
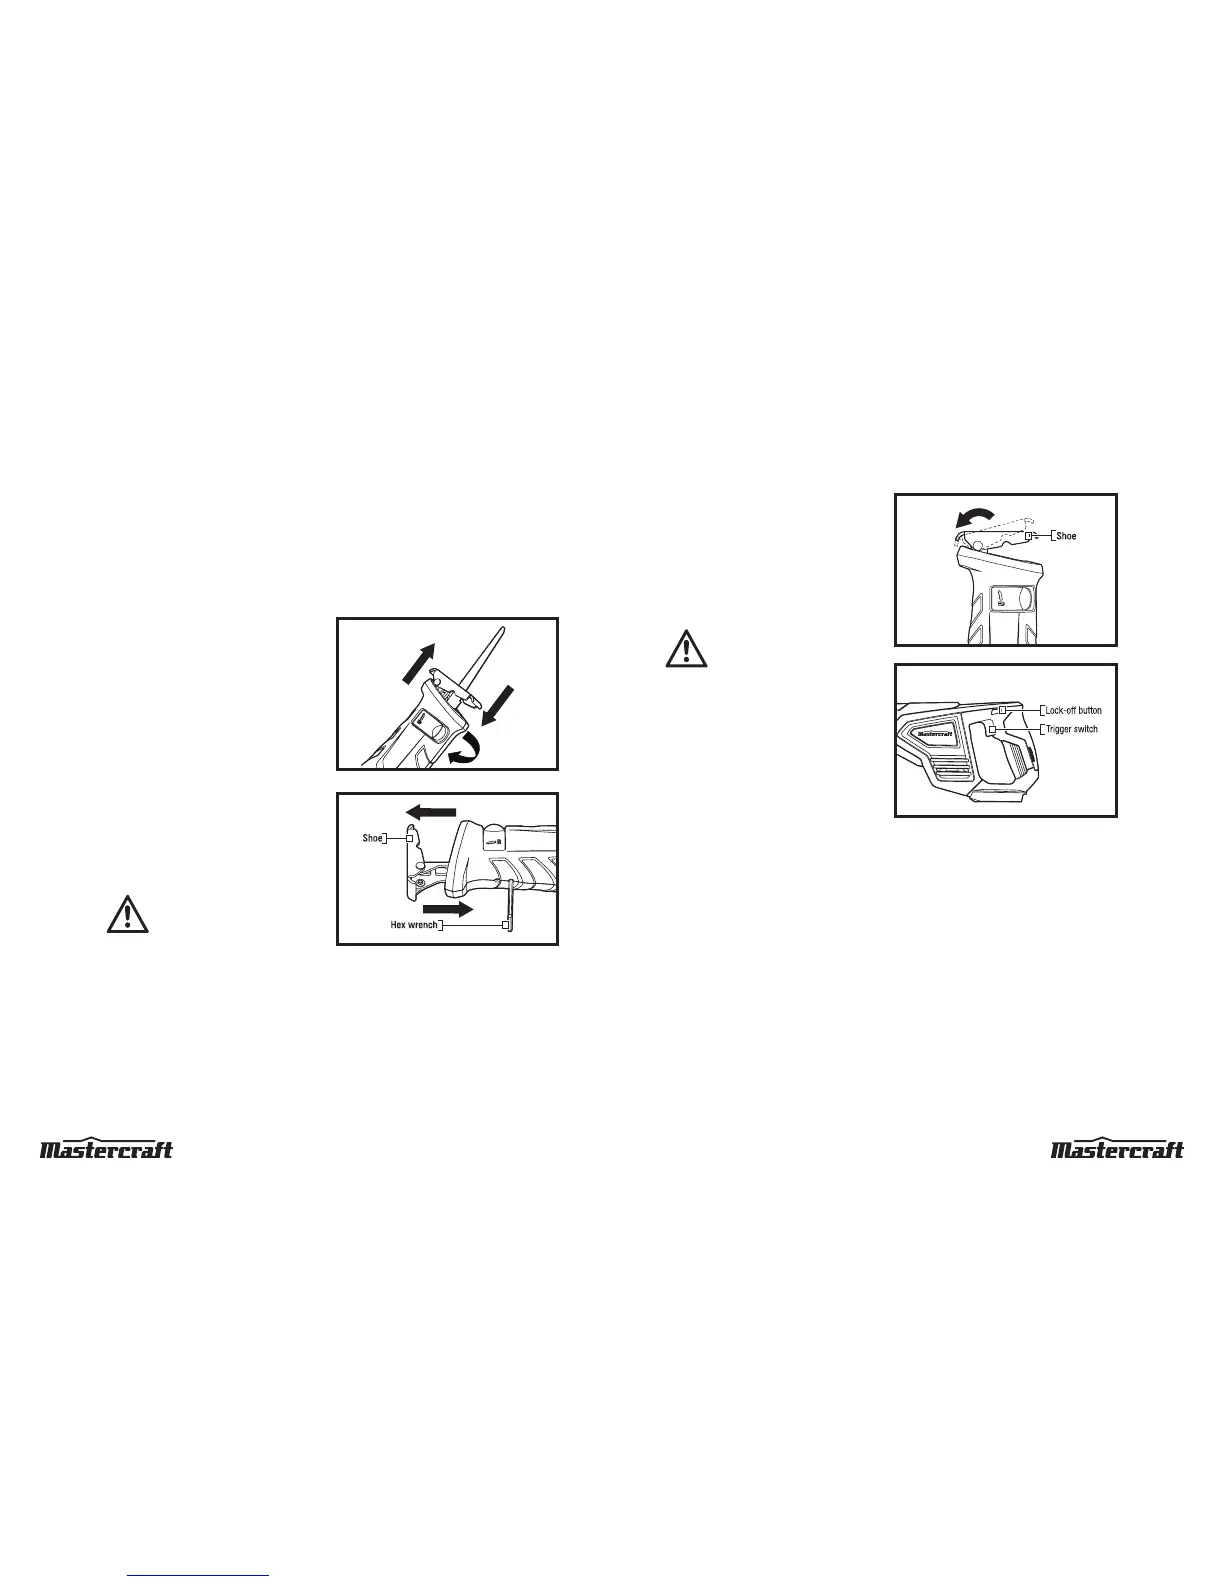
Pivoting the shoe
(g 4)
The shoe pivots to provide maximum contact with
the surface being cut.
1. Remove the battery pack from the saw.
2. Hold the saw securely, and then pivot the shoe
to the desired angle.
WARNING!
To avoid injury and damage, do not
operate the saw without the pivoting
shoe in place. The spindle may strike
against the workpiece and damage
the reciprocating mechanism.
Variable-speed trigger switch
(g 5)
Your reciprocating saw is equipped with a trigger
switch to turn the saw on and off, and to control the
speed.
1. To start the saw, depress the lock-off button and then squeeze the trigger switch.
2. To stop the saw, release the trigger switch and allow it to return to the “OFF” position.
3. To vary the speed, simply increase or decrease the pressure on the trigger switch. The more tightly the
trigger switch is squeezed, the higher the speed.
Electric brake
To stop the tool, release the trigger switch and allow the blade to come to a complete stop. The electric
brake quickly stops the motion. This feature engages automatically when you release the trigger switch.
fig 4
fig 5
Blade selection
To obtain the best performance from the saw, it is important to select the correct blade for the particular
application and type of material to be cut.
Blades with fewer teeth, e.g., 10 teeth per inch (TPI), are typically used for cutting wood; blades with more
teeth are better for cutting metal or plastic. We recommend 14 TPI blades for plastics and soft metals and
18 TPI blades for hard metals.
Installing a saw blade
(g 2)
1. Remove the battery pack from the saw.
2. Pivot the blade-clamp lever to open the blade
clamp.
3. Insert the saw blade into the blade clamp as far
as possible, then release the blade-clamp lever
to lock the blade in position.
4. Check that the blade is securely attached.
Removing the saw blade
(g 2)
1. Remove the battery pack from the saw.
2. Pivot the blade-clamp lever to open the blade
clamp.
3. Remove the saw blade from the blade clamp.
WARNING!
Never touch the saw blade
immediately after use. It may be hot
after prolonged use.
Base shoe adjustment
(g 3)
For maximum control and longer blade life, the base assembly slides in and out to adjust the effective
stroke length.
1. Remove the battery pack from the saw.
2. Use the hex key (included) to loosen the two screws on the bottom of saw housing.
3. Adjust pivot to the desired position, and retighten both screws.
fig 2
fig 3