COMMISSIONING
16
January 2013/ Alpha alternator - Alpha Pro II regulator / EN
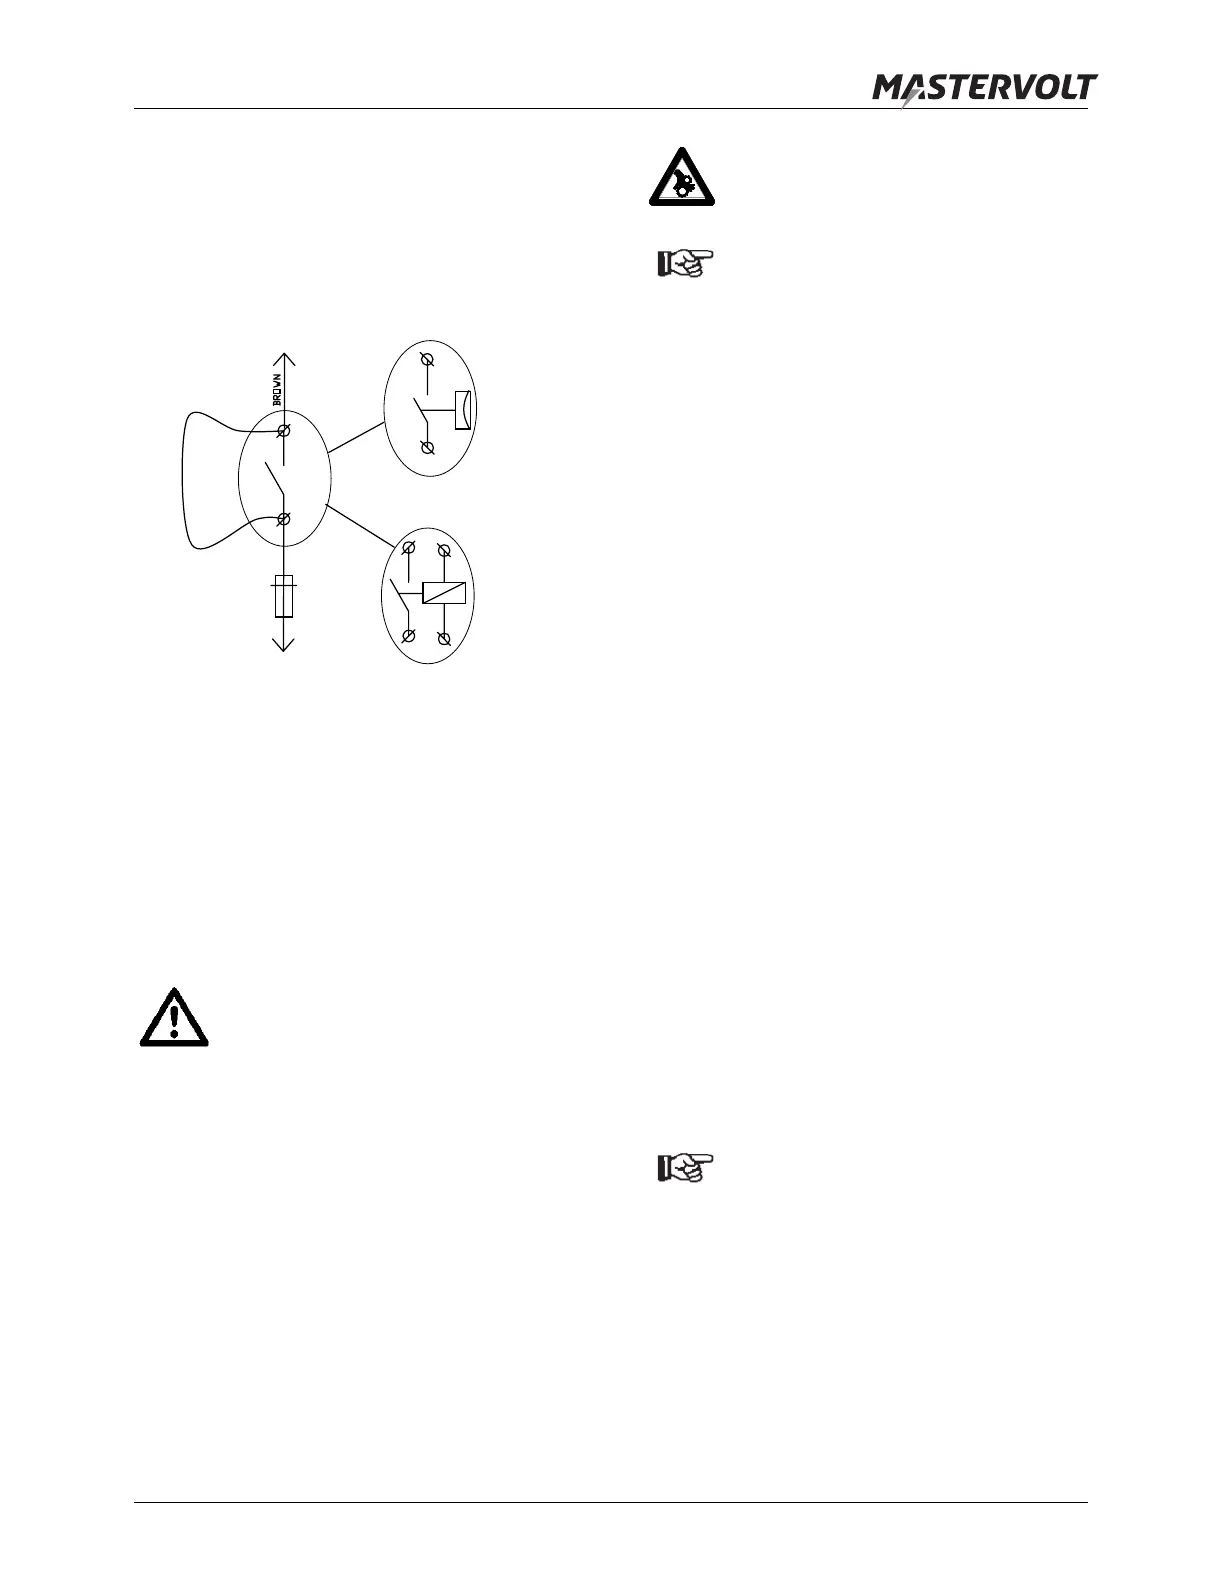
3 Energize the [reg on] terminal by either turning
on the ignition switch (DO NOT START THE
ENGINE) or by putting a jumper across switch
S1 (see figure 14). Check whether the 3 yellow
LED’s start to blink. After approx. 10 seconds
the yellow bulk led will illuminate.
Figure 14: Jumper across switch S1
4 Check whether the alternator field is energized
by touching the shaft of the alternator with a
screwdriver. It should be strongly magnetic.
5 De-energize the [reg on] terminal by turning off
the ignition switch or by removing the jumper
across switch S1 again. All LED’s should go off
and the field should no longer be strongly
magnetic.
CAUTION!
After performing this test, be sure to turn
de-energize the [reg on] terminal,
otherwise the field windings of the
alternator will be damaged due to
overheating
If you cannot pass the tests mentioned above,
remove the DC-fuses and double check the wiring.
Refer to the Trouble shooting section (section 8).
6 Check whether all bolts are securely mounted.
Check both the aligning and tension of the V-
belts.
5.2.2 In operation test
To check for proper operation you will need a hand
held digital meter. If you have installed a battery
monitor such as the MasterShunt or any other digital
voltage measuring device, you can use this as well.
WARNING
When the engine is running, be aware of
moving parts like V-belts.
NOTE!
See section 3.2.1 for explanation of the
bulk, absorption and float mode.
• Be sure no loads or any other charging sources
are on!
• Be sure the battery is (almost) fully charged
Follow all steps in order of succession as described
below:
1 Measure and record the battery voltage at idle.
2 Start the engine. The three LEDs on the Alpha
Pro II blink together to indicate the start up
mode.
3 Check for abnormal noise or vibration.
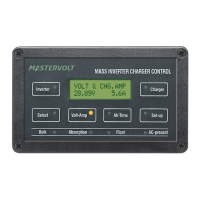
4 The yellow [bulk] LED on the Alpha Pro II
regulator (see figure 15) illuminates, indicating
that the charge-cycle begins.
5 Measure and record the battery voltage. The
battery voltage should be higher than measured
before at step 1. The battery voltage rises until
the yellow [abs] LED illuminates.
6 When the yellow [abs] LED illuminates, the
absorption mode commences. Measure and
record the voltage at which the battery stabilizes
(@ 25°C / 77°F).
7 An absorption timer starts to keep the Alpha Pro
II regulator in the absorption mode. The factory
setting of this timer is 4 hours.
NOTE!
For testing you might want to reduce the
absorption time temporarily.
8 When absorption time has elapsed, the green
[float] LED will illuminate. This means that the
float mode has started.
If you have passed the above mentioned tests, the
charging system is ready for operation. Else check
trouble shooting.
Depending on your settings the regulator can switch
to Float before a 100% SOC has been reached,
refer to section 6.3.4
reg on
Positive
battery pole
2 Amp
Oil pressure switch
Ignition relay
Jumper
S1