Click!
5 INSTALLATION
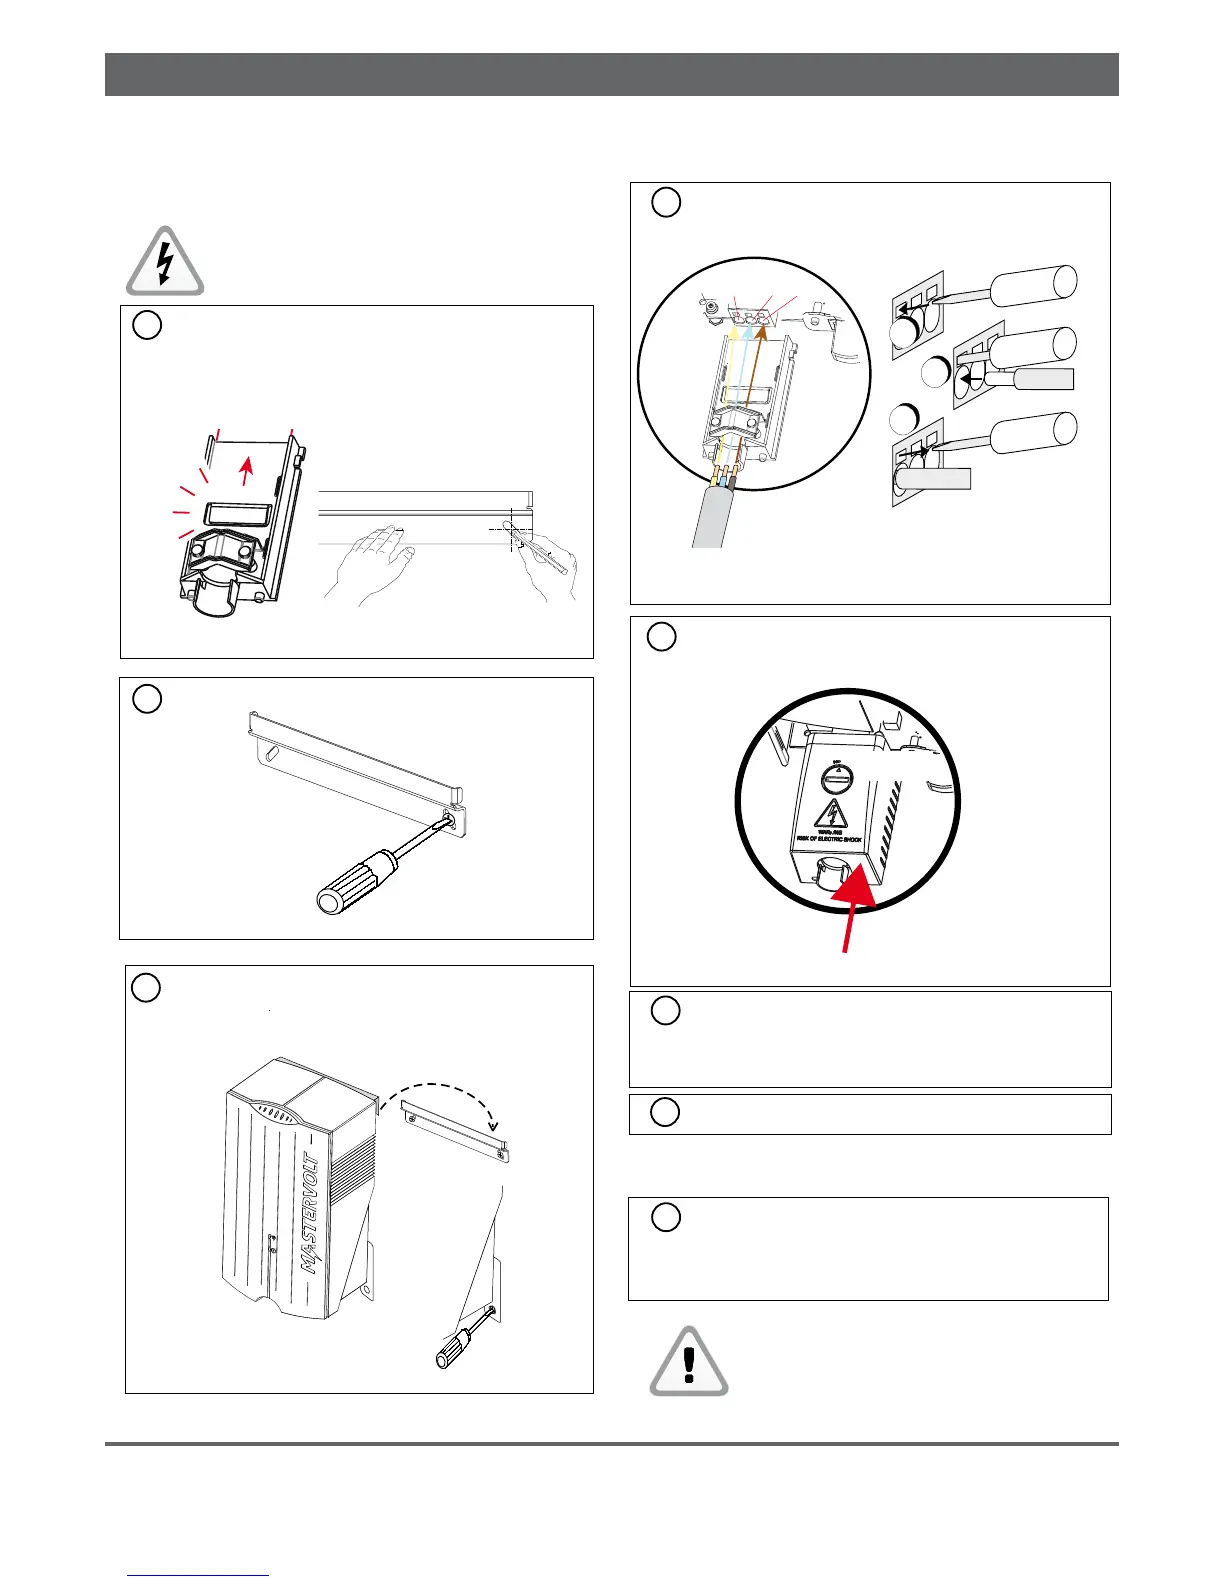
5.1 INSTALLATION STEP BY STEP
CAUTION!
Read chapters 2 and 3 prior to
installation.
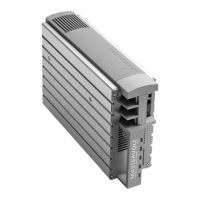
1 Click the AC connection module onto the inverter
and mark the position of the mounting spots using the
bracket.
Figure 5-1
2 Fix the mounting bracket to the wall.
Figure 5-2
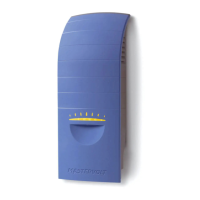
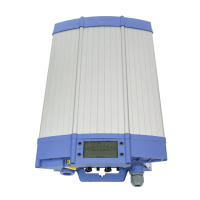
3 Place the Soladin over the mounting bracket
and then move it downwards until it is held by
the mounting bracket.
Figure 5-3
Figure 5-4: Connect the AC cables
Figure 5-5: Close the AC connection module
The Soladin only starts inverting after you
completed the setup! Refer to chapter 6.
6 If an additional Protective Earth or equipotential
connection is required in your country, use of
the ground screw is an option.
Refer to front page overview item 10.
4 Connect the AC wiring to the AC terminal. Figure
5-4 shows the PE / N / L terminal. Tighten the
strain relief. Make sure the cable is fixed firmly.
5 Close the AC connection compartment by clicking
the cover in place, see figure 5-5.
7 Switch On AC
Click
8 Connect the DC cables and if applicable, switch
On the DC switch. If sunlight is available, the
Soladin will switch On but it does not start
inverting.
PE N L