4 BEFORE YOU START
4.1 UNPACKING
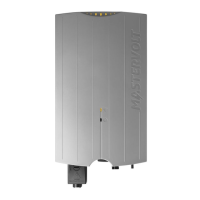
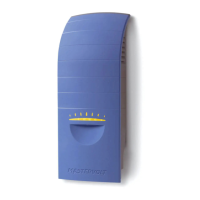
In addition to the Soladin the delivery includes:
• A mounting bracket to mount the Soladin to a wall
• This Quick Install Guide
• AC connection module.
After unpacking, check the contents for possible damage.
Do not use the product if it is damaged. If in doubt, contact
your supplier.
4.2 THINGS YOU NEED FOR INSTALLATION
Make sure you have all further parts to install the Soladin:
• 4 screws max 4,5 mm (with plugs) to mount the Soladin
to the wall, suitable to carry its weight.
• Wi access point router and associated password
• Wi-Fi display (smart phone, tablet or note book)
• Flat 1x3.5 mm bled screwdriver to open the AC connector
• AC cable or PVC tube to t into the AC connector.
4.3 INSTALLATION ENVIRONMENT
• Ambient temperature: -20 ... 60°C; (power derating
above 45°C).
• No objects must be located within a distance of 30 cm
around the Soladin.
• Allow sufcient ventilation to prevent build up of hot air.
• Keep at least 50 cm in between the inverters when
multiple Soladins are installed next to each other. If this
is not possible, adequate measures must be taken to
avoid one inverter heating up the other.
• If the Soladin is installed in the immediate vicinity of living
areas, take into account that the Soladin can produce a
slight noise level when operating.
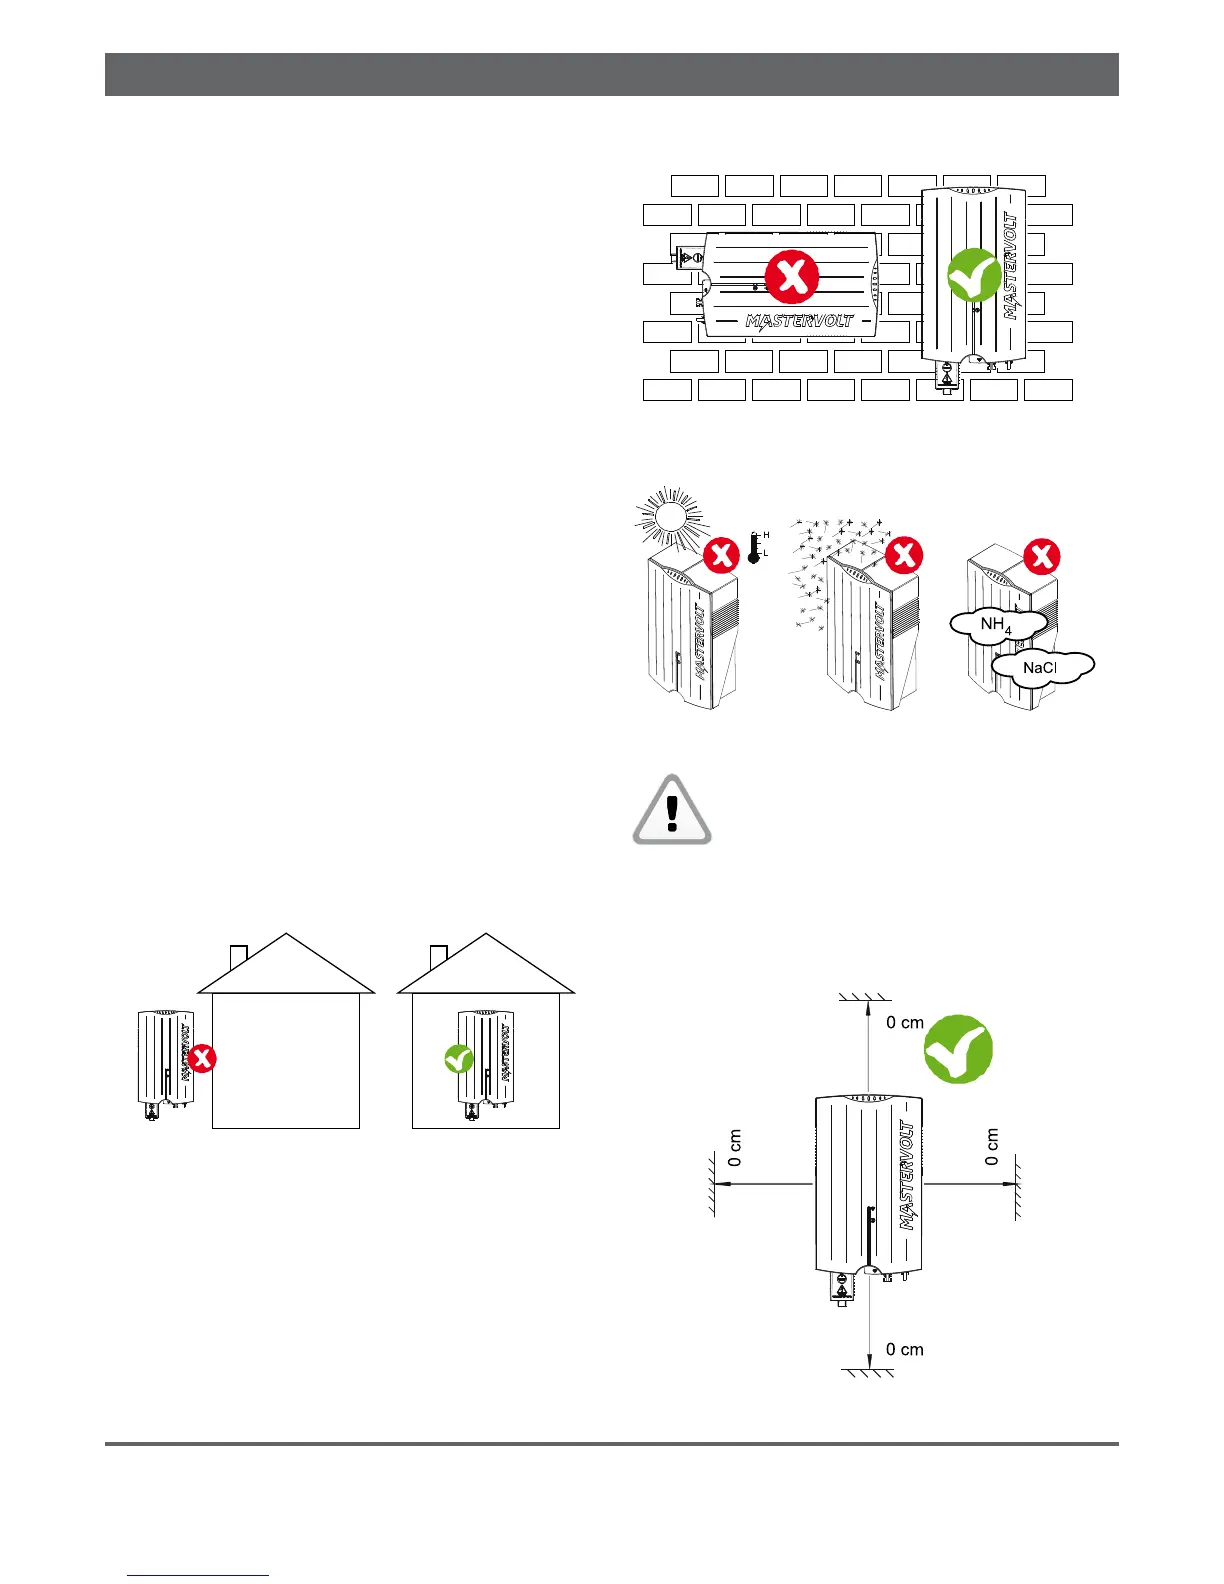
• Mount the Soladin vertically on a solid wall.
• Mount the Soladin on a maximum 2000 m altitude.
See the next illustrations for more instructions.
Figure 4-1: The Soladin is allowed to be installed in indoor
environments only.
Figure 4-2: Mount the Soladin vertically to a solid wall.
A light weight wall may lead to resonance and is dissuaded.
Figure 4-3
Do not expose the Soladin to direct sunlight
or other heat sources.
Do not expose the Soladin to excessive dust.
Do not expose the Soladin to aggressive
environments, ammonia or salt.
When multiple Soladins are installed either side by side or
vertically above each other, keep at least 50 cm horizontal
and vertical clearance between Soladins. This will avoid one
inverter heating up the other.
Figure 4-4: Keep 30 cm clearance around the Soladin
3
3
3
3
08
|
EN / Soladin 700/1000/1500 Web User’s Manual