33
9.2 FRONT SHROUD REPLACEMENT - CONTINUED
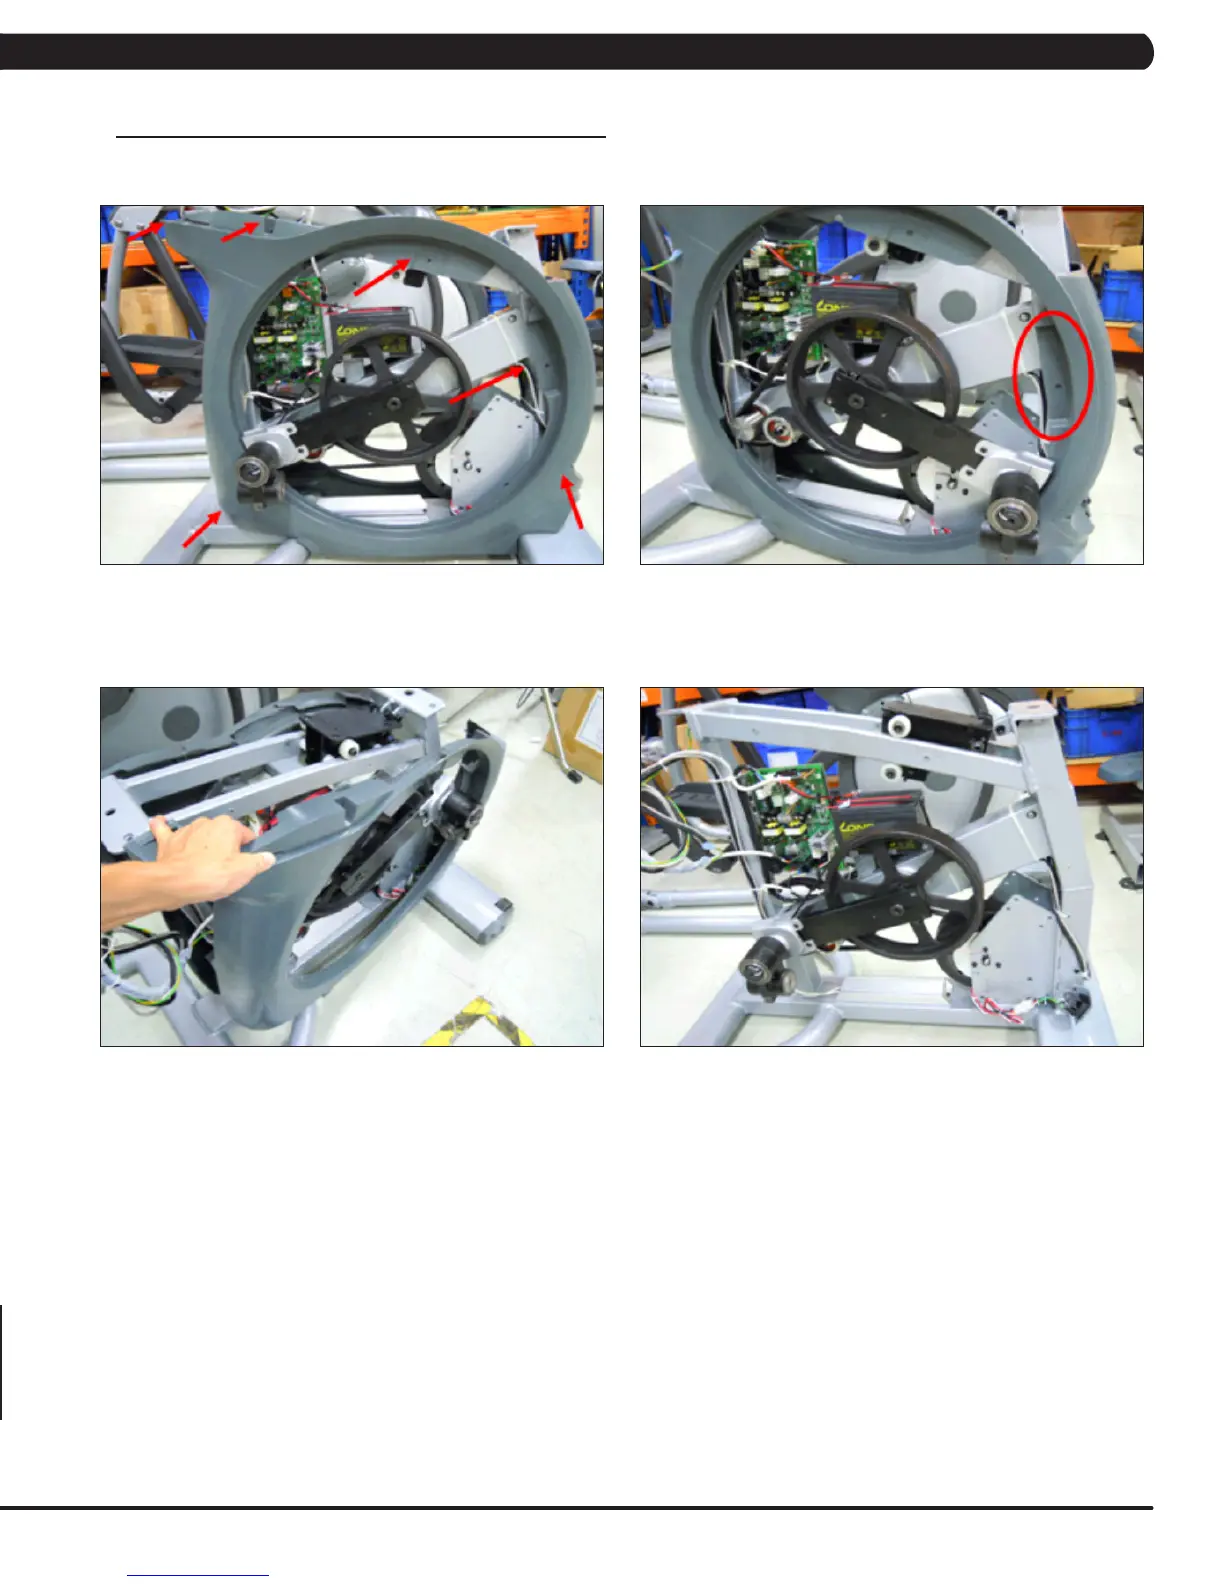
12) Remove the 9 screws to detach the front shrouds from the frame (or each other) (Figure M).
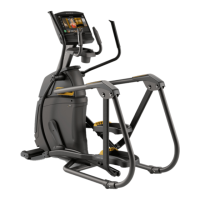
13) Turn the crank to the slotted portion of the shroud (Figure N).
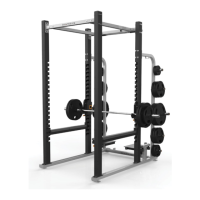
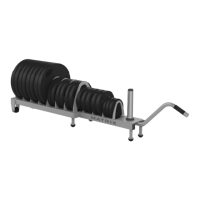
14) Remove the front shrouds for frame access (Figures O & P).
15) Reverse Steps 1-14 to install new shrouds. NOTE: The bolt / nut removed in Step 5 should be torqued to 70 N-m.
FIGURE P
FIGURE N
FIGURE O
FIGURE M
CHAPTER 9: PART REPLACEMENT GUIDE