53
9.4 FRONT SHROUD REPLACEMENT - CONTINUED
CHAPTER 9: PARTS REPLACEMENT GUIDE
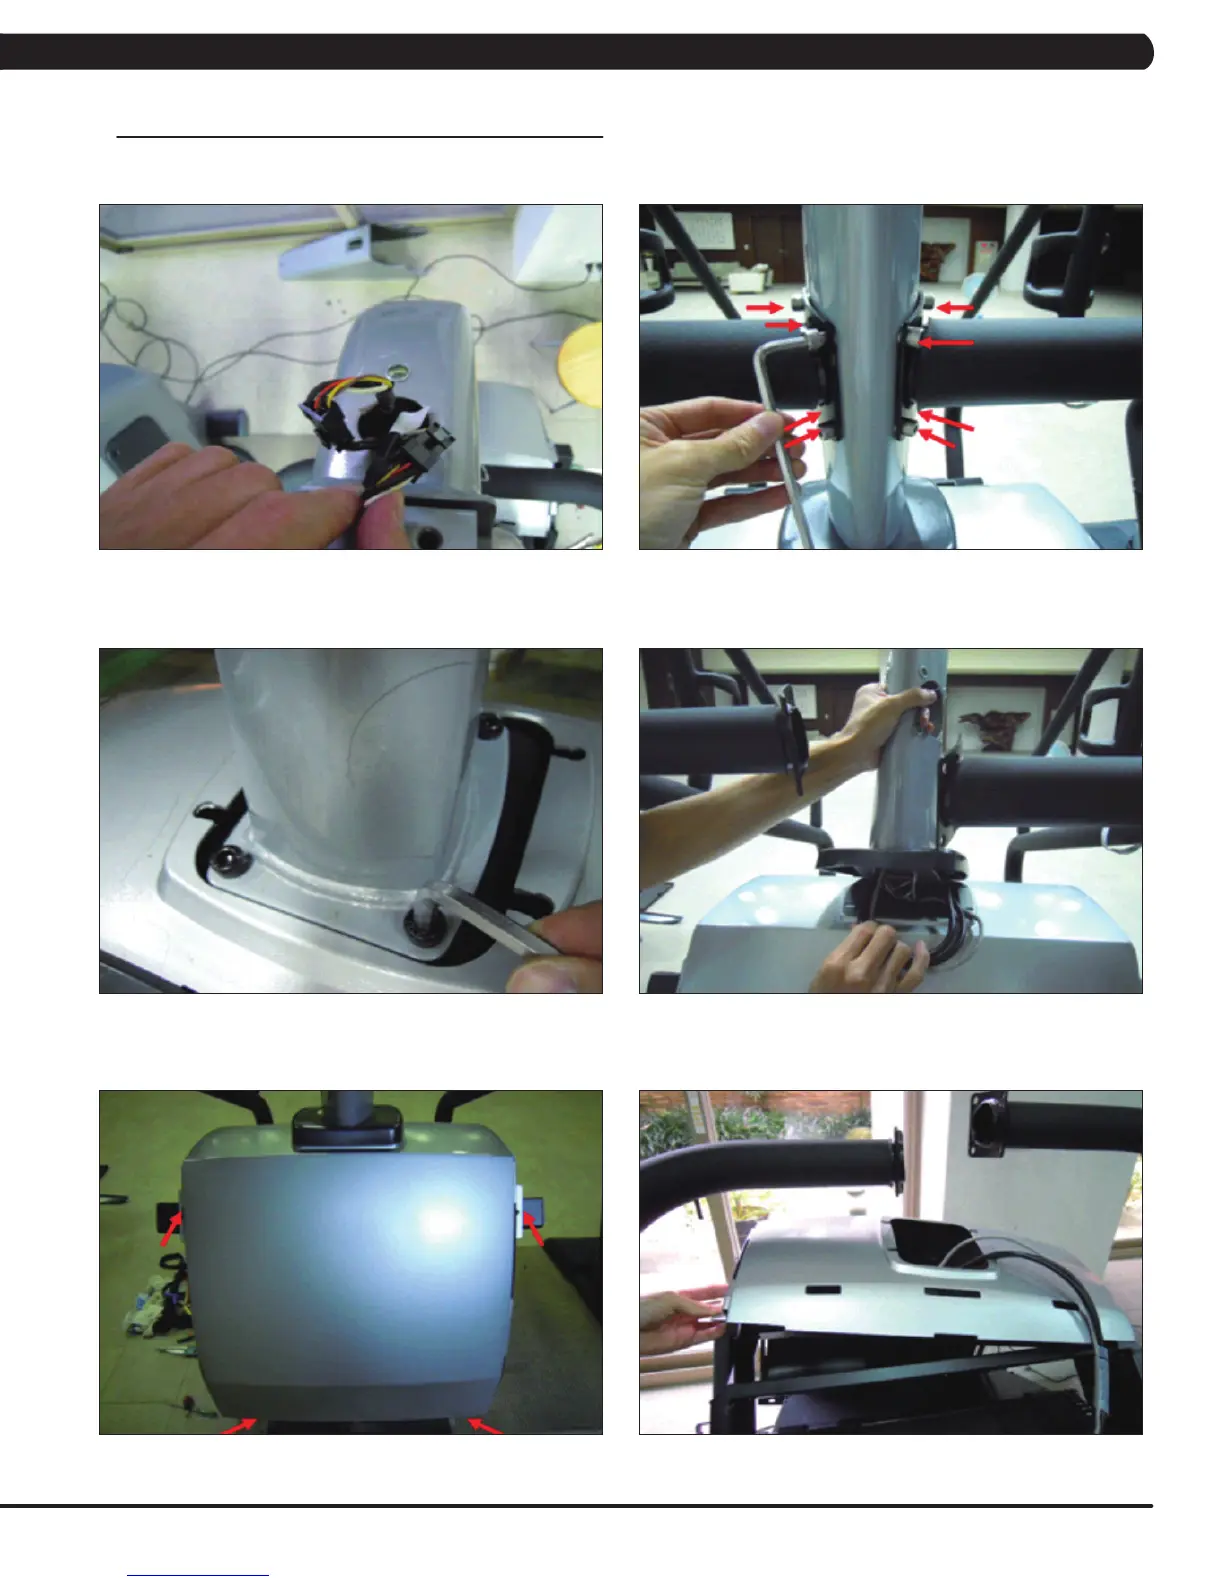
8) Disconnect the hand pulse and quick key cables on the inside of the console mast (Figure E).
9) Remove the 8 screws holding the lower handlebar set to the console mast (Figure F).
10) Remove the 4 screws that attach the console mast to the frame (Figure G).
11) Pull the cables out of the console mast and remove it (Figure H).
12) Remove the 4 screws holding the front shroud to the sides (Figure I).
13) Pull up on the front shroud and remove it (Figure J).
14) Reverse Steps 1-13 to install a new front shroud.
15) Test the Climb Mill for function as outlined in Section 9.20.
FIGURE E
FIGURE F
FIGURE H
FIGURE G
FIGURE JFIGURE I