52
9.4 FRONT SHROUD REPLACEMENT
1) Turn off power and disconnect the cord from the machine.
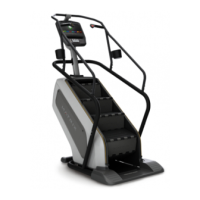
2) Remove all of the cables from the front cover (Figure A).
3) Remove the 2 screws from the front cover and remove it (Figure B).
4) Remove both side covers as outlined in Section 9.1.
5) Remove the console as outlined in Section 9.2.
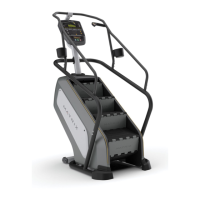
6) Remove the 3 screws on each side that connect the front shroud to the frame (Figure C).
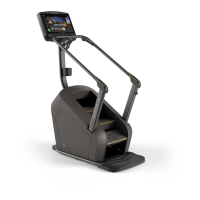
7) Remove the 5 screws that hold the upper handlebar set to the console mast (Figure D).
FIGURE D
FIGURE B
FIGURE C
FIGURE A
CHAPTER 9: PARTS REPLACEMENT GUIDE