64
CHAPTER 9: PARTS REPLACEMENT GUIDE
9.11 CHAIN REPLACEMENT - CONTINUED
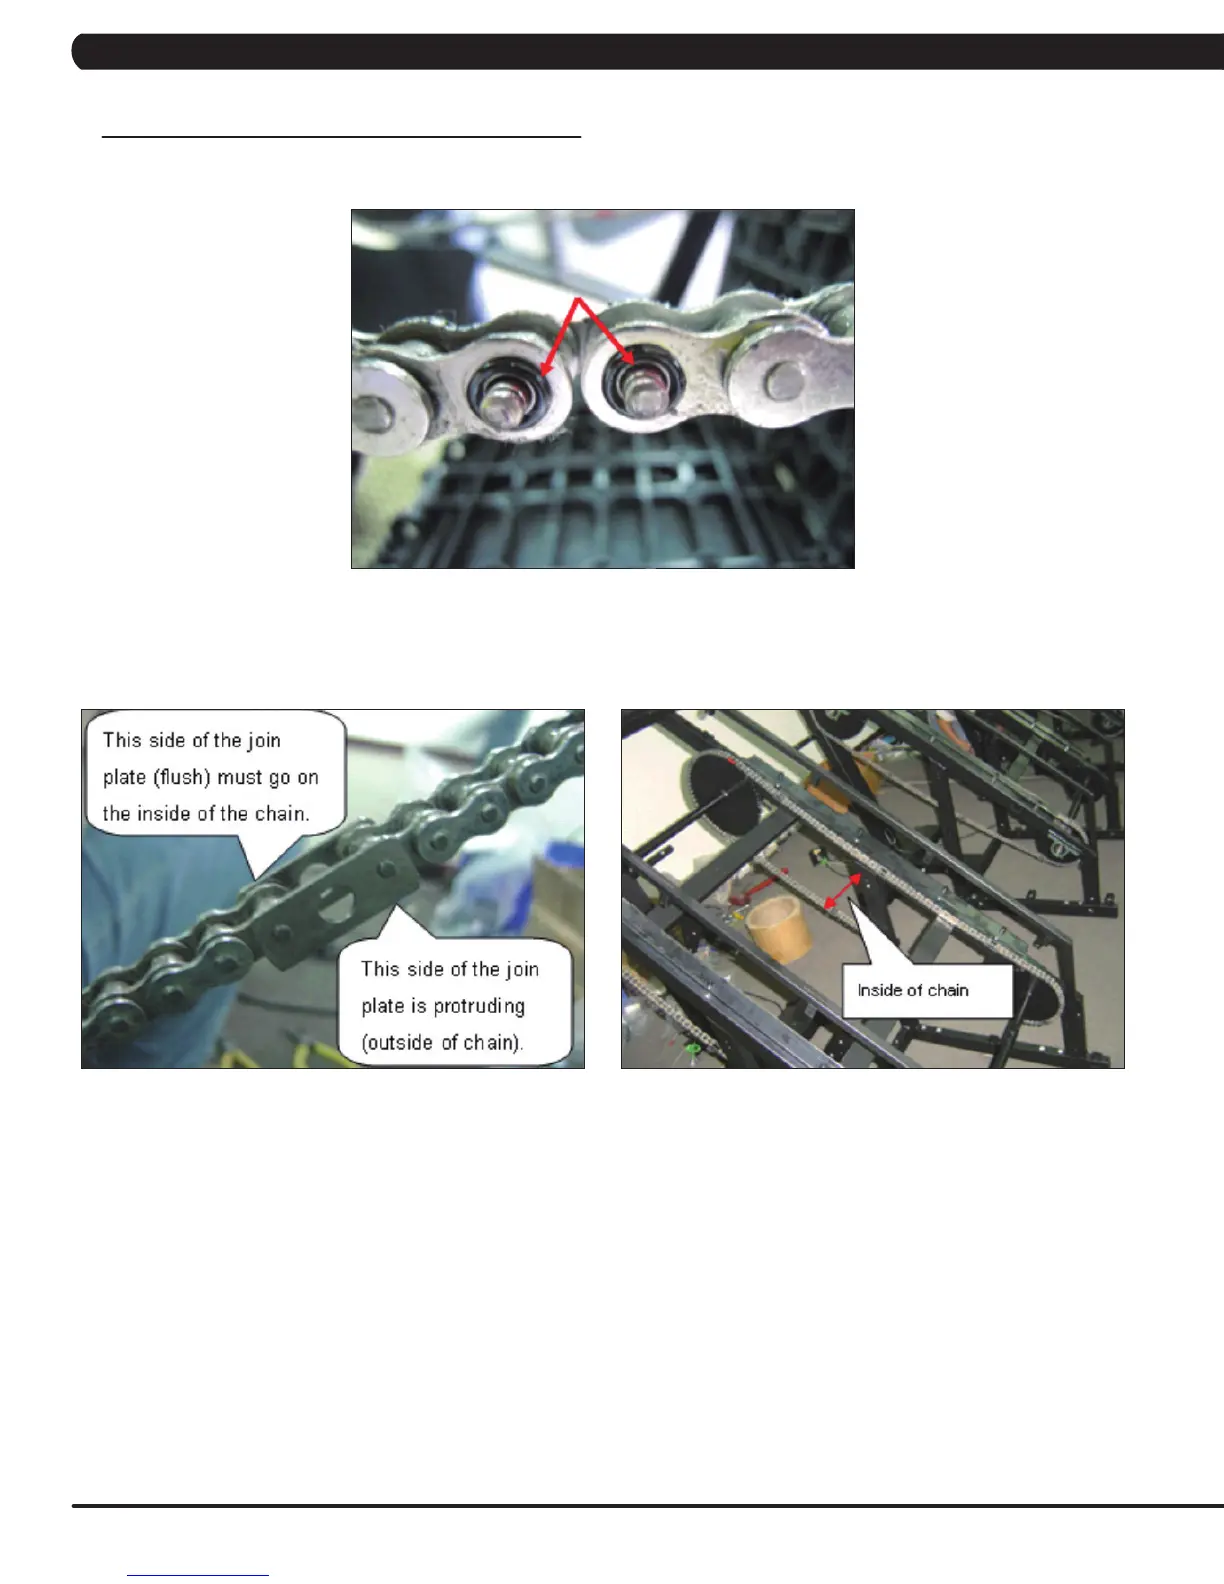
8) Remove the 2 seal rings from where the join link was just removed (Figure E).
9) The chain can now be removed.
10) Reverse Steps 1-9 to install a new chain. When installing a new chain, it is important to pay attention to the join plates. The join plates are
wider than the chain itself. It is important that the side of the join plates that are ush with the rest of the chain get installed to the inside of the
chain path (Figures F & G).
11) Test the Climb Mill for function as outlined in Section 9.20.
FIGURE E
FIGURE F
FIGURE G