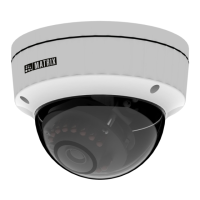
• Align the Bottom Enclosure with the mounting screw holes drilled
earlier.
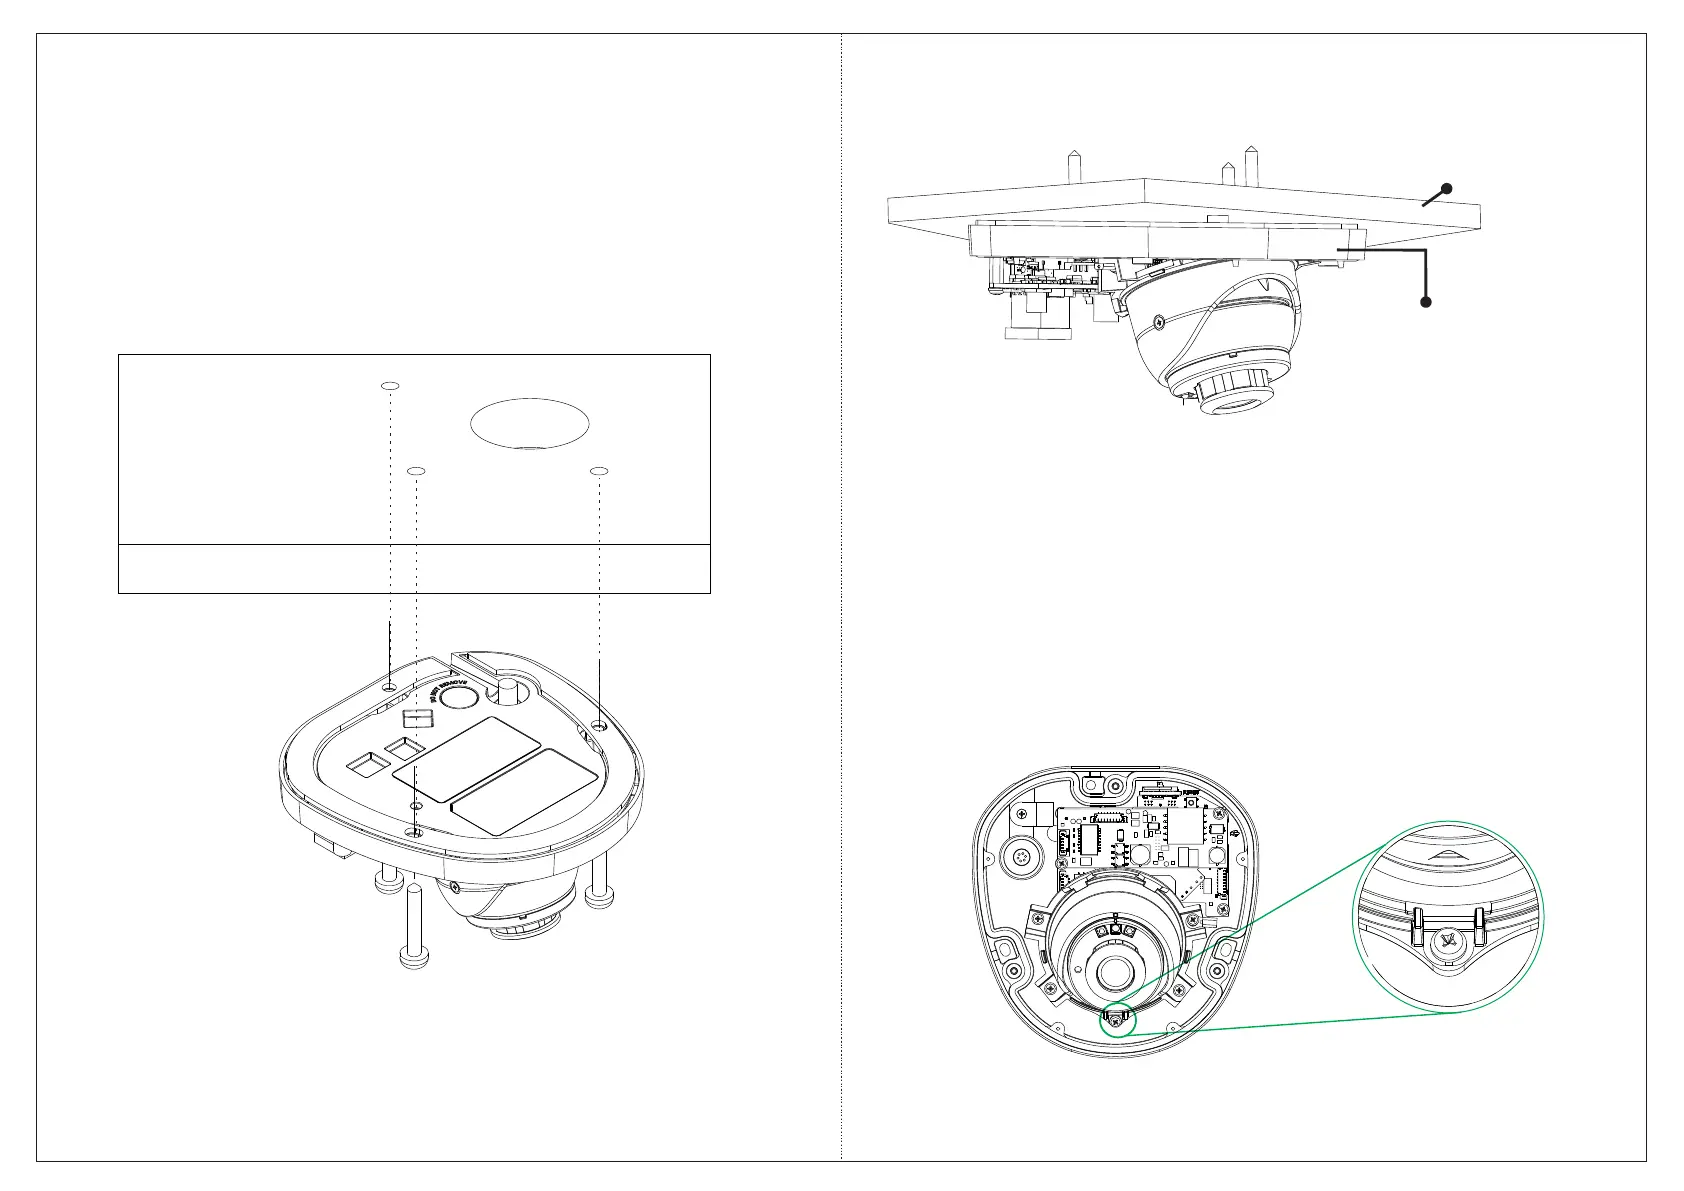
• Now, affix the Bottom Enclosure with the three screws provided
along with the camera, see Figure 4b and Figure 5.
Figure 4b
Figure 5
Bottom Enclosure
Wall/Ceiling
Step 6: Adjusting Camera Angle
Before you affix the camera Top Enclosure, you need to set the desired
angle and position of the camera.
Figure 6
Loosen the camera screw with the help of a screwdriver, see
Figure 6. Make sure you do not turn the screw more than 3 to 4
turns, else it may result in free fall.
14
13