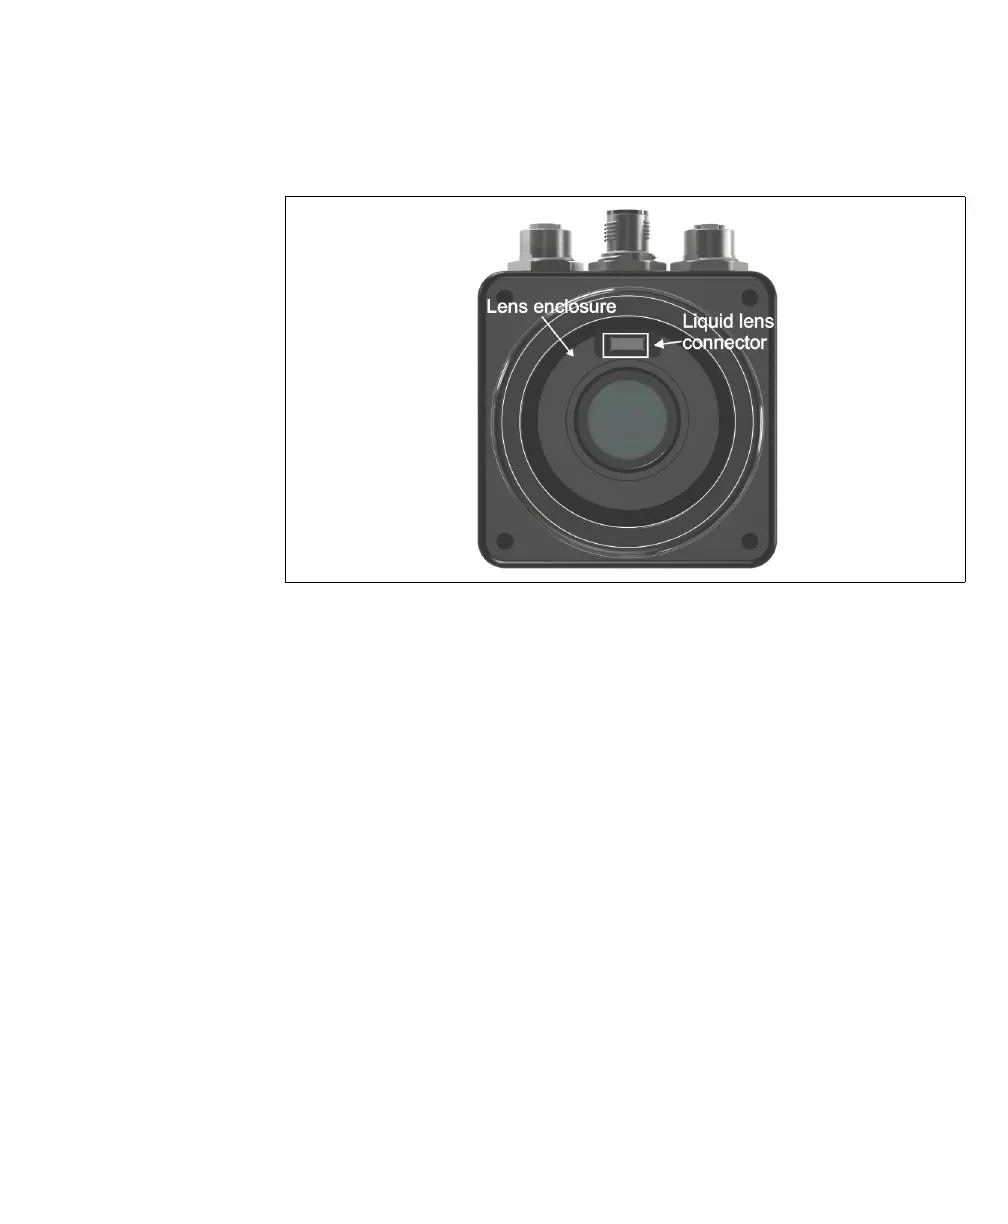
Optionally connecting a liquid lens 23
3. Remove the plug covering the liquid lens connector inside the camera lens
housing, using non-conductive tweezers.
4. Screw the lens onto the lens enclosure, until it is firmly in place.
5. The Varioptic Caspian lens has two cables. Wrap the longer cable (with the 6-pin
connector) tightly around the Varioptic Caspian lens housing.
6. Plug the 6-pin connector of your Varioptic Caspian lens into the liquid lens
connector on your Matrox Iris GTX. To do so, use non-conductive tweezers. Once
the connector is in place, use the tweezers to press firmly on either side of the
connector to ensure a good connection.
7. Tuck the 3-pin connector (and its branched wire) into the folds of the longer cable.
The 3-pin connector is not used.
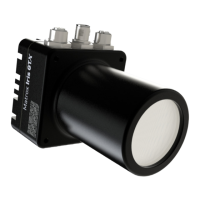
8. Slide the IP lens case over the lens, and screw it into the Matrox Iris GTX housing,
until it is firmly in place.
Note that the IP lens case must be in place for IP67 conformity.
9. Reconnect the power to your Matrox Iris GTX.