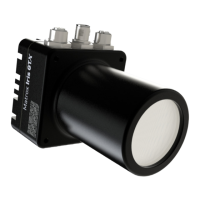
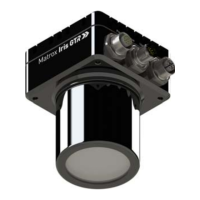
Adding Matrox Iris GTX to your network 25
Connecting directly to your Matrox Iris GTX
If you do not know your Matrox Iris GTX’s IP address, you can physically connect
to it and change its IP address; to do so, perform the following:
1. Connect your Matrox Iris GTX to a monitor, mouse, and USB keyboard. Then,
turn on the connected monitor, mouse, and USB keyboard before plugging in
your Matrox Iris GTX to a power source.
2. On your Matrox Iris GTX, launch your web browser, and go to the following
address:
3. When the Matrox Design Assistant configuration portal loads, go to the
Administration page by clicking on the gear button.
4. Click on the TCP/IP tab.
5. Enter the IP address, subnet mask, and gateway address in the spaces provided.
When done, click on the Save settings button.
Your IP address is now changed.
Using the Matrox System Discovery utility for Matrox Iris GTX
If you do not know your Matrox Iris GTX’s IP address, you can use the Matrox
System Discovery (MtxSysDiscovery) utility to access it and change its IP address;
to do so, perform the following:
1. On your development computer (where Matrox Design Assistant is installed),
launch the MIL Control Center utility.
2. In the MIL Control Center utility, select Design Assistant Tools for the version
of Matrox Design Assistant.
3. In the Design Assistant Tools directory, select and run the Matrox System
Discovery utility (MtxSysDiscovery).
The Matrox Iris GTX will find all the Matrox Iris GTXs on the same subnet, and
allow you to modify their communication settings.
http:\\localhost