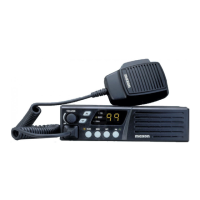
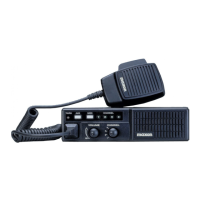
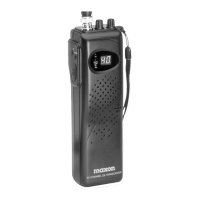
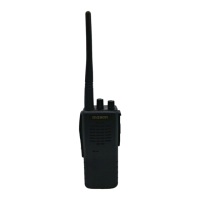
CONTROLS AND INDICATORS
FRONT PANEL
(1) On/Off switch: with volume control
(2) Channel up/down: press Up or Down keys to
select .
(3) TX LED: illuminates red when transmitting
(4) Busy LED: illuminates amber when channel is in use
(5) Call LED: illuminates green when receiving
(6) 2 digit LED channel display: indicates current channel
Number
(7) Scan button: press this to start/stop scanning
(8) Scan indicator LED: illuminates when scanning
(9) Monitor button: The monitor button allows a channel to
be monitored. This button if enabled, may be used to assist
clarity if the audio chops on and off whilst receiving.
(10) Option button: switches in the scrambling option if
fitted. If your radio has been upgraded with an encryption
module, further functions become available. Pressing the
Option button makes the radio transmit and receive in
scrambled mode. Releasing the button switches the radio
back to normal, clear, mode (see VOICE PRIVACY).
(11) Priority button: activates/deactivates priority scanning
(12) Priority indicator LED: illuminates when PM160 is in
Priority Scan mode
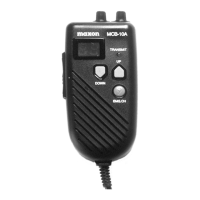
(13) Microphone socket: plug the fist microphone in here.
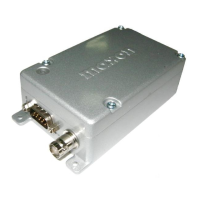
REAR PANEL
(14) Antenna socket: This is the connection point for a 50
ohm antenna.
(15) DC Supply
(16) External speaker socket: This is the connection point
for an external loudspeaker for the radio. The front panel
speaker is muted when the external speaker is connected.
ENGLISH
6