9
EN
4. Putting the Blood-Pressure
Monitor Into Operation
4.1 Inserting the batteries
a) Insert the batteries (4 x size AA 1.5V), thereby observing the indicated polarity.
b) If the battery warning “
” icon appears in the display, the batteries remain
20% power to warn user the batteries will be run out.
c) If the battery warning “
” icon appears in the display, the batteries are
empty and must be replaced by new ones
Warning!
• After the battery warning “ ” icon appears, the device is blocked until the
batteries have been replaced.
• Please use “AA” Long-Life or Alkaline 1.5V Batteries.
• The use of 1.2V Accumulators is not recommended.
• If the blood-pressure monitor is left unused for long periods, please remove the
batteries from the device.
4.2 User selection and setting the time / date
User selection: This advanced blood pressure monitor allows you to track blood
pressure readings for 2 individuals independently.
a) Before measurement, make sure you set the unit for the intended user. The
unit can track results for 2 individuals (User 1, User 2).
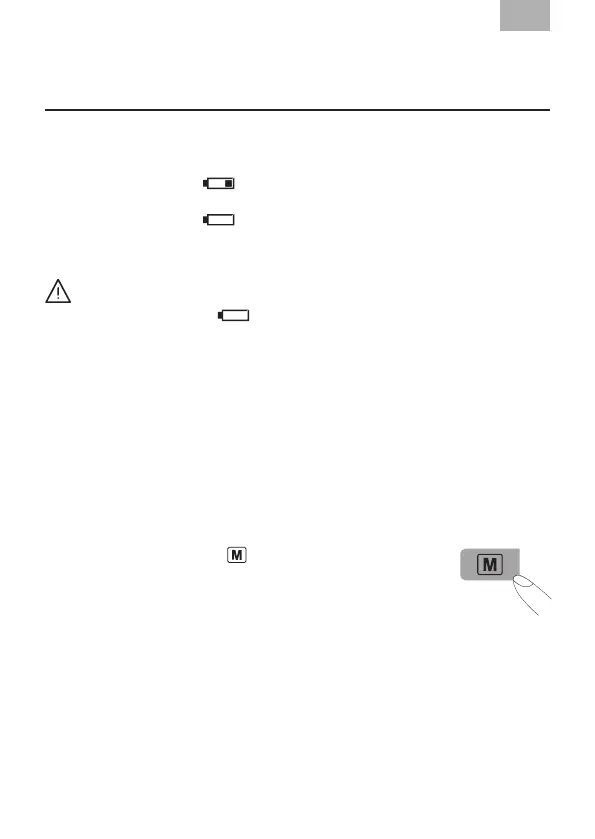
b) Press the Memory button
“
”
for at least 3 seconds. The
display now indicates the set user, during which the set user
blink, to conrm, press ON / OFF button.
c) Press the MEMORY button to select User.
d) We suggest the rst person to take their pressure to be User 1.
Setting the time, date
This blood-pressure monitor incorporates an integrated clock with date display.
This has the advantage, that at each measurement procedure, not only the blood-
pressure values are stored, but also the exact moment of the measurement.
How to enter to the setting mode:
After batteries are inserted, the device will enter the setting mode automatically.