The Optical Drive
43
Safety Handling
Components
Aid Appendix
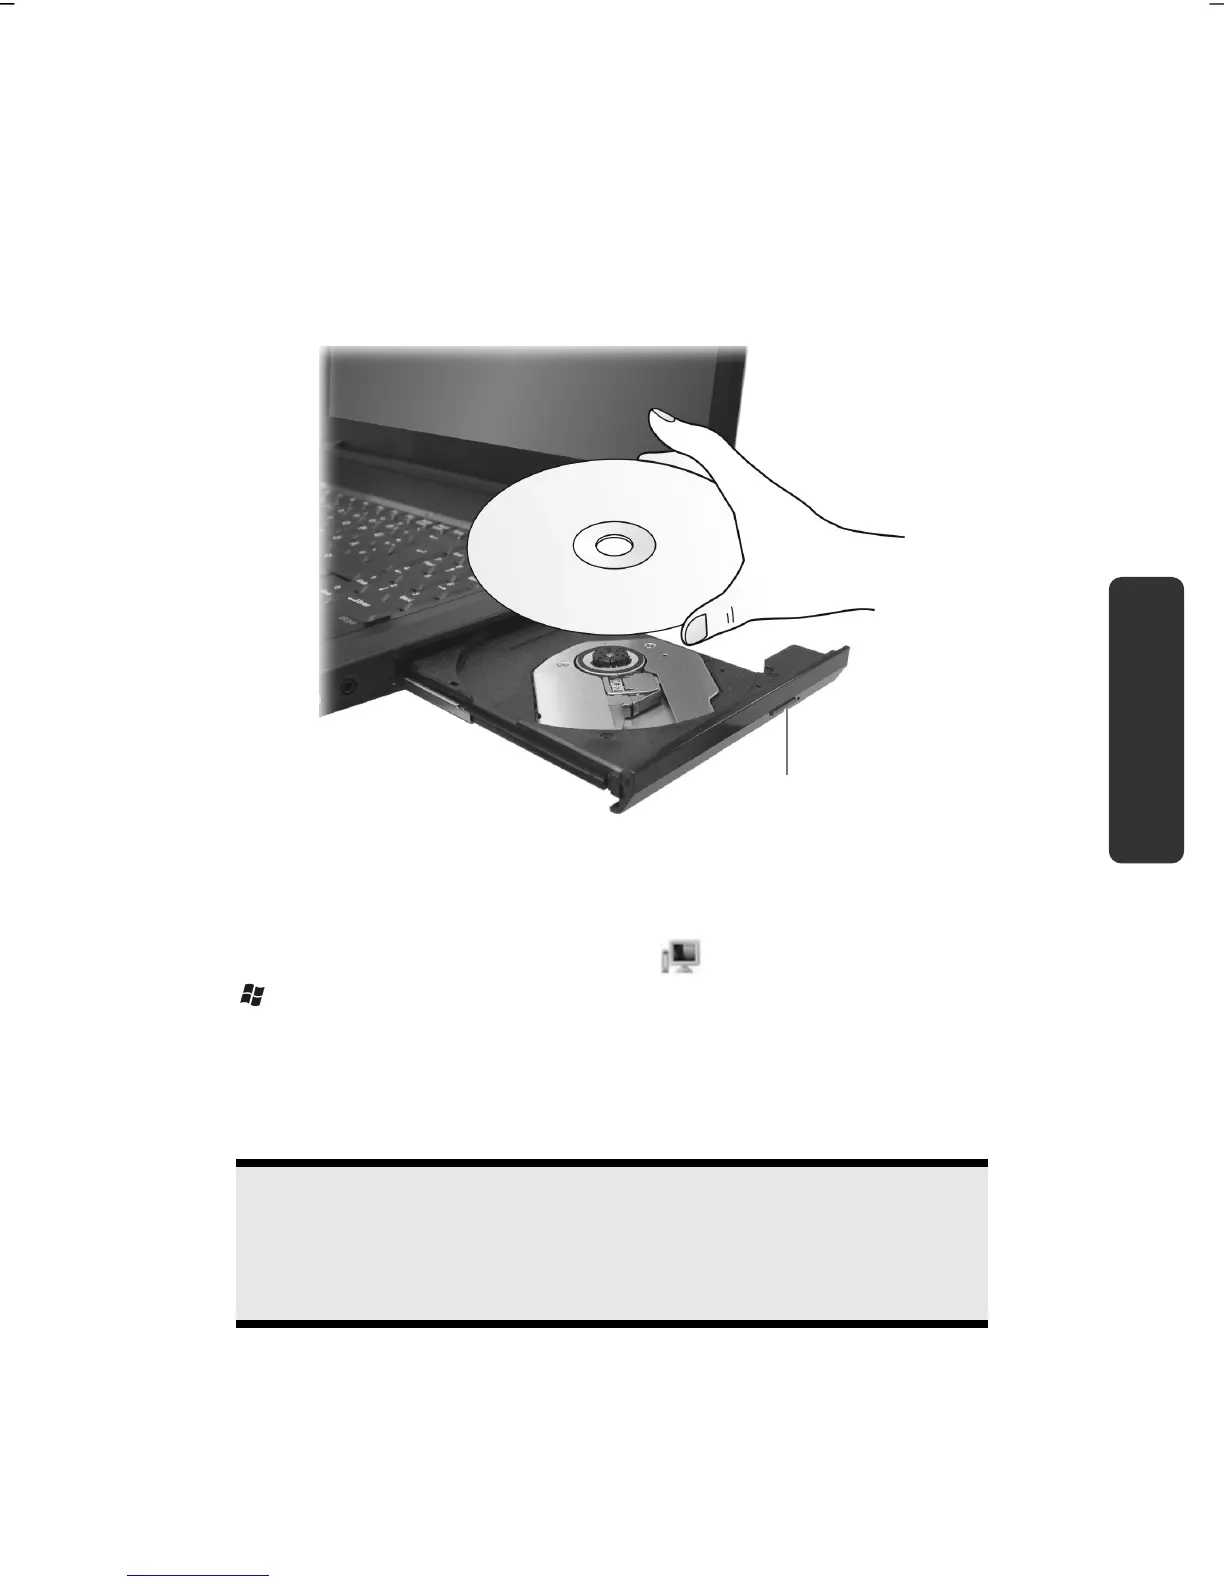
1. Press the eject button at the optical drive to open the tray.
2. Pull the tray out completely with care.
3. Remove the disc from its case, without touching the unprinted side if
possible.
4. Place the disc on the tray so that it lays flat with the label facing upward and
gently push the tray in to close it. The disc will now lie flat on the tray and
will engage onto the disc holder audibly.
5. Test that the disc is able to turn freely and then push the tray back into the
optical drive carefully. The ‘E’ drive letter will have been allocated to your
optical drive in the delivery status. You will have easy access to your files on
your disks with Windows Explorer (Computer). Start the Computer Help
Program by means of the Desktop link
or by pressing the Windows key
and the ‘E’ key at the same time. Open Windows Explorer by means of
Start All Programs Accessories. The pre-installed media reproduction
will be used automatically during access to DVD videos (or audio and video
files on normal data CDs).
6. Press the eject button if you want to remove a disc.
Warning!
While the notebook is accessing the optical drive the media activity
indicator is lit. Do not try to remove the disc from the drive while this
LED is lit.
eject button
 Loading...