Slit Lamp Microscope USER MANUAL
21 / 29
3 Operation procedure
3.1 Diopter compensation and
Pupillary distance adjustment
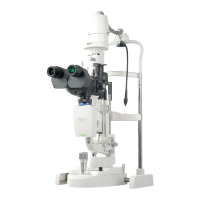
1. Use of focusing test rod
The focusing test rod is provided as a
standard accessory to determine the
correct adjustment of the microscope.
Insert the focusing rod into the spindle
hole with the black flat surface facing
the objective lens of the microscope, ie
the operator side (see Figure 3.1.1).
Note: After adjustment, the focusing test rod
should be removed.
2. Brightness adjustment
Turn on the main power switch and turn
the brightness adjustment knob to the
middle (see Figure 3.1.2). Adjust the slit
width adjustment knob (see Figure 2.3.1)
to make the slit width 2 to 3 mm.
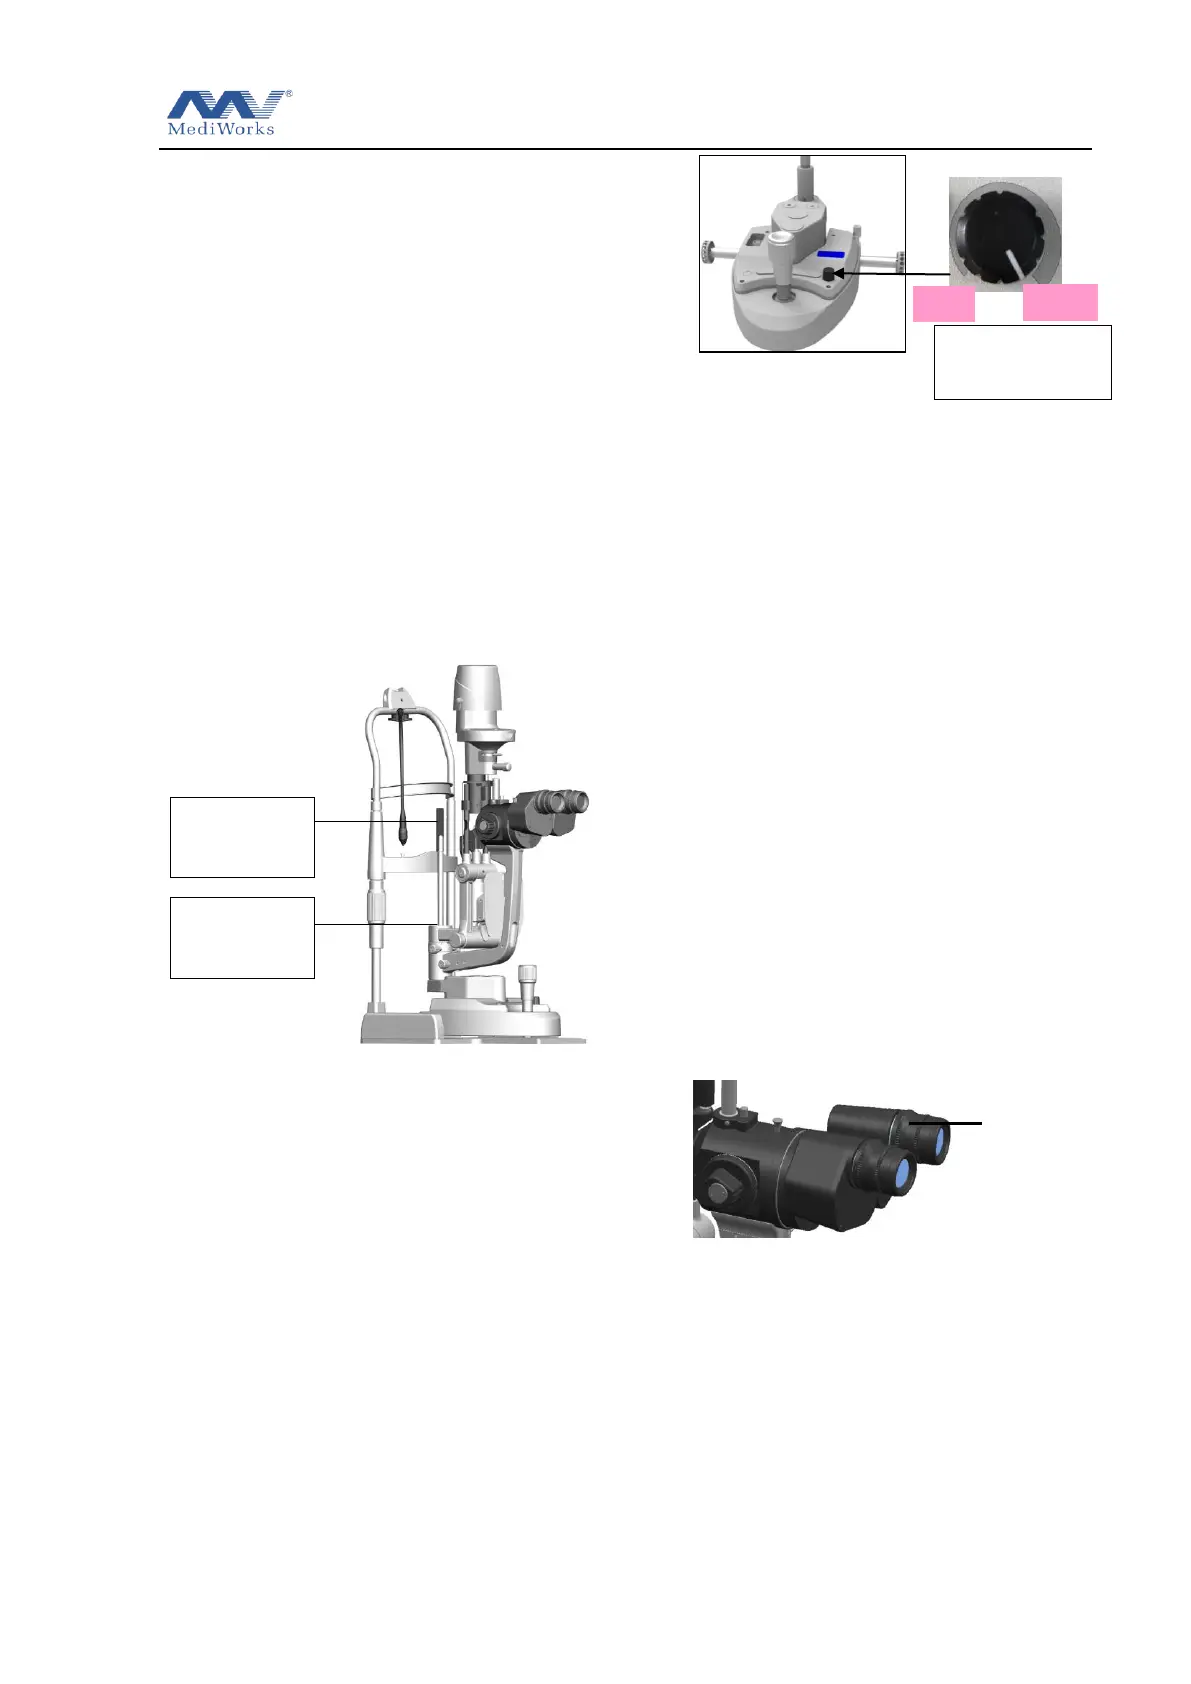
3. Diopter adjustment
The focus of the microscope is adjusted
in front of the normal eye (ie, 0 diopter).
If the operator has abnormal eye, gently
rotate the eyepiece tube diopter
adjustment ring to adjust the eyepiece
diopter to the appropriate position (see
Figure 3.1.3).
It is recommended to correct the diopter
in the following order:
1. First, rotate the diopter adjustment
ring counterclockwise to the end;
2. Then, turn the diopter adjustment ring
clockwise until the clearest slit image
appears on the focusing test bar
Adjust the other eyepiece in the same
way;
3. Record the diopter value on each
eyepiece for future reference.
4. Pupillary distance adjustment
Use both hands to tilt the binocular tubes
base on both sides, adjust the pupil
distance to both eyes and observe the
image on the focusing test rod through
the eyepiece to obtain a stereoscopic
image. When adjusting the pupil
distance, ensure that the two eyepieces
Diopter adjustment
Circle
Brightness
adjustment knob
The flat faces
microscope
Insert the test
rod into the
hole