5 Assembly and Installation
14
Meritor Maintenance Manual MM-0637 (Revised 07-12)
5 Assembly an d Installation
Hazard Alert Messages
Read and observe all Warning and Caution hazard alert messages in
this publication. They provide information that can help prevent
serious personal injury, damage to components, or both.
To prevent serious eye injury, always wear safe eye protection
when you perform vehicle maintenance or service.
Park the vehicle on a level surface. Block the wheels to
prevent the vehicle from moving. Support the vehicle with
safety stands. Do not work under a vehicle supported only by
jacks. Jacks can slip and fall over. Serious personal injury and
damage to components can result.
Tighten fasteners to the correct torque specifications. Do not
over-tighten or under-tighten fasteners, which can cause the
wheels to separate from the vehicle. Serious personal injury
and damage to components can result.
Assembly
Wheel Hub
1. Wear safe eye protection.
2. Place the hub onto a clean work bench with the seal end UP.
3. Wear gloves to lubricate the inner bearing cone with the correct
lubricant. Install the cone into the inner bearing cup.
Figure 5.1.
Figure 5.1
4. Lubricate the seal outer diameter and hub seal bore with
wheel-end lubricant. Do not apply gasket sealant to the seal
outer or inner diameter. Gasket sealant is not required.
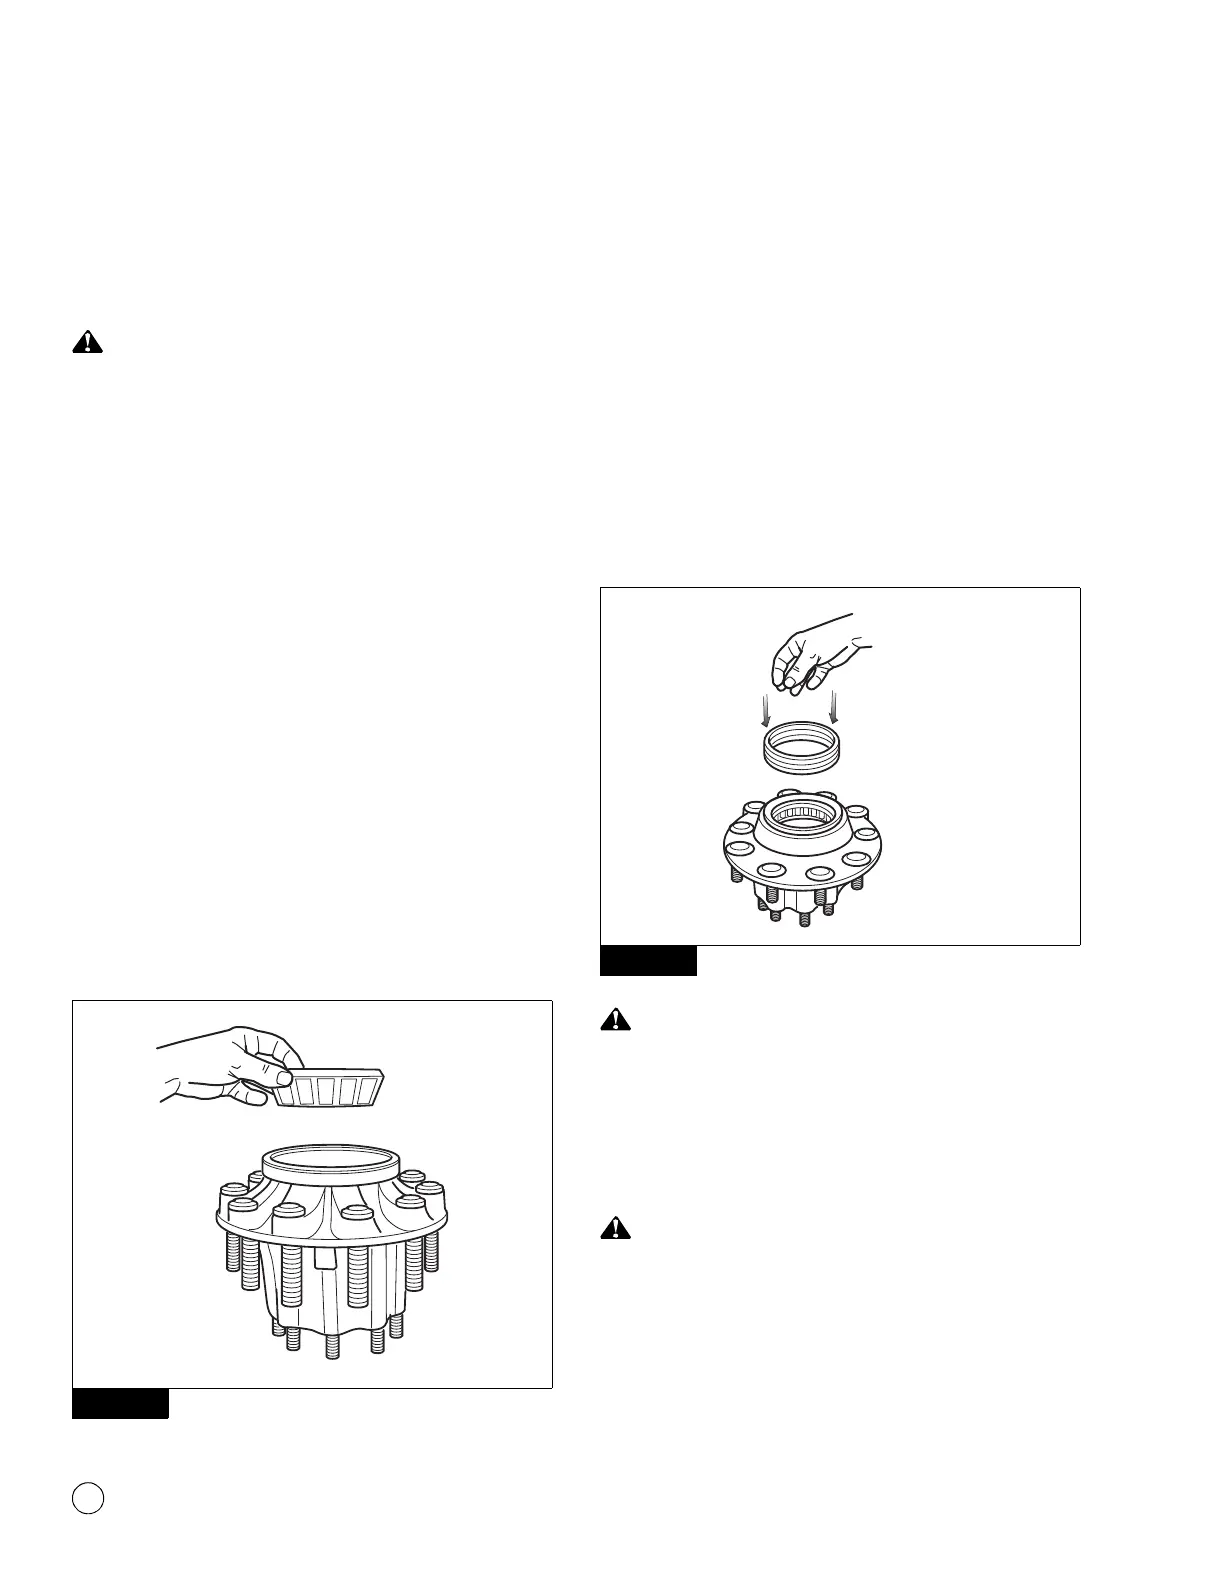
5. Position the new seal into the hub bore. Do not reuse the old
seal. Replace the seal each time the hub is removed from the
spindle.
6. Use a seal driver to press the wheel seal evenly into the bore.
Follow the seal manufacturer’s recommended instructions.
Figure 5.2.
앫 If additional force is required: Use an appropriate seal
driver, if available, and a small mallet to install the seal. If a
seal driver is not available, use a flat plate and a small
mallet to install the seal.
Figure 5.2
Verify that the seal is installed evenly into the hub. Also verify
that the seal inner diameter and the inner bearing turn freely
to prevent damage to components.
7. Verify that the seal is installed evenly into the hub. Also verify
that the seal inner diameter and the inner bearing turn freely.
You must lubricate the inner diameter of the seal and the seal
journal to prevent damage to components.
8. Lubricate the inner diameter of the seal with a light film of
clean wheel-end lubricant.
Figure 5.1
Figure 5.2
4005747a