4 Prepare Parts for Assembly
10
Meritor Maintenance Manual MM-0637 (Revised 07-12)
Dry Cleaned Parts
Parts must be dried immediately after cleaning. Dry parts with clean
paper or rags, or compressed air. Do not dry bearings by spinning
with compressed air.
Prevent Corrosion on Cleaned Parts
Apply a light oil to cleaned and dried parts that are not damaged and
are to be immediately assembled. Use only the type of oil used by
the manufacturer. Do NOT apply oil to the brake linings or the brake
drums.
If the parts are to be stored, apply a good corrosion preventative to
all surfaces. Do NOT apply the material to the brake linings, the
brake drums or the rotors. Store the parts inside special paper or
other material that prevents corrosion.
Inspection and Troubleshooting
Bearing Cups and Cones
1. Wear safe eye protection.
2. Use a press to remove the bearing cup.
앫 If a press is not available: Use a large hammer and heavy
drift. Do not damage the bearing or hub.
3. Inspect the bearing cup bore for evidence of cup rotation or
spun cups.
앫 If cup rotation exists: Replace the hub.
4. Inspect the spindle journals, hub and wheel bearings for signs
of wear and damage.
앫 If there is damage to either the wheel bearing or race:
Replace bearings and races as a set.
5. Inspect the cup, cone, rollers and cage of the wheel bearings
for the following conditions.
If any of the following conditions exist, you must replace the
bearing.
앫 Cracked or broken separators
앫 Broken or cracked rollers
앫 Flaked areas on rollers or races
앫 Spalled rollers or races
앫 Overheated bearings
앫 Brinelled races
앫 Scored or etched rollers or races
앫 Pitting of rollers or races
앫 Wear bands on critical surfaces
앫 Rust or corrosion on critical surfaces
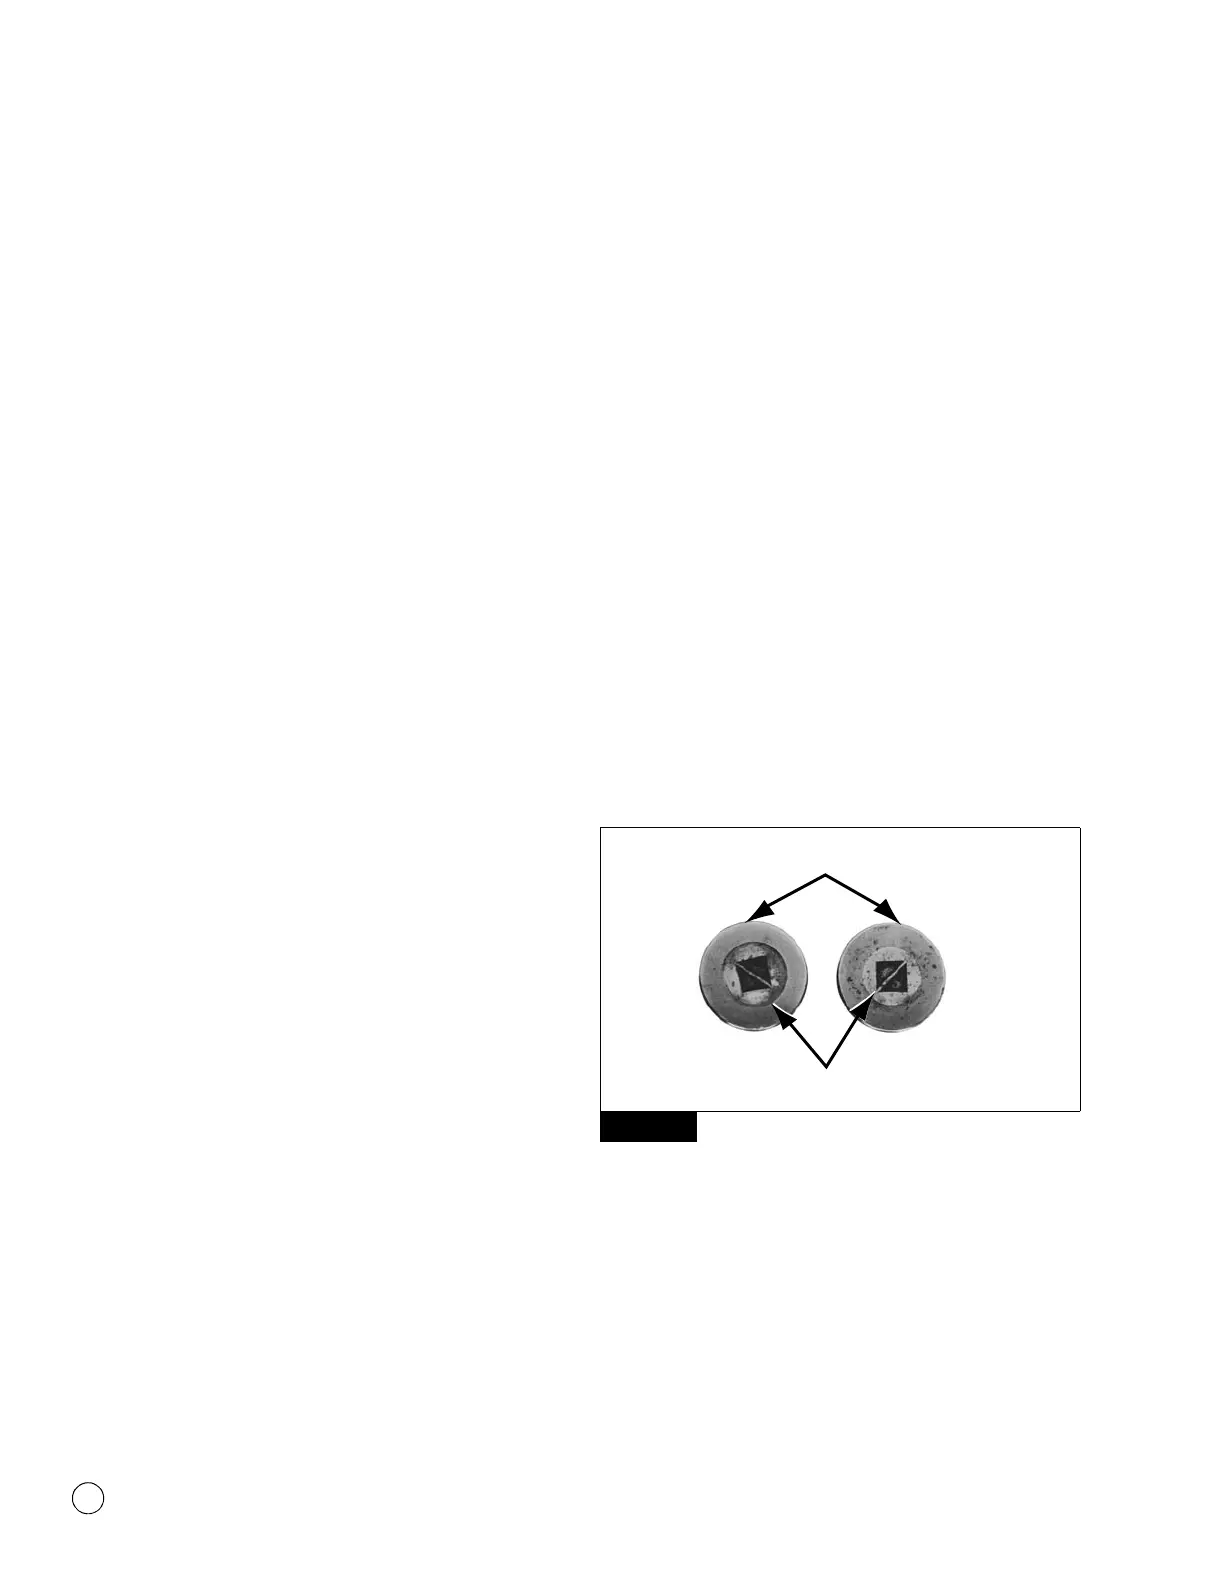
앫 The center of the large diameter end of the rollers is worn
level or below the outer surface. Figure 4.1.
앫 The radius at the large diameter end of the rollers is worn to
a sharp edge. Figure 4.1.
앫 There is a visible roller groove in the cup or the cone inner
race surfaces. The groove can be seen at the small or large
diameter end of both parts. Figure 4.2.
앫 There are deep cracks or breaks in the cup, cone inner race
or roller surfaces. Figure 4.2.
앫 There are bright wear marks on the outer surface of the
roller cage. Figure 4.3.
앫 There is damage on the rollers and on the surfaces of the
cup and cone inner race that touch the rollers. Figure 4.4.
앫 There is damage on the cup and cone inner surfaces that
touch the rollers. Figure 4.5.
Figure 4.1
Figure 4.1
1003017b
WORN RADIUS
WORN SURFACE