5 Assembly and Installation
16
Meritor Maintenance Manual MM-0637 (Revised 07-12)
Once the hub is on the spindle, do not remove the outer
bearing, which can misalign the seal. Damage to the seal can
result.
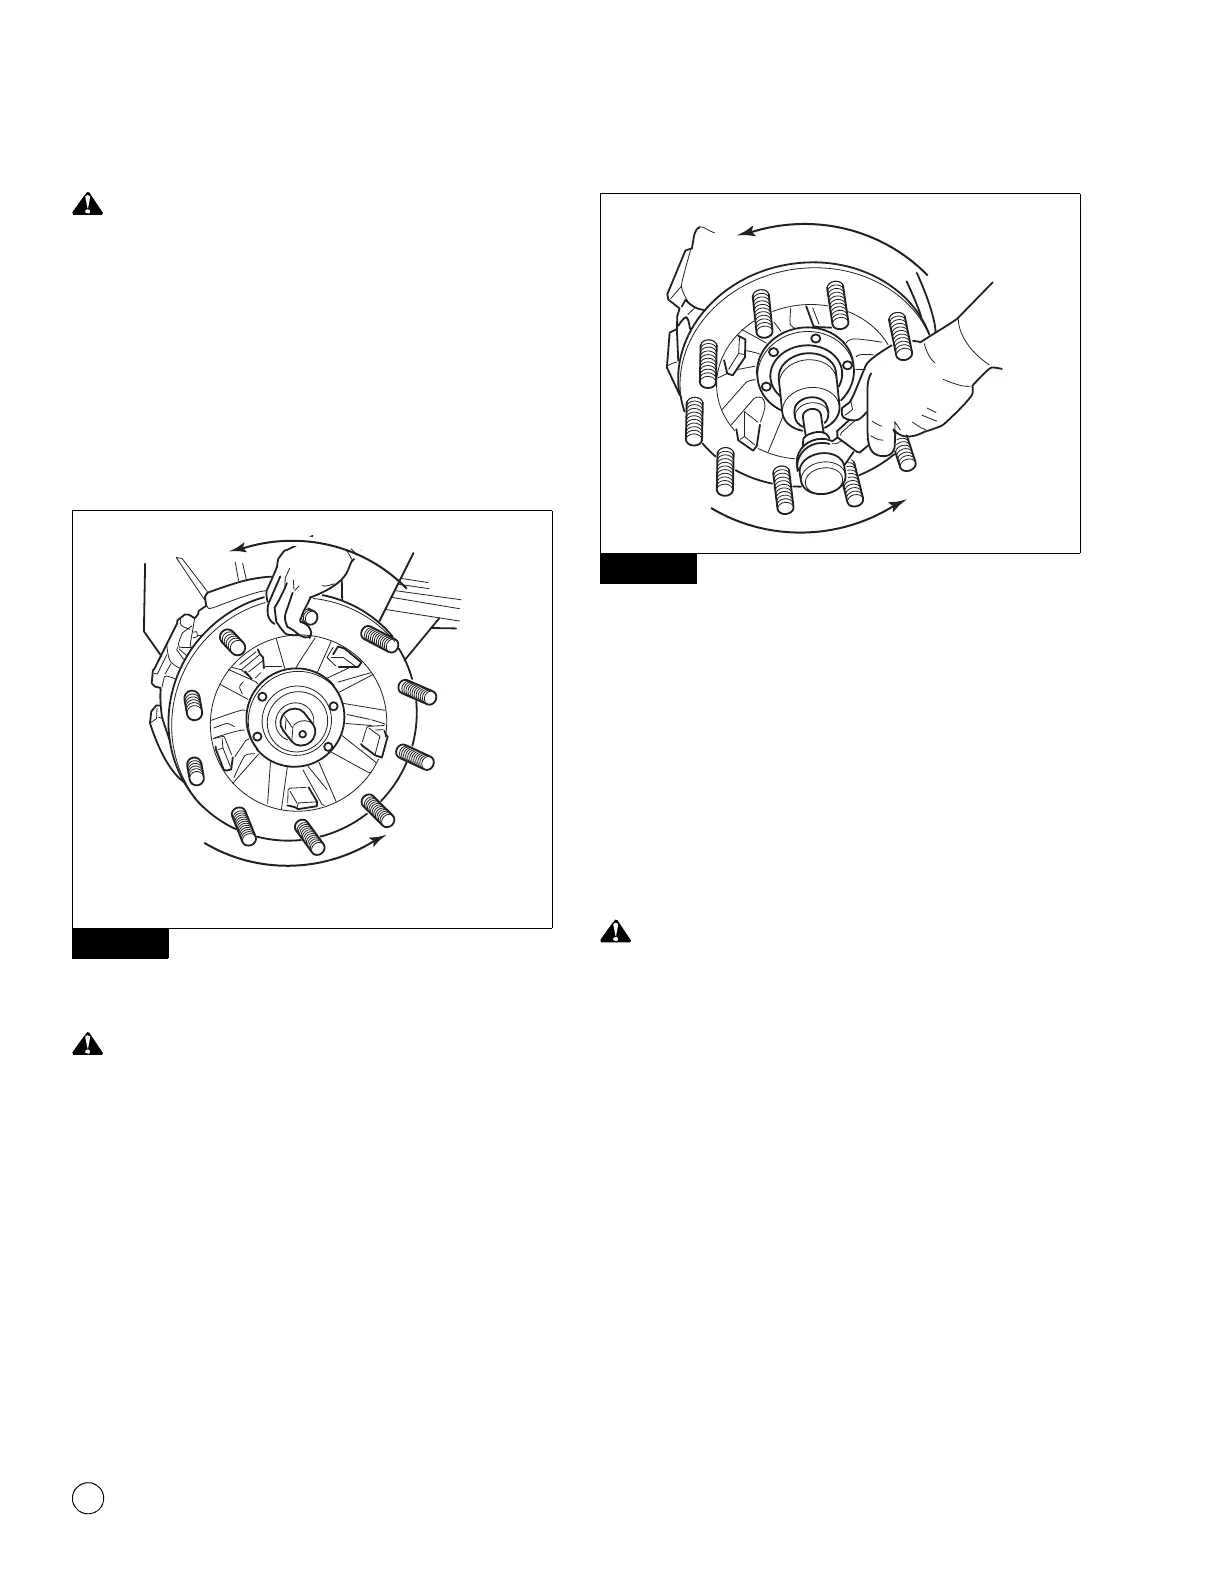
2. Once the hub is on the spindle, do not remove the outer
bearing, which can misalign the seal. Mount the hub assembly
onto the axle spindle with a smooth, firm motion while holding
the outer bearing in place. Use care to maintain alignment
between the bearing cones, spacer and spindle to avoid seal
damage. Figure 5.6.
Figure 5.6
Models with a Double Nut Pack
Tighten fasteners to the correct torque specifications. Do not
over-tighten or under-tighten fasteners, which can cause the
wheels to separate from the vehicle. Serious personal injury
and damage to components can result.
1. Install the inner spindle nut. Tighten it to 300 lb-ft (400 N폷m).
Do not back off the spindle nut. Figure 5.7.
@
Figure 5.7
2. Engage the spindle nut system locking device.
앫 If the locking system cannot be engaged with the nut
tightened to 300 lb-ft (400 N폷m): Advance the nut until
the nut locks.
앫 If a double nut or jam nut system is used: Bend the lock
tab or install the set screw after the outer nut is tightened to
200 lb-ft (270 N폷m).
@
앫 Rotate the hub when tightening.
Models with a PRO-TORQ™ Nut
Remove the keeper from the PRO-TORQ™ nut before you
attach the nut to the axle spindle or tighten and loosen the nut
to prevent damage to the nut and axle spindle.
1. Remove the keeper from the PRO-TORQ™ nut before you
attach the nut to the axle spindle. Install the PRO-TORQ™ nut
onto the spindle. Tighten the nut to 300 lb-ft (400 N폷m).
@
Figure 5.6
4005751a
Rotate the hub when tightening.
Figure 5.7