T
he travel limits regulate the points at which the door
will stop when moving UP or DOWN. During the set
up procedure, the motor will run and operate the
door. The opener must be fully installed on the door
and all installation steps completed before
proceeding.
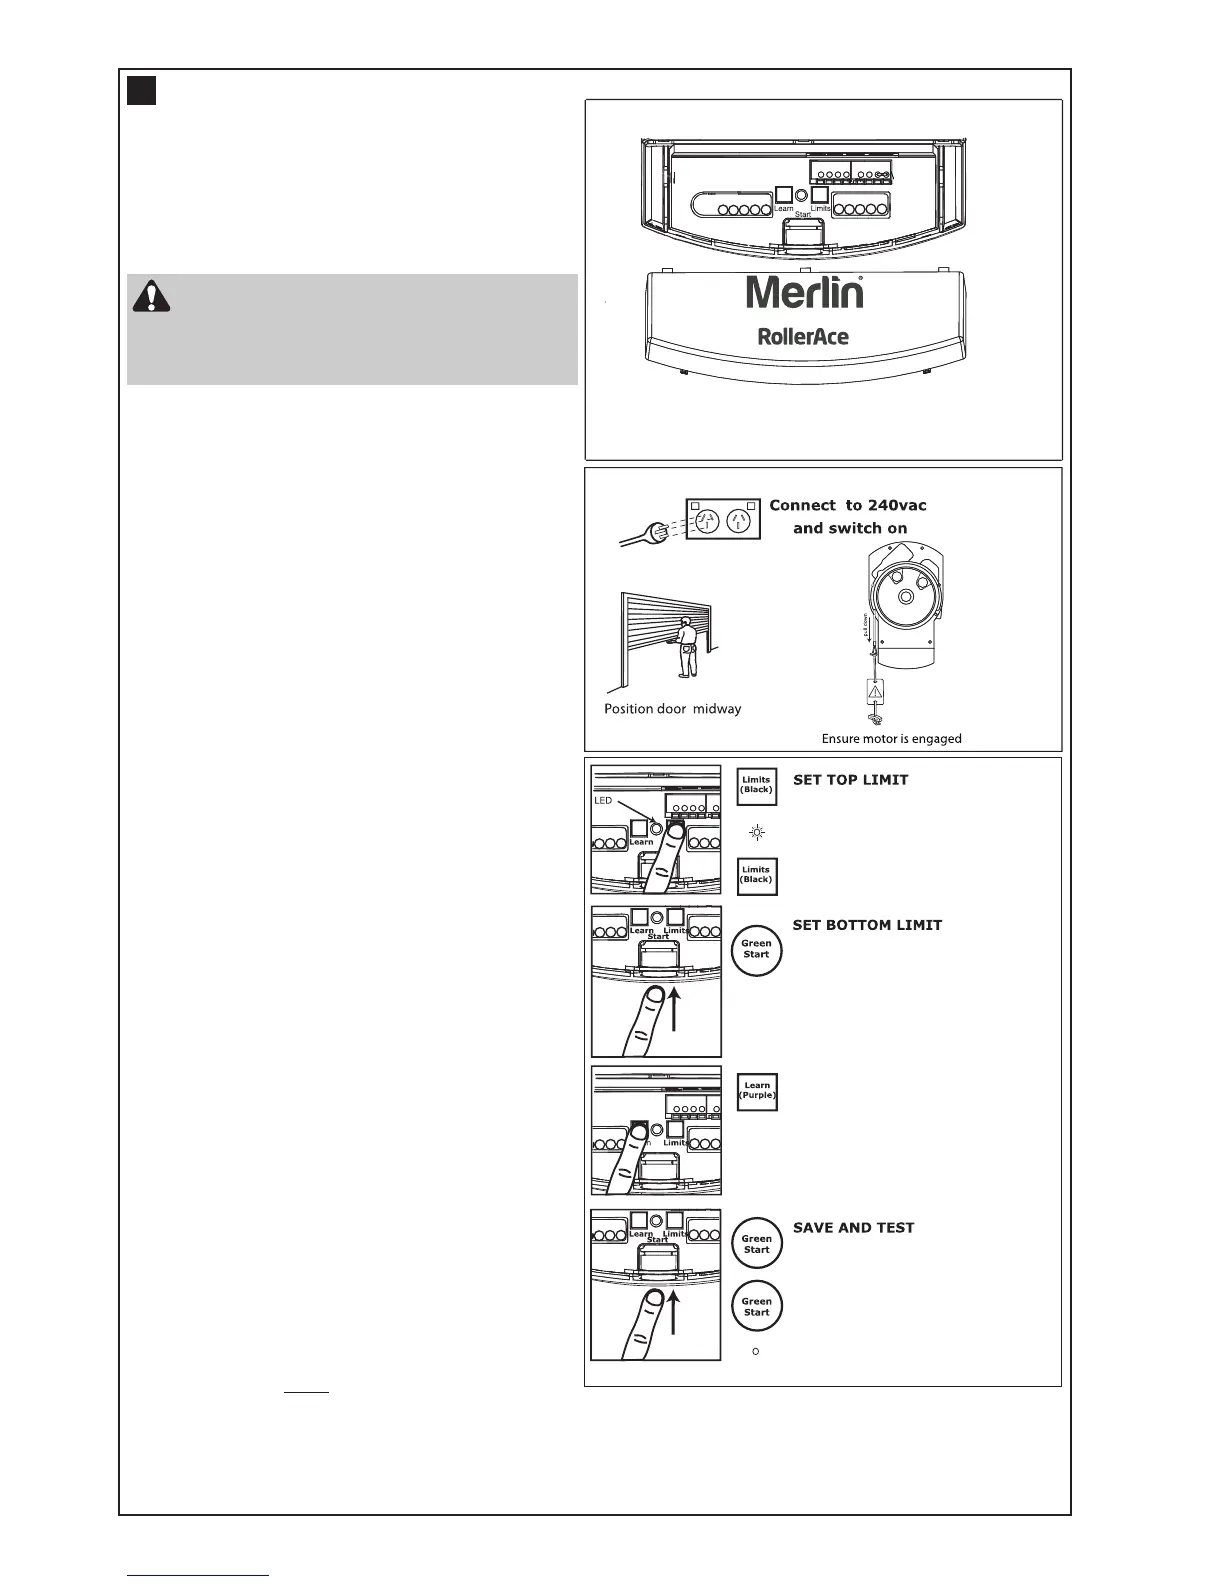
Position the door about half way and engage the
opener (section 11).
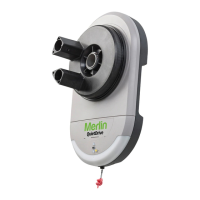
Remove the lens cover from the opener (fig 1).
Connect the opener to a 240VAC power point and
turn on.
Setting the top limit:
• Press and hold the black limit button until the
orange indicator LED starts flashing slowly, and
then release (courtesy LEDs will go to low
illumination).
• Press and hold the black limit button, until the
door reaches the desired open position. If set too
high, adjust down using the purple learn button
(make sure there is enough room for your vehicle
to pass under).
Setting the bottom limit:
• Press and release the green start button, this sets
the UP limit and begins closing the door, once the
opener starts to move down, IMMEDIATELY press
and hold the purple learn button until the door
reaches the desired closed position, then release
button. For fine adjustment press and release the
purple learn button to inch down.
Save and test:
• Press and release the green start button, this sets
the DOWN position and begins opening the door
to the fully open position.
• Close and open the door 3 or 4 times using the
green start button to confirm the limit settings.
Courtesy LEDs should now be fully illuminated.
Repeat the above procedure if necessary.
NOTE: The force must
now be set in order to
complete your installation (refer section 13).
12
Press and hold black button
Flashing orange LED
courtesy LED dim
Use the black button to adjust up
(use purple down to adjust if required)
Press start button located on the
bottom of motor, then immediately
press the purple button
Press and hold the purple button
until door is closed
Use the black button to adjust up
if required
Press the green start button to
open the door and save the limits
Press the green start button to
close the door and complete test
Orange LED will go out and courtesy
LEDs will light up brightly
Remove cover: push cover plate up,
then lever out from the bottom
www.gomerlin.com.au