■■■■■■■■■■■■■■■■■■■■■■
3 Installation
800 Dosino
■■■■■■■■
13
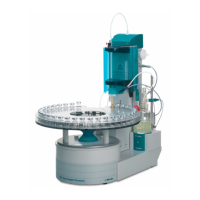
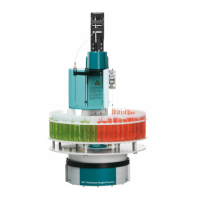
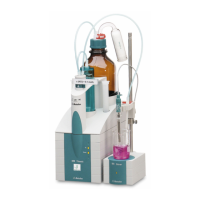
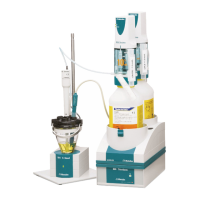
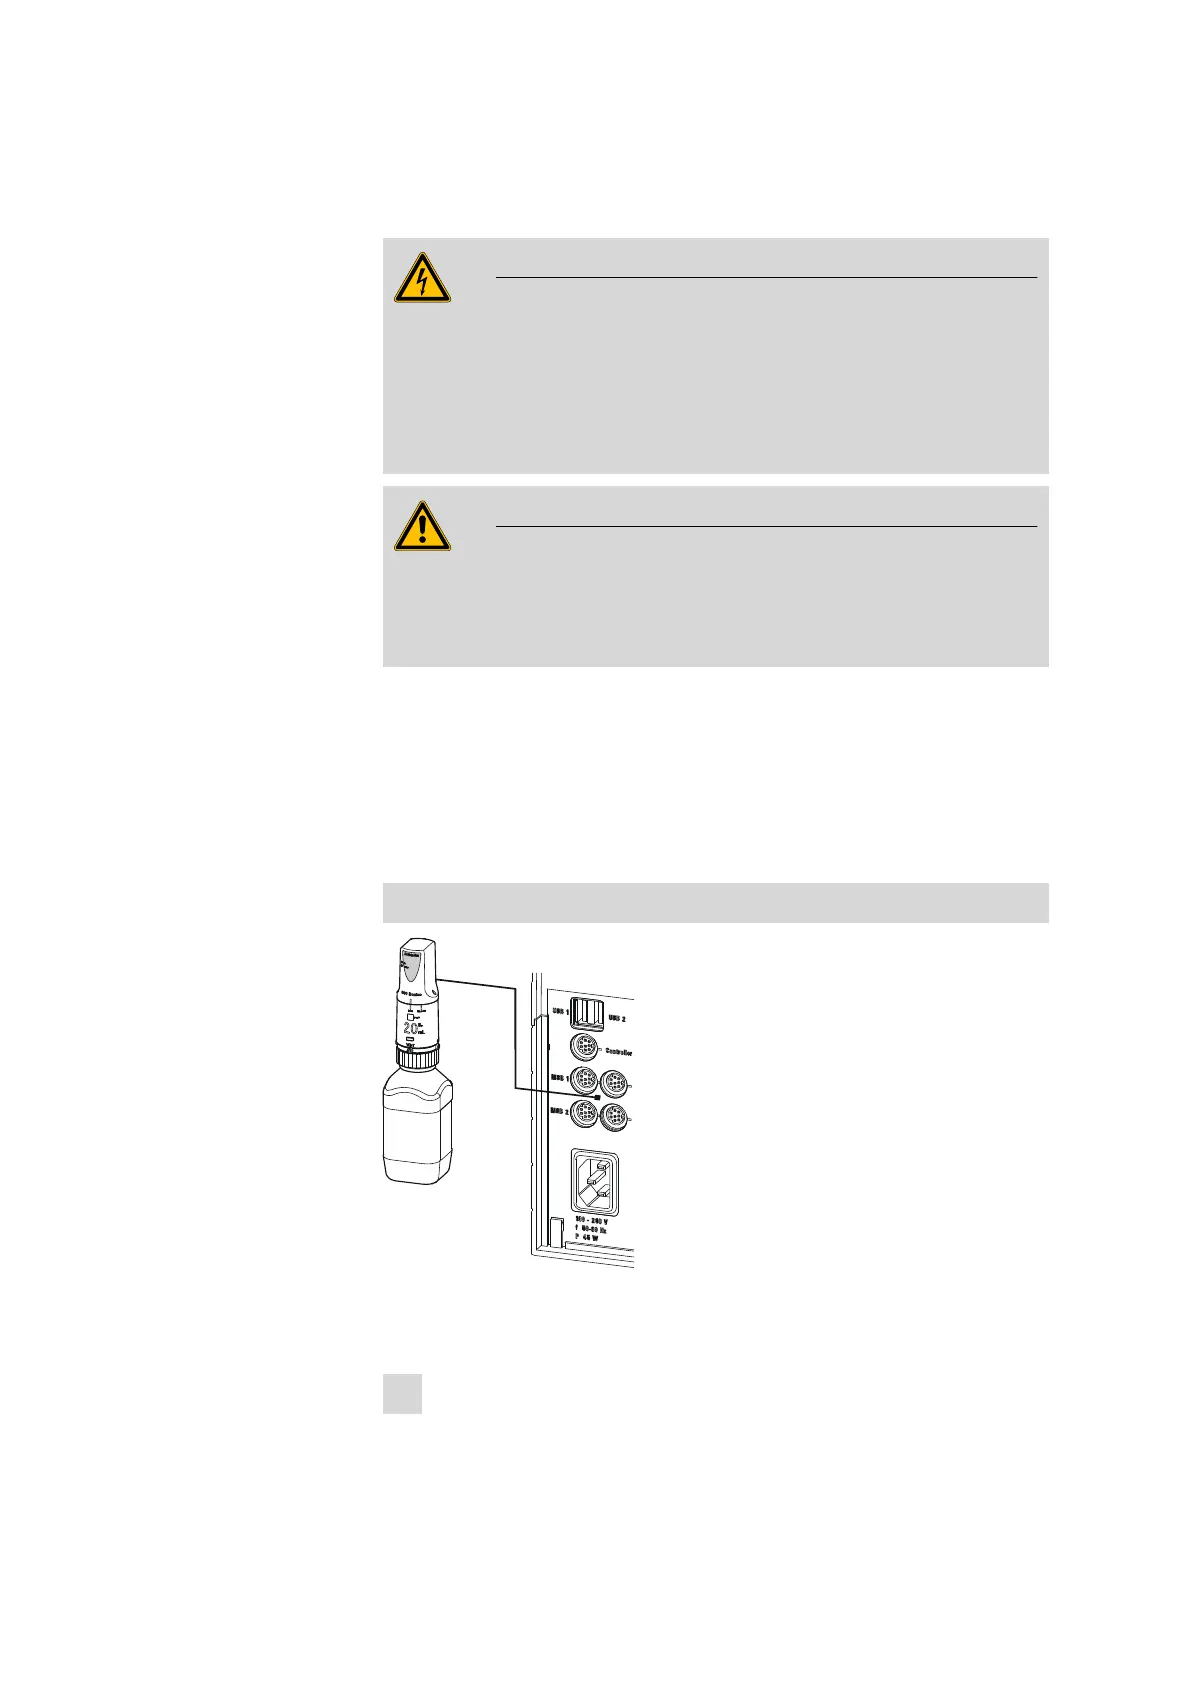
3.3 Connecting the 800 Dosino
WARNING
Connect the Dosino only to control devices which have been switched
off beforehand. The control device will only be able to recognize the
Dosino during the switch-on sequence. Observe the alignment of the
connection socket. Never use excessive force to plug in the connection
cable! Doing so could damage the device electronics.
WARNING
In the case of a Titrando with exchange unit, the MSB Port 1 is used by
the internal dosing drive. The MSB 1 is therefore not available for the
800 Dosino!
The 800 Dosino is controlled by a Metrohm device via the 'Metrohm Serial
Bus' (MSB). It can be operated with all Titrando models. Connect the 800
Dosino on the rear side of the Titrando to one of the connectors
( MSB 1/MSB 2 to MSB 4 ).
The position of the correct connection socket (Mini DIN plug) to be used
with the 800 Dosino can be found in the manual for the control device.
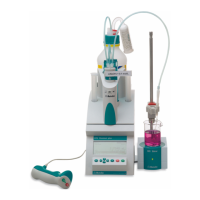
Connecting the Dosino
Figure 9
Connecting the 800 Dosino to the Titrando
Connect the 800 Dosino as follows:
1
Exit the control software.
 Loading...