26
APPENDIX A
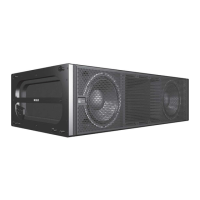
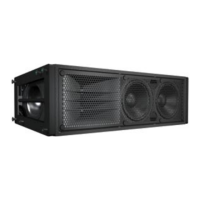
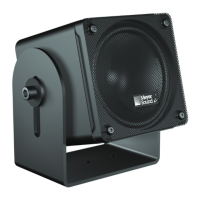
Replacing the HP-4/MILO Amplier
To replace the MILO’s HP-4 amplier, do the following:
1. Gently slide the amplier partially back into the MILO
and connect the two loudspeaker connectors. Make
sure they are connected properly. The harness with
red and black wires goes to the connector closest to
the user panel, while the harness with green and white
cables goes to the connector closest to the fans.
2. Start all eight screws into the holes before tightening
them.
3. Once all eight screws are started, tighten them using a
#2 Phillips screwdriver.
4. Tighten the inner four screws rst, then tighten the
remaining four corners.
CAUTION: Never use power tools in high
torque settings to remove or replace the
stainless steel amplier and/or rain hood screws on
the MILO loudspeaker.
REMOVING AND REPLACING THE HP-4/MILO
AMPLIFIER (WEATHER- PROTECTED VERSION)
If you need to remove and replace the HP-4/MILO amplier
from a weather-protected MILO loudspeaker, rst remove
the rain hood, then remove the amplier following the steps
described in the previous section. Note that the rain hood is
attached to the amplier using the same screws that attach
the amplier to the cabinet.
Replacing the HP-4/MILO Amplier and Rain
Hood
Perform the following steps to replace MILO’s HP-4/MILO
amplier and rain hood:
1. Gently slide the amplier partially back into the MILO
and connect the two loudspeaker connectors. Make
sure they are connected properly: the harness with
red and black wires goes to the connector closest to
the user panel, while the harness with green and white
cables goes to the connector closest to the fans.
2. With the wires properly connected, slide the amplier all
the way into its cabinet.
TIP: Avoid pinching wires behind the fans;
if necessary, reach in and guide the wire(s)
toward you as you slide the amplier into place.
3. Check to be sure that all three steel bars are correctly
inserted in the three fabric pockets of the hood.
NOTE: The bars must be inside the fabric
pockets to achieve proper water protection.
4. Carefully install the fabric rain hood, using the stainless
steel screws and washers.
5. Align all eight screws and make sure that the washers
are over the fabric.
6. Start all eight screws into the holes before tightening
them.
7. Use the screws to sandwich the fabric and its gasket
reinforcement bar over the external gasket.
8. Once all eight screws are started, tighten them using a
#2 Phillips screwdriver.
9. Tighten the inner four screws rst, then tighten the
remaining four corners.