25
APPENDIX A
USING THE RAIN HOOD (WEATHER-
PROTECTED LOUDSPEAKERS)
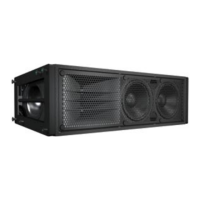
If your MILO loudspeaker was ordered with optional
weather protection, a rain hood is installed on the MILO
loudspeaker. It is provided to protect the loudspeaker’s
electronics from direct exposure to rainfall. Before using the
MILO loudspeaker, open the rain hood as described in the
following procedure.
1. Pull the exterior Velcro straps off the hood, allowing it to
open.
2. Lift the ap fully outward, and unfold the fabric of the
rain hood.
3. With your other hand, reach into the hood and free the
two PVC supports from their corner pockets in the outer
ap.
4. Fold both supports out and re-insert them into the two
pockets, shown in Figure A.1, in the lower corners of
the soft side aps. This will hold the rain hood fully open
for use, which is necessary for proper cooling of the
MILO loudspeaker’s electronics.
Figure A.1: Rain hood stiffener pockets
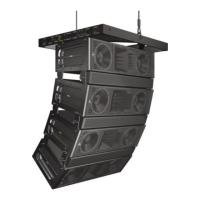
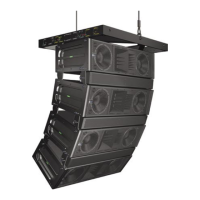
Figure A.2 shows an example of an installed rain hood.
Figure A.2: A fully opened rain hood installed on a MILO
REMOVING AND REPLACING THE HP-4/MILO
AMPLIFIER
If you need to remove the HP-4/MILO amplier from a MILO
loudspeaker, perform the following steps:
1. Using a #2 Phillips screwdriver, remove all eight screws
from the amplier module. This will free the HP-4/MILO
electronics module from the MILO cabinet (Figure A.3).
Figure A.3: Location of the eight screws securing the HP-4/MILO
amplier module
2. Carefully slide the amplier module out of the cabinet
using care not to stress the cables.
3. Disconnect the two 4-pin loudspeaker connectors. Note
that the harness with red and black wires goes to the
connector closest to the user panel, while the harness
with green and white cables goes to the connector
closest to the fans (Figure A.4).
Figure A.4: MILO’s two 4-pin connectors
APPENDIX A: AMPLIFIER REPLACEMENT AND WEATHER PROTECTION