RMS USER GUIDE
45
10. Disconnect the power harness from the main RMS PCBA
board.
11. Remove four screws to allow the card to be removed
from the amplifier chassis.
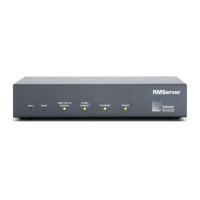
12. The MX RMS module used in LEO-M and the 1100-LFC.
INSTALLING THE MUTE JUMPER ON THE MX
RMS MODULE
To use the mute and solo functions of the MX RMS module,
the Mute Jumper must be installed on the module. Meyer
Sound currently ships RMS-equipped loudspeakers with the
Mute Jumper installed. These mute-enabled loudspeakers
can be identified by the blue “ME” sticker on the MX RMS
user panel. Older RMS-equipped loudspeakers can be eas-
ily mute-enabled by installing the Mute Jumper, available
from Meyer Sound in a mute jumper kit, P/N 476.005 RMS
Mute Enable Replacement Upgrade Jumper..
To install the Mute Jumper on the MX RMS module:
1. Remove the loudspeaker’s AC power cable and then
wait at least five minutes before removing the MX RMS
module.
2. On the MX RMS module, locate the two (J3) jumper pins
labeled SHORT TO ENABLE MUTE and install the blue
Mute Jumper on these two pins.
Disconnect the
power harness
Lift the connector
from the board
Remove four screws, pn 101-270
pn 24.215.072.01
ME Sticker
RMS Mute Jumper
MX RMS Module Jumper Pins