-71-
ELECTRONIC TROUBLESHOOTING E-78 & E-88
Power Down Sequence:
1. RCM Press power button for three seconds.
2. HCM This device will remain connected to
battery.
3. PCM This device can remain connected to main
plow plug.
Plow
If plow is Dismounted – Plug in power cable at Plow,
Press Mount Switch until mounting is clamped
completely. Go to A.
If plow is already mounted – Plug in power cable at
Plow. Go to A.
If plow is already mounted and plugged in. Go to A.
NOTE: Mounting/dismounting is active for a 20
second period after power cable is plugged in. The
headlights will flash at end of this 20 second period
to indicate Mount/Dismount is ended. If Remote is
powered ON while in mounting/dismounting, lights will
flash immediately and system will go out of mounting/
dismounting mode.
A. RCM
Plug the coiled power cord into the Meyer accessory
port, then into the RCM.
To Power On the unit - Press and hold the green I/O
button for 1 second.
(To Power Off the unit – Press and hold the green I/O
button for 3 seconds.)
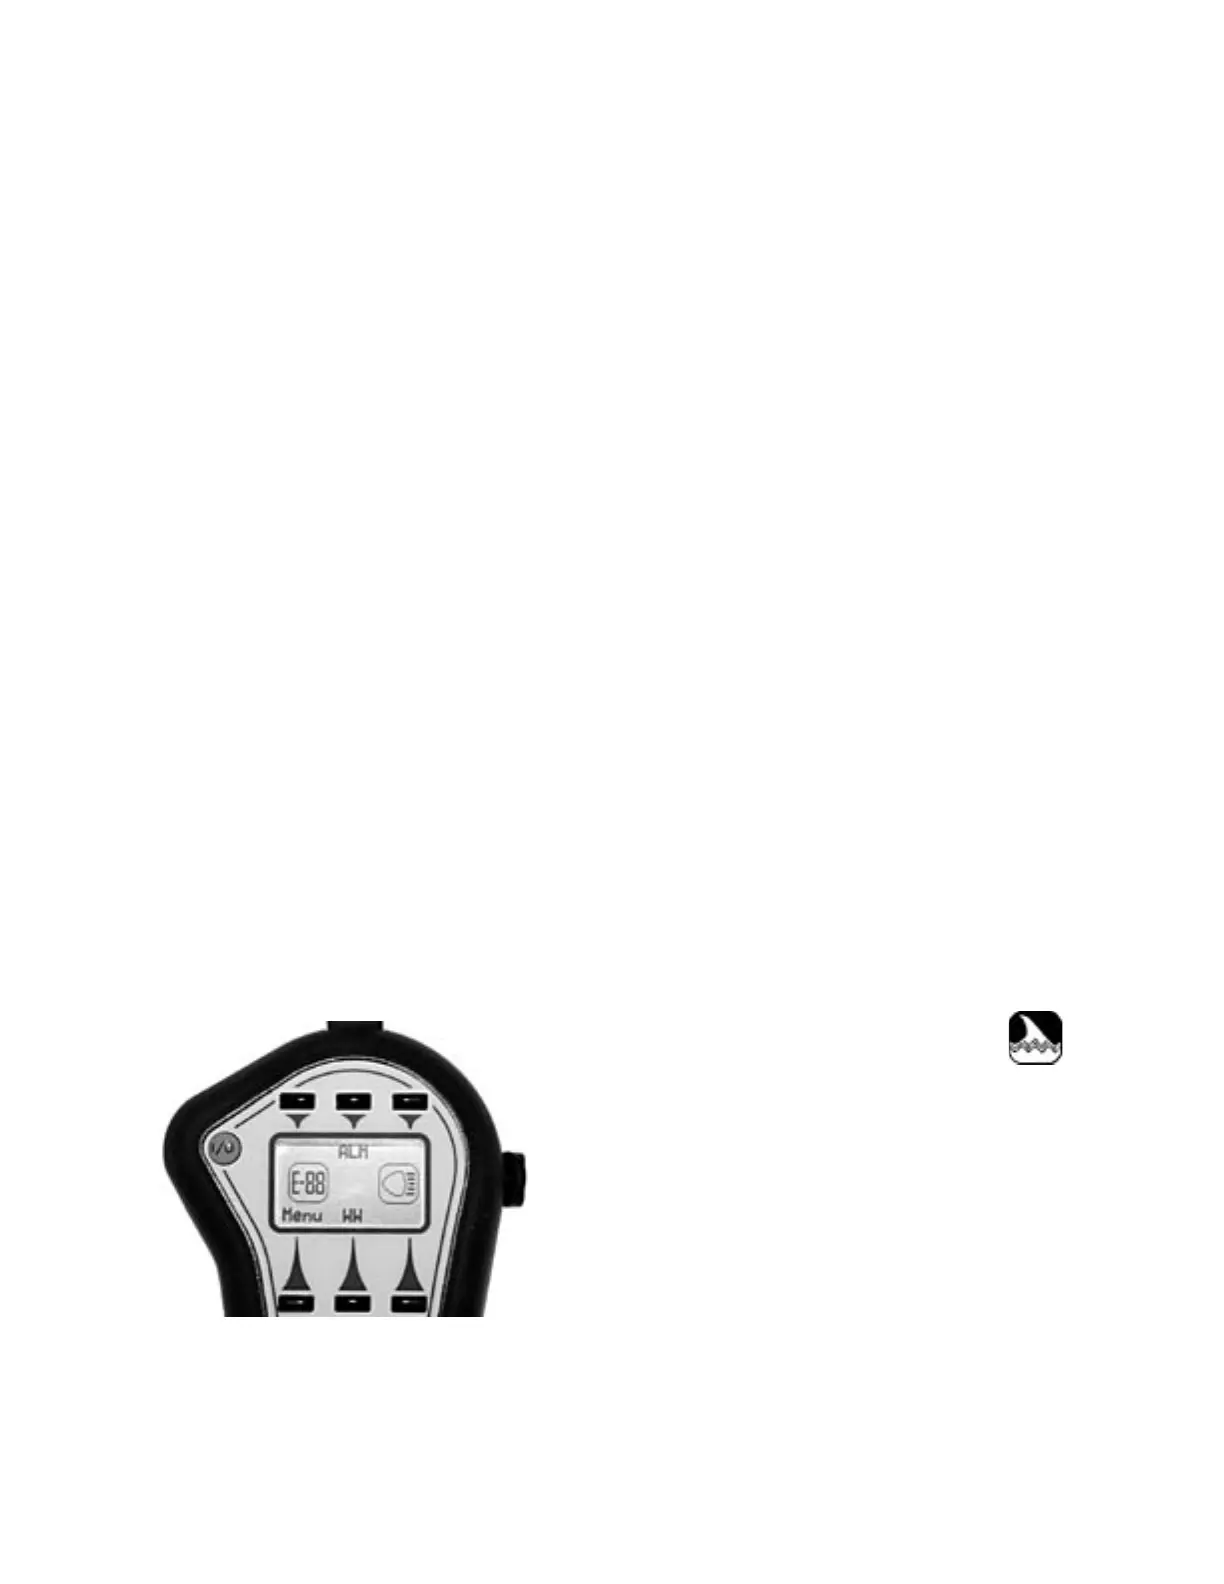
A screen will appear with the MEYER logo for
approximately 3 seconds, after which an operational
screen will appear. The operational screen will
show:
The E-78 or E-88 icon on the left of the display indicates
that the PCM is functional and communicating to the
RCM. The icon on the right of the display indicates
that the HCM is functional and communicating to the
RCM. If the RCM should lose communication with the
PCM or HCM for a certain length of time, this icon will
disappear from the display.
The ALM function is only available when ther PCM and
HCM are recognized and found in the system by the
RCM. When ALM is not available, the button labels
for them will not be displayed. The WW button label
represents the WigWag plow light function. If there
isn’t a plow in the system, WigWag is not available and
the WW button label will not be displayed.
If the RCM does not display the PCM or HCM icon,
check that the device’s power connector is securely
plugged in. When the device is powered on, the RCM
will automatically detect it and put the appropriate icon
and button labels on the display. The RCM searches
for devices when it is powered on. Power cycling the
RCM can be used to try to find the devices. There is
a “FIND DEVICES” item in the Menu that will allow the
RCM to search for devices.
The LED backlight turns on when the RCM is powered
on. It will shut off after 30 seconds. It can be turned
on again by pressing any button.
NOTE: If RCM is powered on during the Mounting/
Dismounting sequence, the plow lights will flash and
the plow will no longer mount/dismount.
“UP” Raise the moldboard by pressing the joystick
control in the direction of the display.
“DOWN” Lower the moldboard by pressing the joystick
control in the opposite direction of the display.
“FLOAT” if Down is held for .75 seconds, the unit will
be placed in Float. While in Float, this icon will appear
in the middle of the display:
“LEFT” Angle moldboard left by pressing joystick
control to the left.
“RIGHT” Angle moldboard Right by pressing joystick
control to the right.
SOFTKEY FEATURES:
ALM Press soft key above ALM to activate
“Automatic Lower Mode”, this mode will cause the
moldboard to Lower (place in float) when the vehicle
is placed in Reverse. Then it will raise the moldboard
for 2 seconds when taken out of Reverse. (This action
is only available if backup light wire is connected to
the HCM)