Attaching the RedEdge-M/MX, RedEdge-MX
Blue and the OEM Dual Camera Mount
Note: Dual configuration requires the use of a DLS 2; a RedEdge-M can be used, but an
upgrade to the DLS 2 is required for software compatibility and support.
1. Locate the M3 x 10 mm black-oxide screws, M3 lock washers, and OEM Dual Camera
Mount.
2. Using the screw holes, attach the mount to the back of both the RedEdge-MX and the
RedEdge-MX Blue. Add a drop of loctite to the threads of the screws. The order of the
components is:
Black-oxide screw → Lock Washer → Dual Cam Mount → Camera
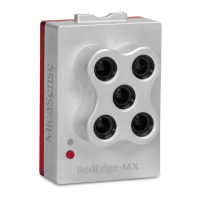
3. The RedEdge-MX (Red camera) should be in the front of the dual camera mount when
the system is properly installed. Also, only one WIFI dongle should be installed in the
Red camera and not in the Blue camera. The extra WIFI dongle should only be used for
advanced configurations.
Rev 01 - March 2020
PAGE 6