CAN BUS ANALYZER
USER’S GUIDE
2009-2022
Microchip Technology Inc. and its subsidiaries DS50001848D-page 17
Chapter 3. Using the PC GUI
Once the hardware is connected and the software is installed, open the PC GUI using
the shortcut in the Programs Menu under “Microchip Technology Inc”, labeled as
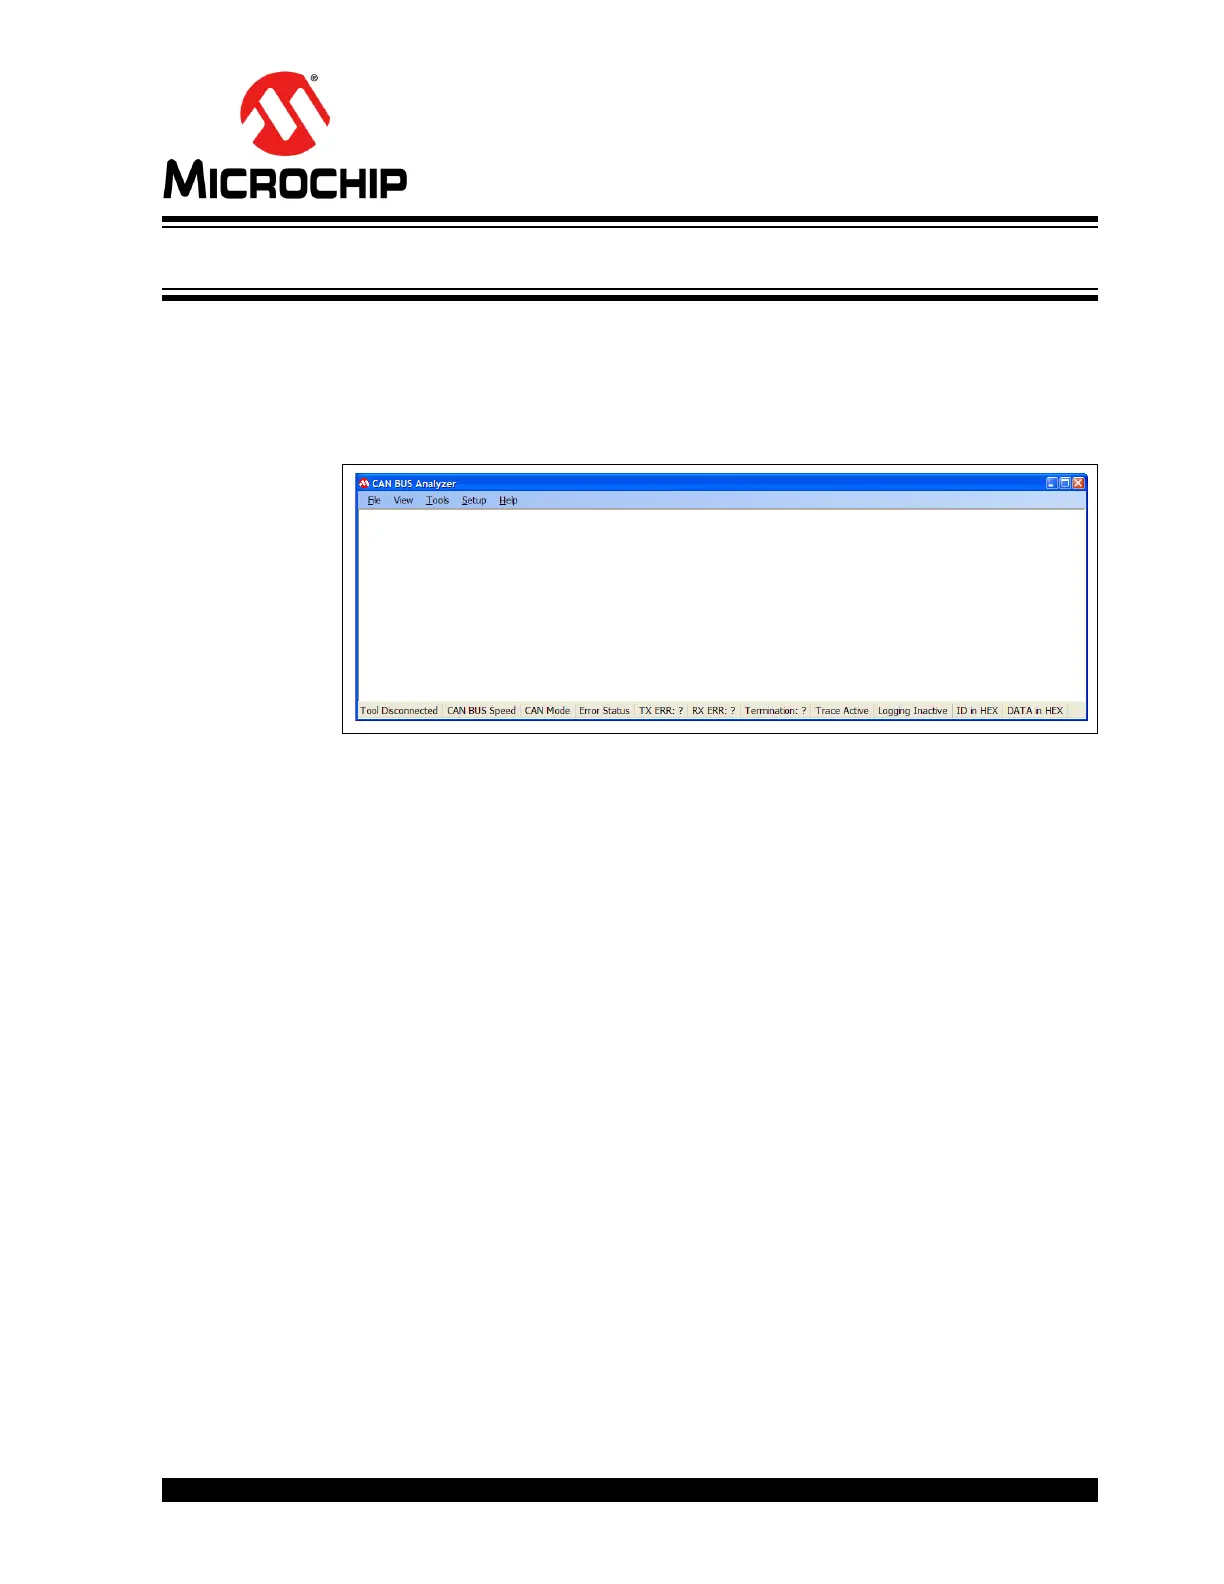
‘Microchip CAN Tool ver XYZ’. Figure 3-1 is a screen shot of the default view for the
CAN Bus Analyzer.
FIGURE 3-1: CAN BUS ANALYZER DEFAULT VIEW
3.1 GETTING STARTED WITH A QUICK SETUP
The following are setup steps to quickly start transmitting and receiving on the CAN
Bus. For more details, refer to the individual sections for the different PC GUI features.
1. Connect the CAN Bus Analyzer to the PC with the mini-USB cable.
2. Open the CAN Bus Analyzer PC GUI.
3. Open the Hardware Setup and select the CAN Bus bit rate on the CAN Bus.
4. Connect the CAN Bus Analyzer to the CAN Bus.
5. Open the Trace window.
6. Open the Transmit window.