MANUAL.LM20 Revision C January 2023 Page 24 of 52
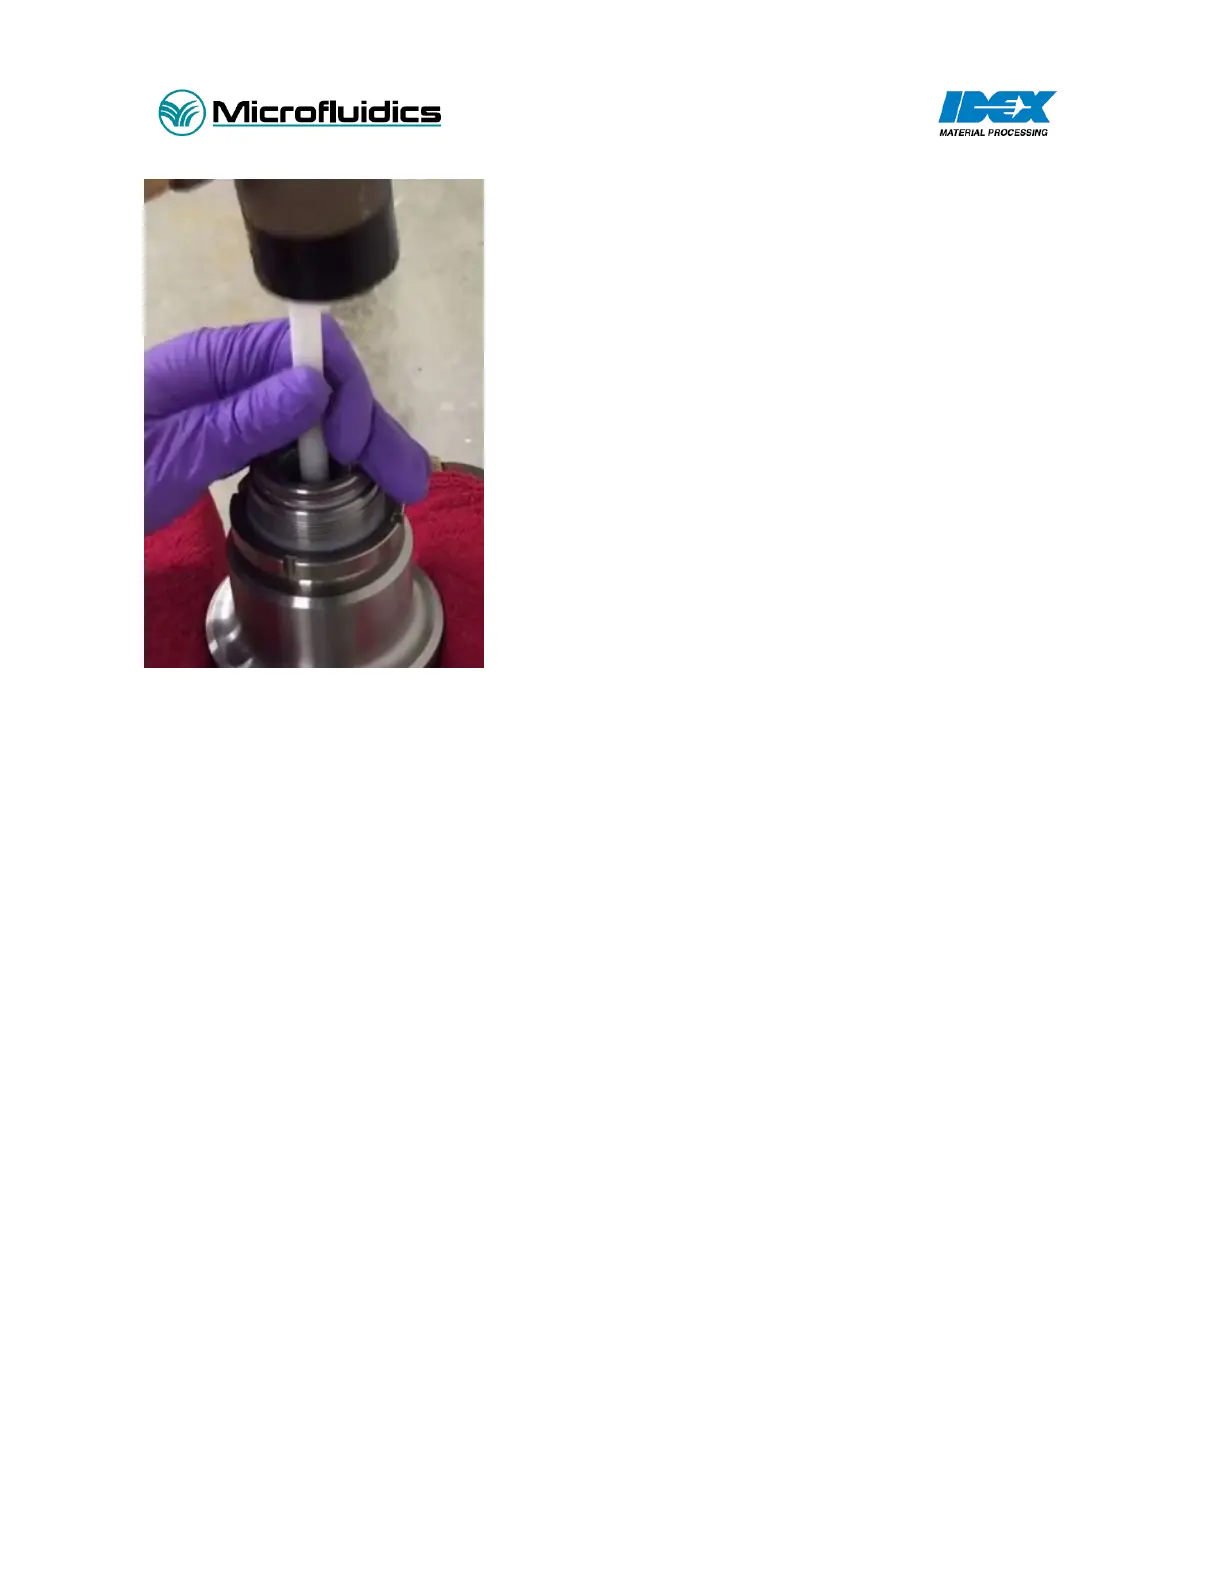
Picture 3 - Seal Removal
10. Remove the seal removal rod, seal and back-up ring.
11. Rinse the pump body seal cavity with water, and dry. Also rinse the seal cavity with isopropyl
alcohol or a suitable liquid. Do not use harsh chemicals or rough tools or brushes, as they can
damage the pump body.
12. Install a new seal and back-up ring. Refer to Section 4.1.8.
13. Also replace the bearing. The seal, back-up ring and bearing should be replaced together. Failure
to replace all three components will result in premature seal failure.
4.1.4 Removing the Plunger
Removing the plunger is necessary only when replacing the part. During routine service and seal changes,
it is recommended to keep the plunger installed and clean the plunger in place.
1. Remove the bearing isolator that sits inside the isolator. Obtain the two #10-32 x 2" long screws
(P/N 99.0018) and screw them into the bearing isolator. Pull the bearing isolator out by pulling on
the screws. Inspect the O-rings for cuts or deep scratches; if found, replace the O-rings.
2. Remove the plastic cover.
3. Unbolt the isolator. Remove the (4) 3/8" hex head bolts that attach the isolator to the hydraulic
cylinder. Take care as the hydraulic cylinder will become lose at this point.
4. Inspect the plunger. The high pressure plunger should last for many years. However, if the surface
of the plunger becomes rough due to chemical attack or damage from abrasive particles in the
product, it may require replacement. Look for any deep scratches or scoring marks. If such marks
are found, replace the plunger.
5. To remove the plunger, first remove the snap retaining ring that holds the plunger in place. Obtain
the small snap ring pliers. Insert the pliers into the snap retaining ring holes. Carefully guide the
snap ring completely out of its groove.
6. Carefully pull the plunger out of the adapter. Remove the flat washer also. If the snap ring must
be replaced, the flat washer should be replaced as well.