MANUAL.LM20 Revision C January 2023 Page 28 of 52
If cleaning with the appropriate chemical and the use of the MPPC does not resolve the problem, or if
the product is leaking out from the inlet fitting threads, then the check valve has to be disassembled.
Access to the Check Valve is gained by unscrewing the inlet fitting of the pump. Remove the pump body
(Section 4.1.1) and place in a vise.
4.2.1 Repairing Inlet Check Valve
1. Remove the pump body (Section 4.1.1).
2. Place the pump body in a vise. Wrap the pump body in a rag or cloth before locking it in the vise.
3. Unscrew the 1" gland that holds the check valve to the pump body. It is suggested to use an
extended handle 18” adjustable wrench to make the job easy.
4. Using the tweezers supplied in the tool kit, remove the ball, spring and spring retainer.
a. If the ball is chipped or has deep scratches, it must be replaced.
b. If the spring is deformed or broken, it must be replaced. The ball seat will only need to
be replaced if it was chemically attacked by product or solvent, or if large particles are
imbedded into it. To remove the ball seat use the brass picks supplied in the tool kit.
5. Thoroughly clean all components with appropriate cleaning solvent.
To reinstall Inlet Check Valve:
1. Place the spring retainer in the pump body.
2. Place the spring on the spring retainer.
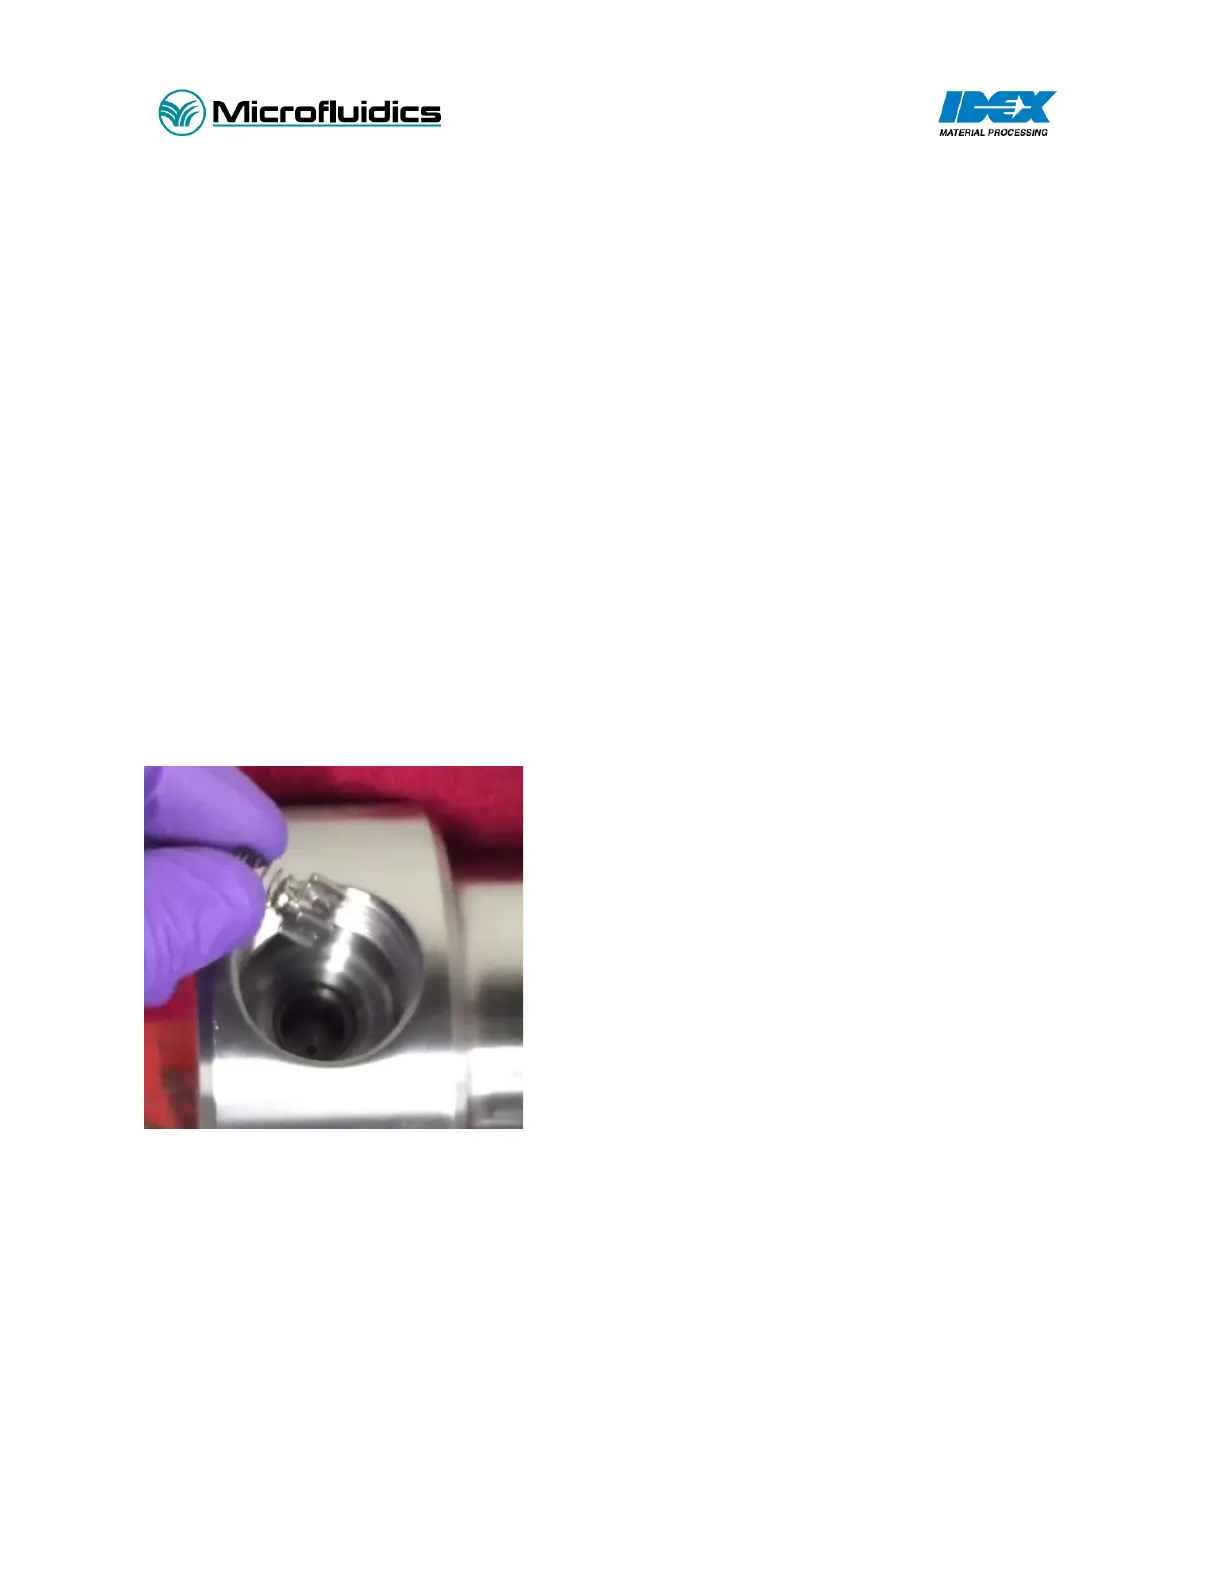
Picture 5 - Install Spring and Retainer
6. Place the ball on top of the spring.
7. Slide the check valve body over these 3 parts.
8. While holding the check valve body from rotating, tighten the 1" gland, first by hand then with a
wrench, preferably an 18" long adjustable wrench.
9. Remove the pump body from the vise.
10. Re-attach the pump body to the isolator. Refer to section 4.1.10 installing the pump body, steps
#1-12. Before re-attaching the pump body to the isolator, make sure the pump body threads are
free of debris and lubricated with Never-Seez.