11
10
• Remove any garment that fits closely to your upper arm.
• Always measure on the same arm (normally left).
• Take measurements regularly at the same time of day, since blood-pressure changes dur-
ing the course of the day.
5.2 Common causes of error:
Note: Comparable blood-pressure measurements always
require the same conditions! These are normally always
quiet conditions.
• All efforts by the patient to support their arm can increase
blood-pressure. Make sure you are in a comfortable, relaxed
position and do not activate any of the muscles in the
measurement arm during measurement.
Use a cushion for support if necessary.
• During the measurement, do not move, cross your legs, or tense your arm muscles. Breath
normally and do not talk.
• If the arm artery lies considerably lower or higher than the heart, an false reading will be
obtained. Each 15cm difference in height results in a measurement error of 10mmHg!
• Cuffs that are too narrow or too short result in false measurement values. Selecting the
correct cuff is of extraordinary importance. Cuff size is dependent upon the circumference
of the arm (measured in the center). Permissible range is printed on the cuff. If this is not
suitable for your use, please contact your dealer.
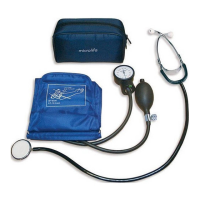
Note: Only use clinically approved Microlife Cuffs!
• A loose cuff or a sideways protruding air pocket causes false measurement values.
• With repeated measurements, blood accumulates in the arm, which can lead to false
results. Consecutive blood pressure measurements should be repeated after 1-2 minute
pause or after the arm has been held up in order to allow the accumulated blood to flow
away.
1-2cm
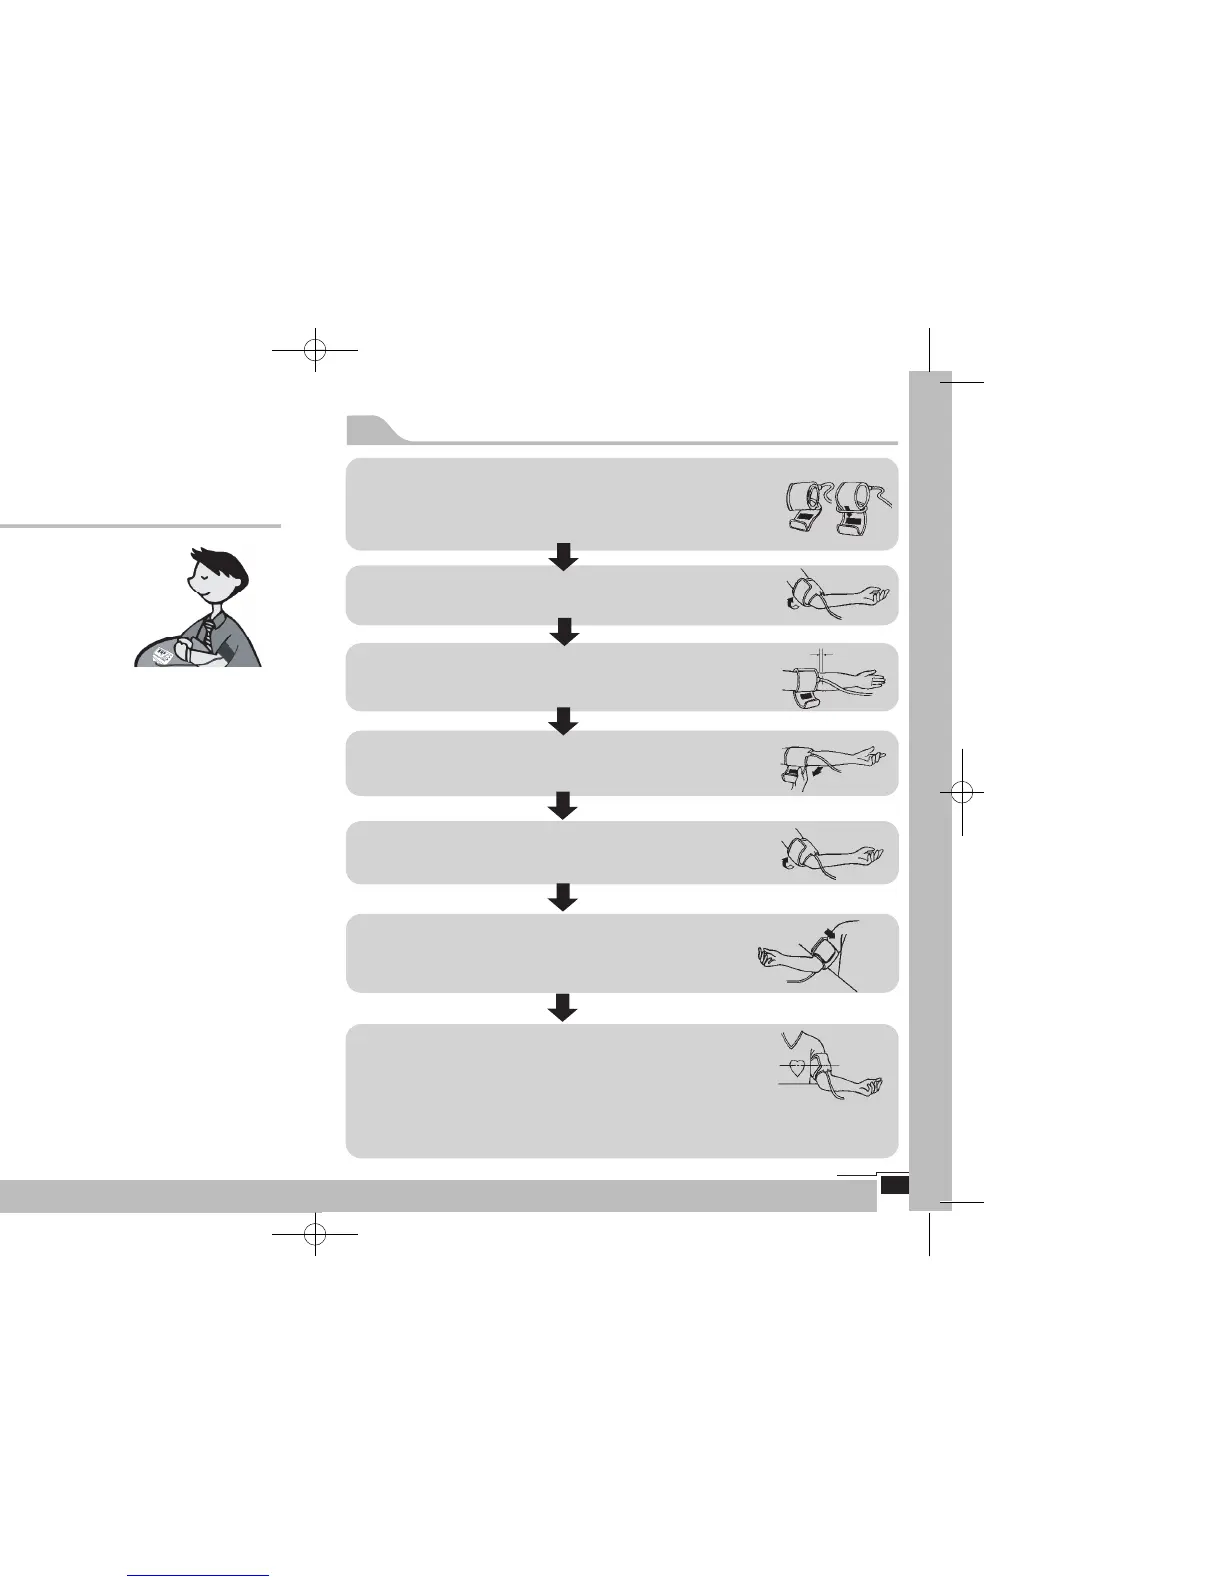
5.3 Fitting the cuff
Position the cuff flat on a table with the Velcro side down.
Pass the end of the cuff through the metal loop so that a circle is
formed. The Velcro closer will now be facing outwards.
(Ignore this step if the cuff has already been prepared.)
Push the cuff over the left upper arm so that tube points in the direc-
tion of the lower arm.
Lay the cuff on the arm as illustrated. Make certain that the lower
edge of the cuff lies approximately 1 to 2 cm above the elbow and
that the rubber tube leaves the cuff on the inner side of your arm.
Tighten the free end of the cuff and close the cuff by affixing the
Velcro.
The cuff should be snug on your upper arm so that you can fit 2
figers between the cuff and your upper arm. Any piece of clothing
which restricts the arm (e.g. a pullover) must be taken off.
Secure the cuff with the Velcro closer in such a way that it lies
comfortably and is not too tight.
Lay your arm on a table (palm upwards) so that cuff is at the same
height as your heart.
Do not bend the tube.
Note:
If it is not possible to fit the cuff to your left arm, it can also be placed on the right.
However, all measurements should be made using the same arm.
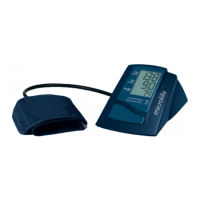
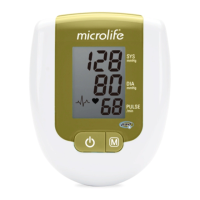
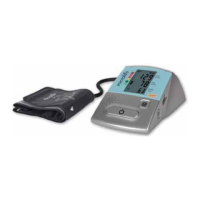
BP 3BM1-3 Automatic Blood Pressure Monitor Instruction Manual www.microlife.com www.microlife.com BP 3BM1-3 Automatic Blood Pressure Monitor Instruction Manual
 Loading...