6
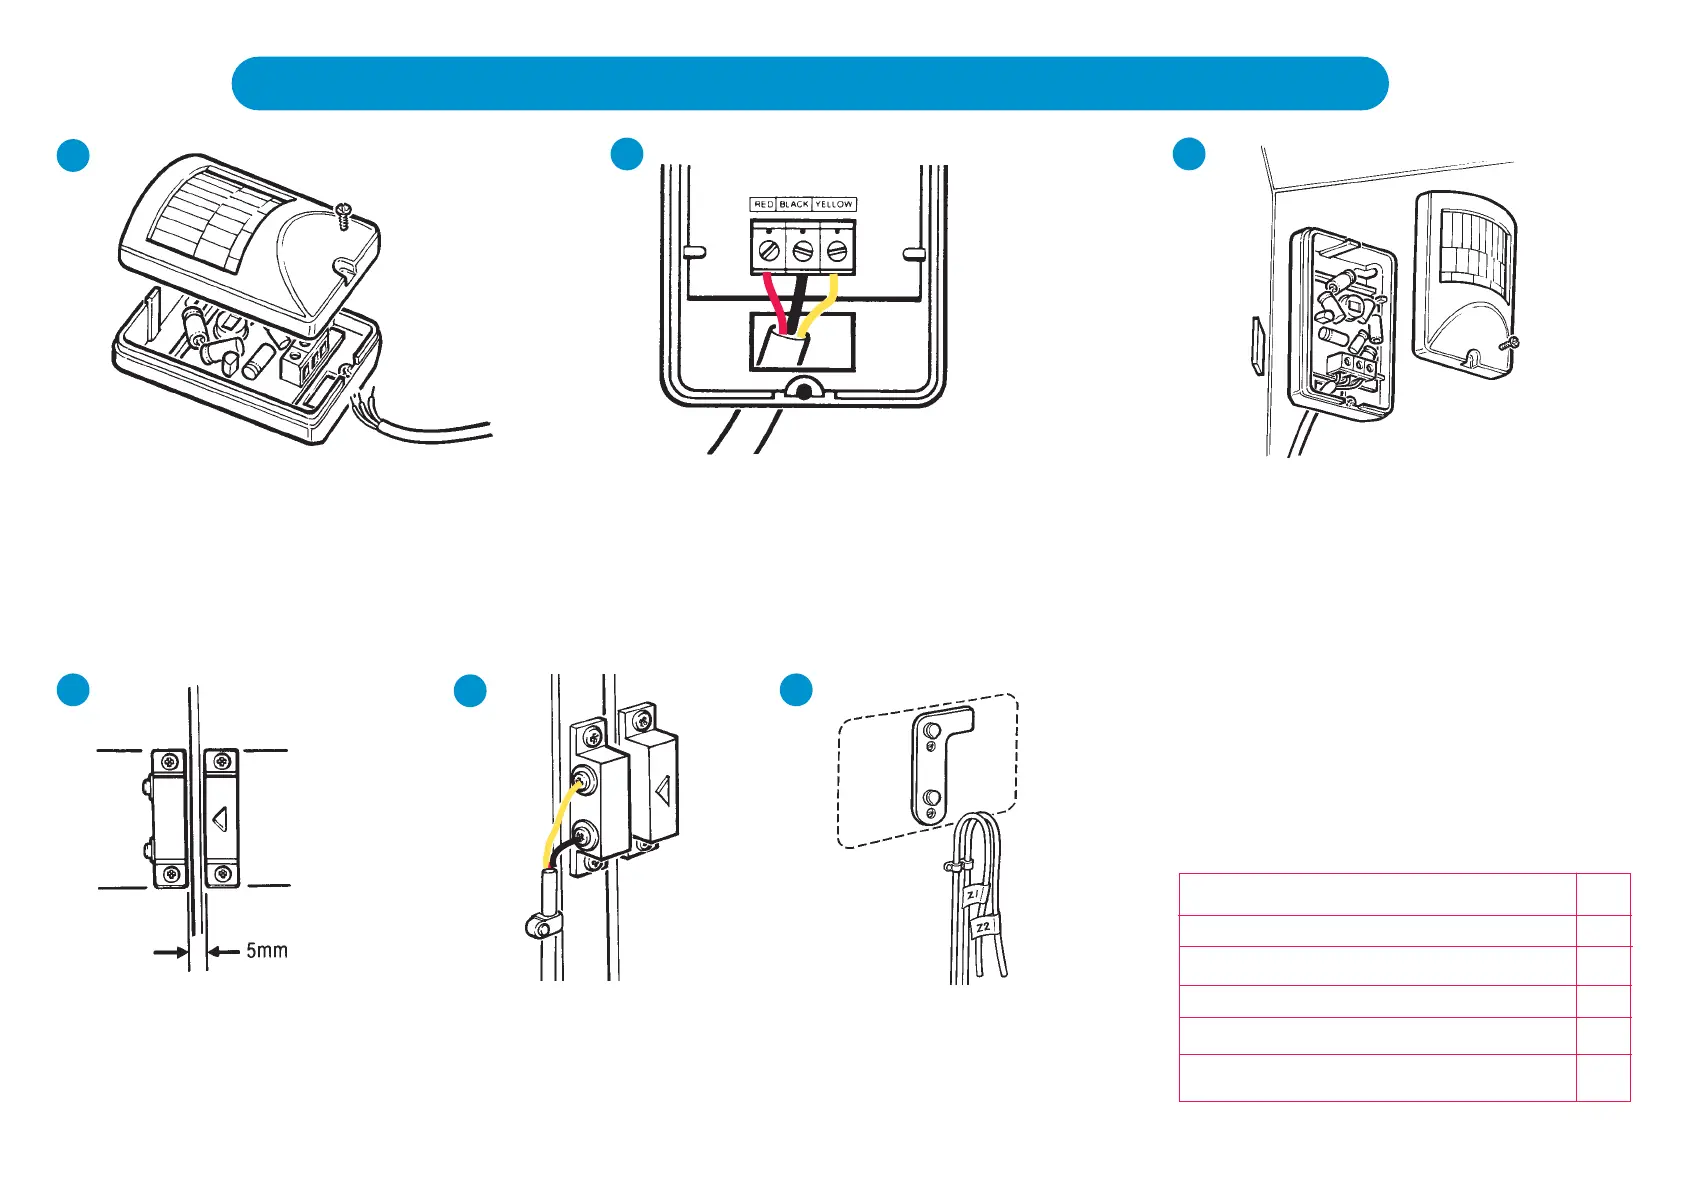
FITTING THE PIRs AND DOOR CONTACTS
Allow enough cable to reach the control panel.
Unscrew the fixing screw at the base of the PIR and
remove the front cover. Remove the knockout at the
base of the back casing. Strip the wires to bare the
ends.
1
Fit the door contact with the screws
with a gap of 5mm between the
leading edges. Fix the wireable
contact to the frame
4
Run the wiring to the door contacts
(see wiring diagrams). The picture
shows door contacts wired directly to
the control panel. Cut back the red
wire to the insulation and tape the
end.
5
Follow the same procedure for each of
the zones. At the control panel mark
the
wwiirreess wwiitthh tthhee zzoonneess ffrroomm wwhhiicchh
tthheeyy aarree ffrroomm..
6
Thread the stripped cable through and connect the
wires to the terminal block observing the colours.
Replace the cover and screw.
Use a sticky pad and secure the PIR to the mounting
surface. Run the cable back to the control panel
taking the shortest route and secure it with cable
clips.
2
CHECK LIST
Are PIRs wired correctly?
Are the PIRs securely mounted?
Is the gap between door contacts correct?
Are the door contacts wired correctly?
Are the wires marked with their zones?
3


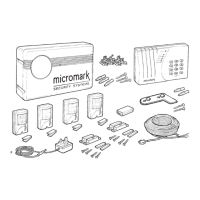
 To Next Page