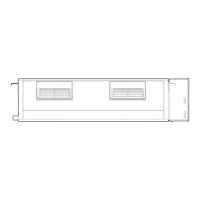
NOTE: When connecting multiple drainpipes,
install the pipes as illustrated.
0-55cm
(21.7”)
≥10cm
(4”)
3. Pass the drain hose through the wall hole.
Make sure the water drains to a safe location
where it will not cause water damage or a
slipping hazard.
The unit without pump
The unit with pump
(21.7”)
(39-59”)
(7.9”)
<20cm
<55cm
Lean over 1/50
1-1.5m1-1
Drainpipe installation for units with
a pump
Ceiling
Drainage test
Check whether the drainpipe is unhindered.
This test should be performed on newly built
houses before the ceiling is paved.
NOTE: The drainpipe outlet should be at least
5cm (1.9”) above the ground. If it touches the
ground, the unit may become blocked and
malfunction. If you discharge the water directly
into a sewer, make sure that the drain has a U
or S pipe to catch odors that might otherwise
come back into the house.
The unit without pump.
Fill the water pan with 2 liters of water.
Check that the drainpipe is unhindered.
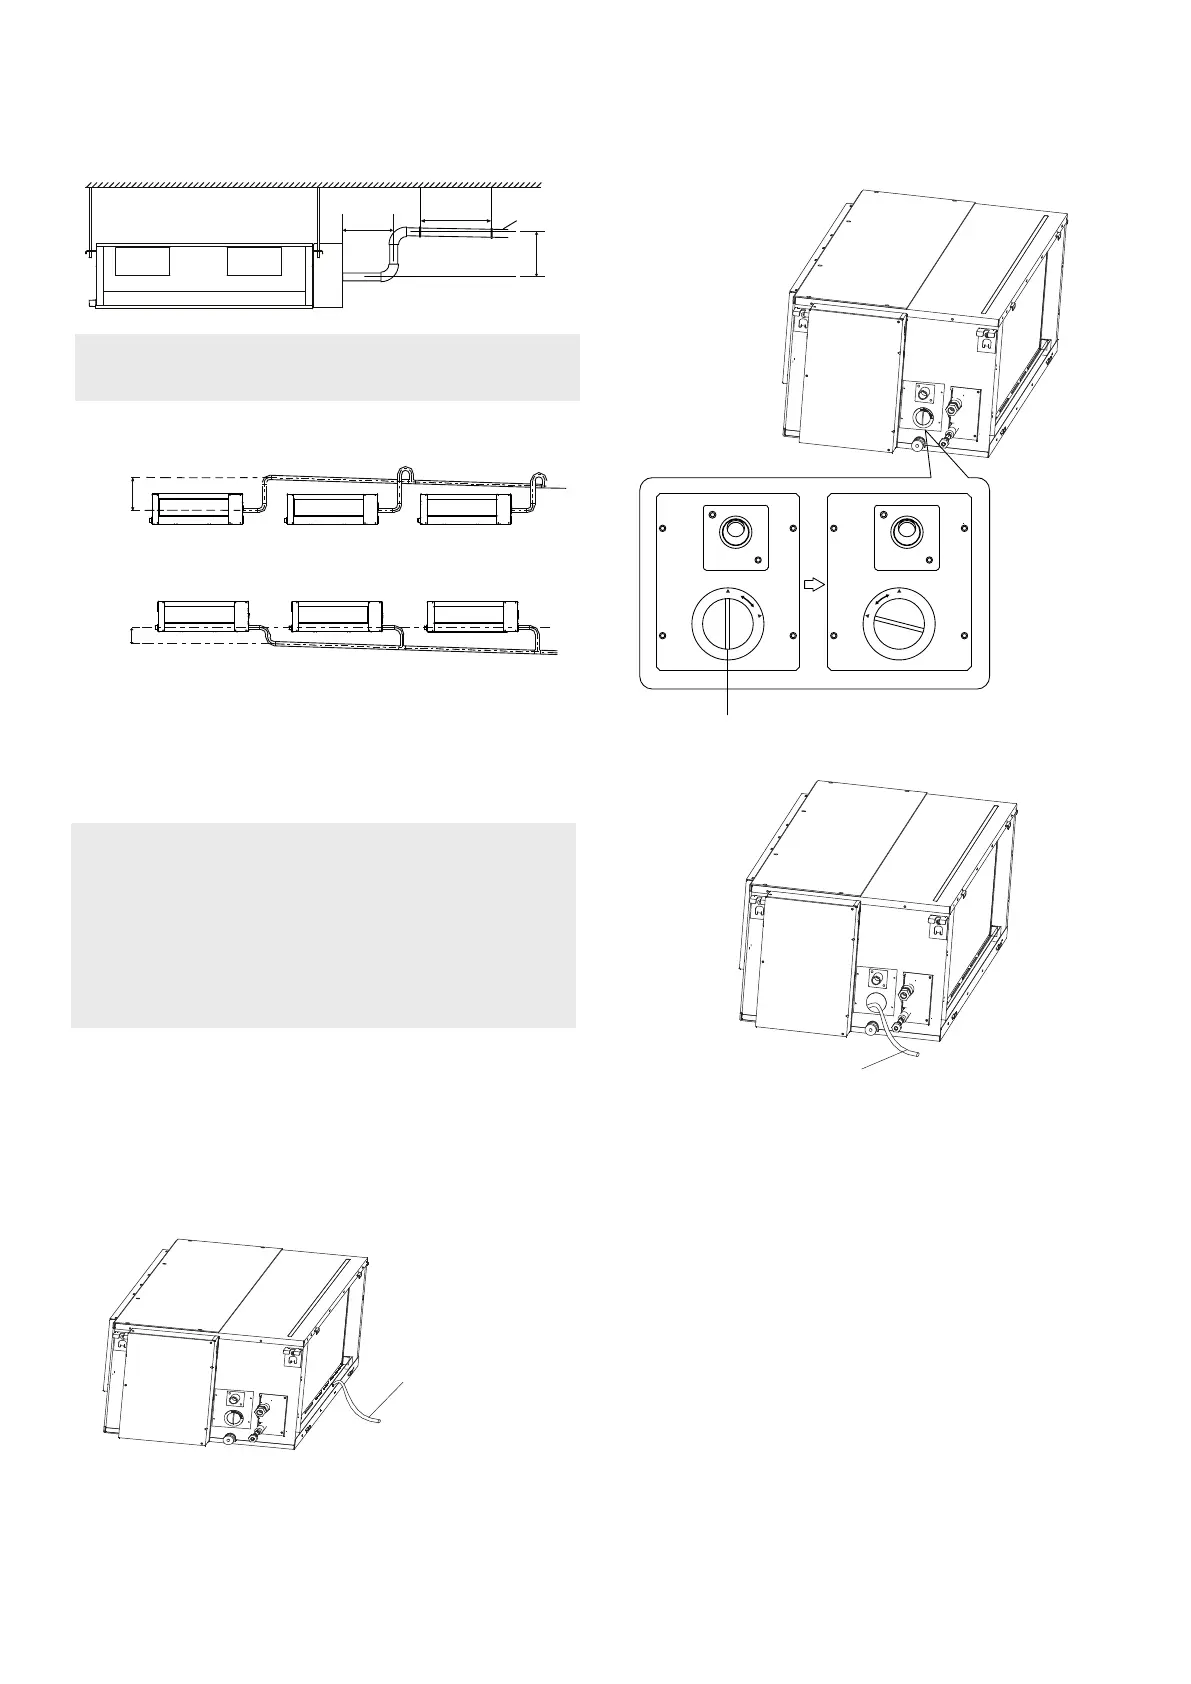
Stow tube
The unit with pump.
1. Remove the test cover.
Fill the water pan with 2 liters of water.
Test cap
2. Turn on the unit in COOLING mode. You will
hear the drain pump.Check whether the
water is discharged properly (a 1-minute lag
is possible, depending on the length of the
drain pipe), Check whether water leaks from
the joints.
3.
Turn o the air conditioner and put the cap
back on.
Stow tube
17