8
Specifications subject to change without notice.
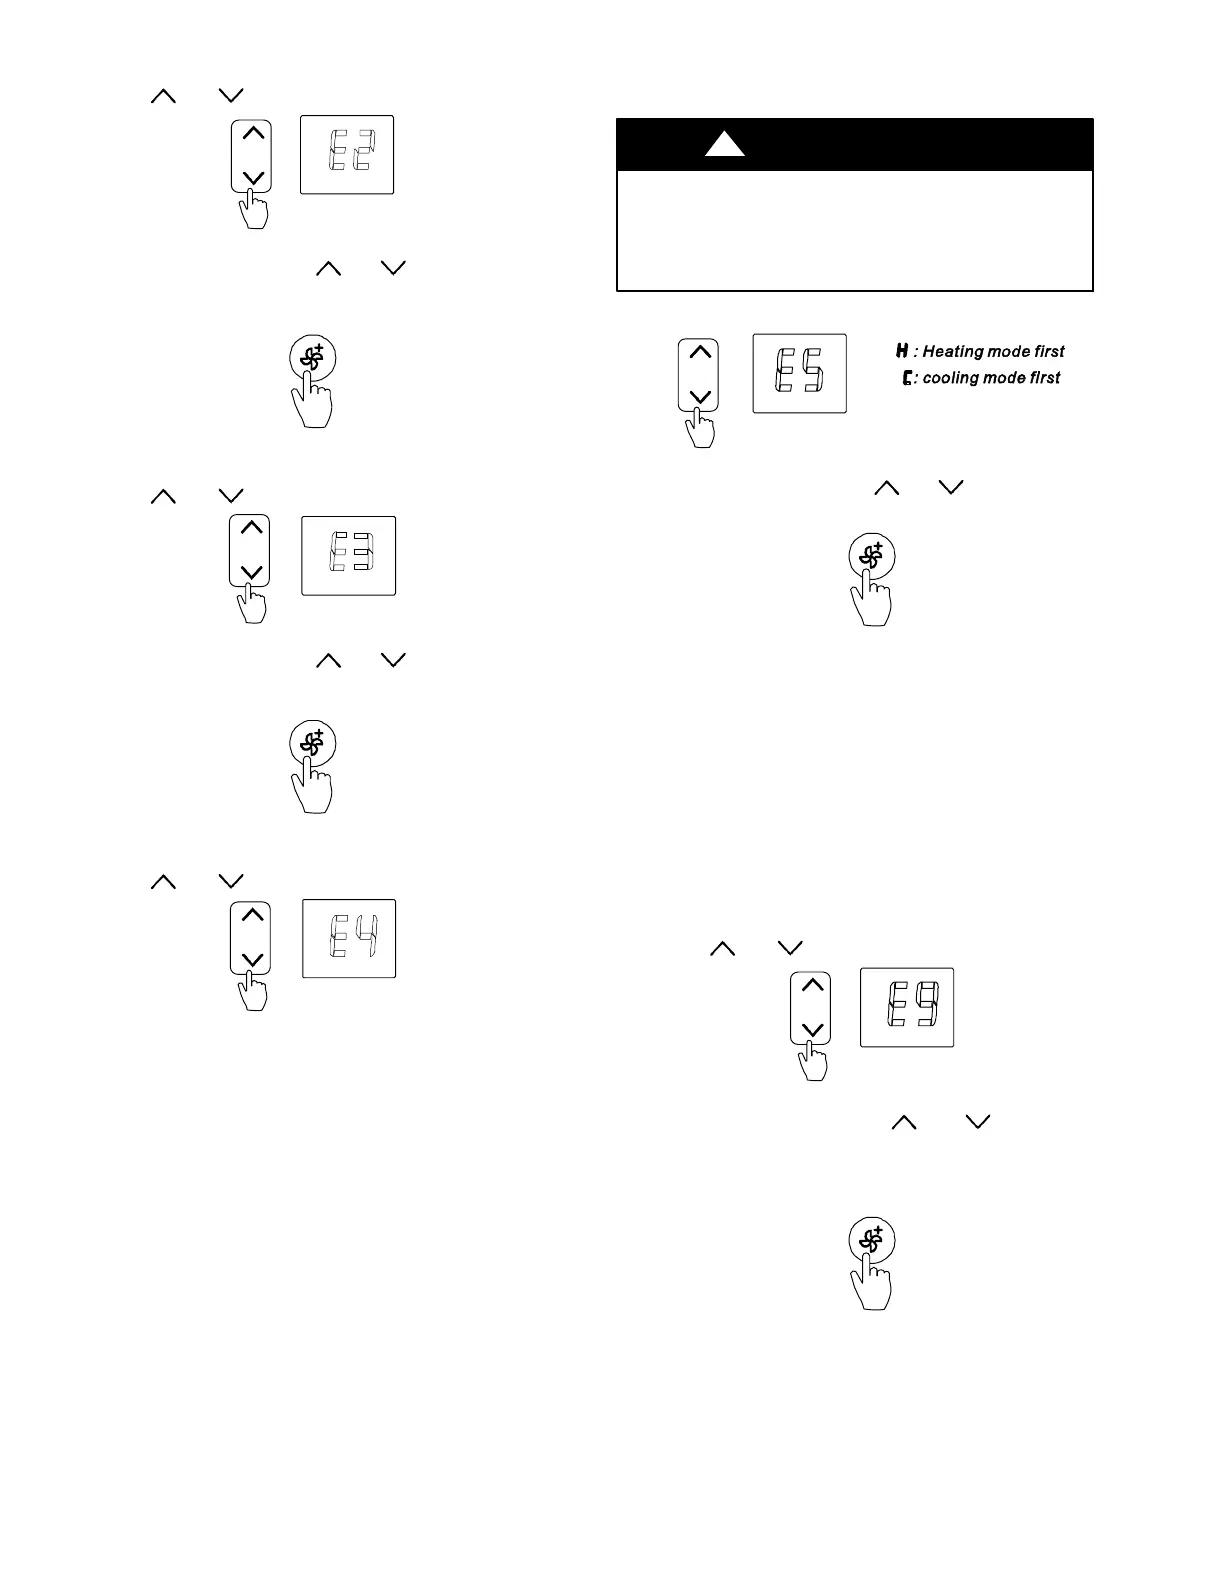
Lowest Temperature Setting (E2)
1. Press and to select “E2”.
Fig. 42 - Select E2
2. Press MODIFY. Next, press
and to set the temperature
range (63
_F(17_C) to 75_F(24_C).
3. Press FAN+ to CONFIRM.
Fig. 43 - Confirm
Highest Temperature Setting (E3)
1. Press and to select “E3”.
Fig. 44 - Select E3
2. Press MODIFY. Next, press
and to set the temperature
range (77_F(25_C) to 86_F(30_C)).
3. Press FAN+ to CONFIRM.
Fig. 45 - Confirm
Special Function Setting (E4)
1. Press and to select “E4”.
Fig. 46 - Select E4
Priority Setting of Heating or Cooling (only on
Multi−Zone Systems (E5))
All heads must be set to the same priority.
CAUTION
!
1. Press + and - to select “E5”.
Fig. 47 - Select E5
2. Press MODIFY. Next, press
and to select “H” or “C”.
3. Press FAN+ to CONFIRM.
Fig. 48 - Confirm
Network Address Setting (E6)
Not available, used on future applications.
Capacity Code Selection (E7)
Not available, used on future applications.
Twins Setting (E8)
Not available, used on future applications.
Static Pressure Setting (E9)
NOTE: Available only on Ducted Units.
1. Press
and to select “E9”.
Fig. 49 - Select E9
2. Press MODIFY. Next, press
and to choose 0 (no
twins), 1 (main unit) or 2 (subsidiary unit).
3. Press FAN+ to CONFIRM.
Fig. 50 - Confirm
NOTE: Depending on the model, some of the remote controller’s
functions may not function.