Technical Information
70
G 600/G 800
3. Lay the dishwasher on its back.
4. Remove the drip pan. See Section 5.29.
5. Remove the circulation pump. See Section 5.35.
6. Remove the drain pump. See Section 5.40.
7. Remove the float switch assembly. See Section 5.30.
8. Remove the NTC temperature sensor. See Section 5.34.
9. Disconnect all hoses to and from the sump.
10. Unclip the wiring harness from its retainers.
11. Unscrew and remove the clamp surrounding the sump seal.
12. Lift the sump out of the cabinet.
Re-installation notes:
Apply rinse aid to the inner surface of the seal.
Install the sealing ring on the cabinet.
Align the sump with the drain connection.
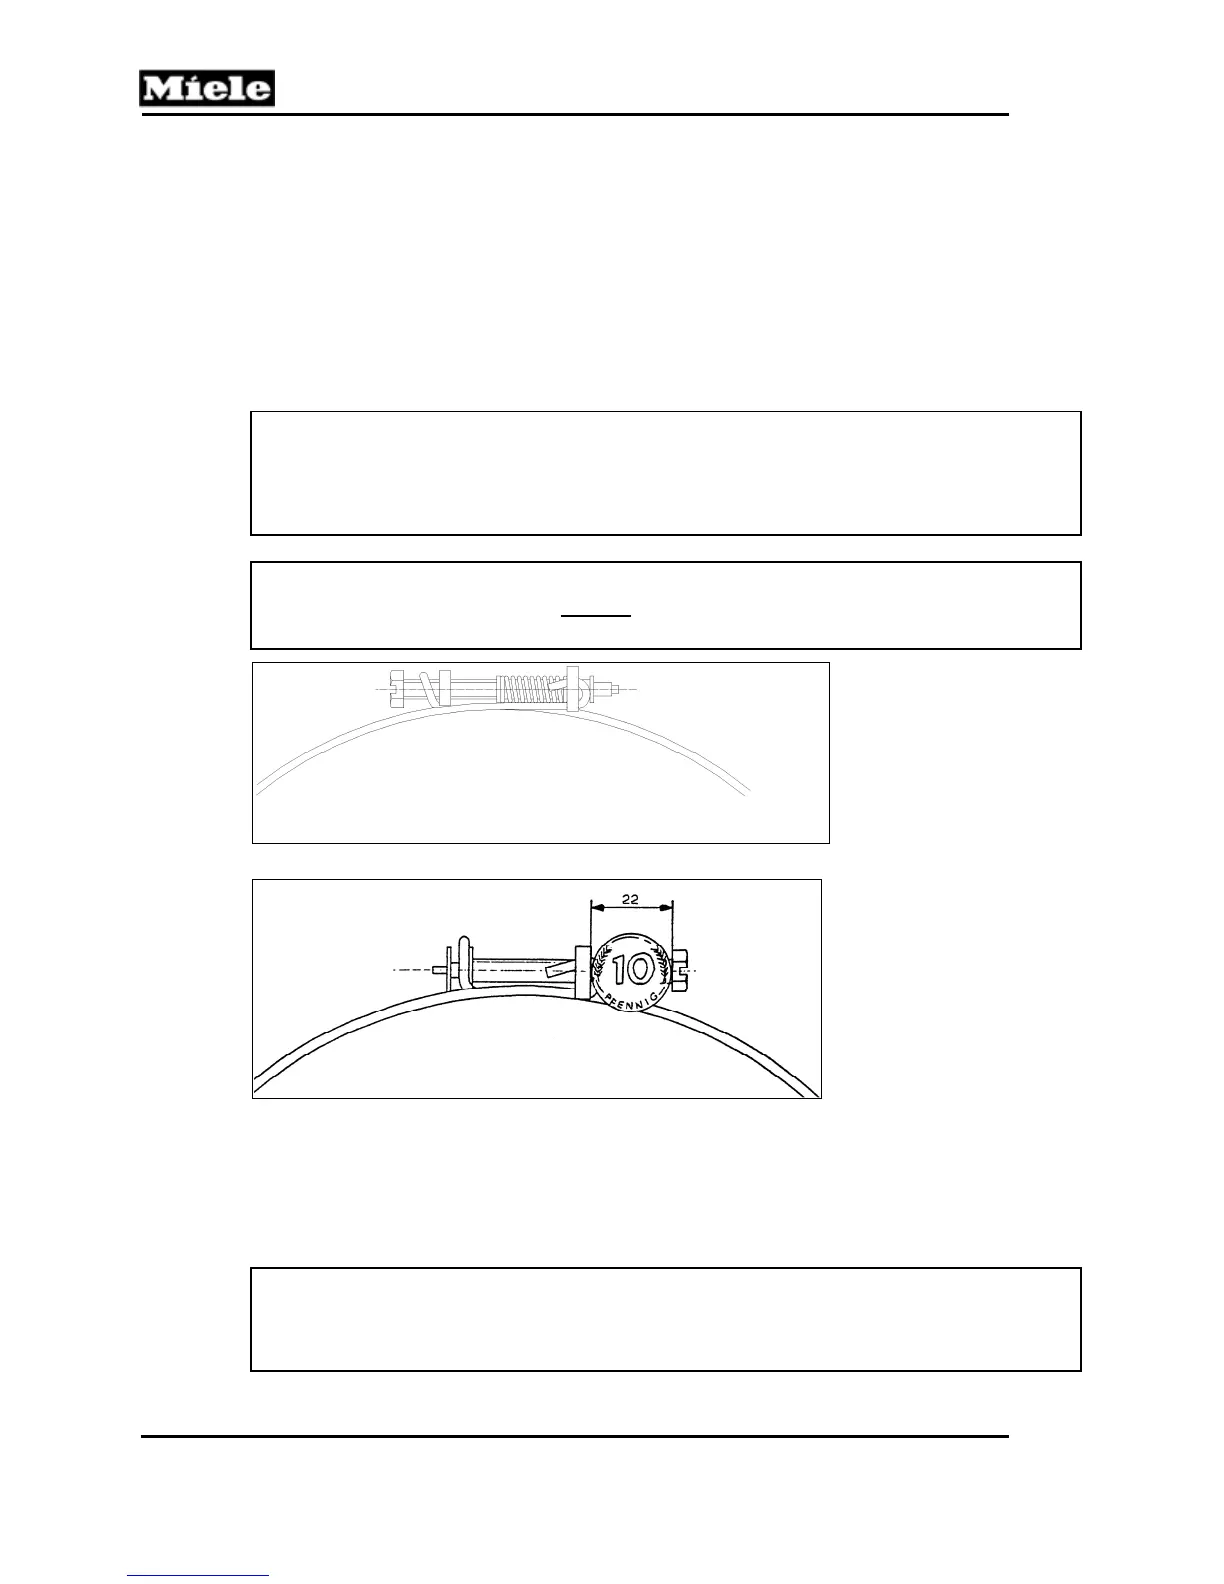
Warning!
To avoid leaks on appliances without
the self-tensioning clamp, the clamp should
be tightened to a gap of approximately 22mm. Refer to Figures 5-36 and 5-37.
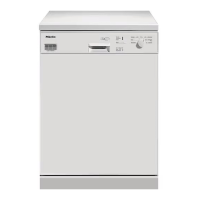
Figure 5-36: Self-Tensioning Sump Clamp
Figure 5-37: Non-Self-Tensioning Sump Clamp; Tighten to a Gap of 22mm
5.44 Turbidity Sensor Calibration
After installing a new electronic and/or turbidity sensor, the dishwasher must be run
through a complete program without any dishes.
Note:
If the above procedure is carried out with dirty dishes, the ECO (turbidity sensor)
system will only be activated after approximately six (6) wash programs are
completed.
 Loading...