(3) Only allowed to view reports within 7 days without a SD card or NAS
.
Heat Map
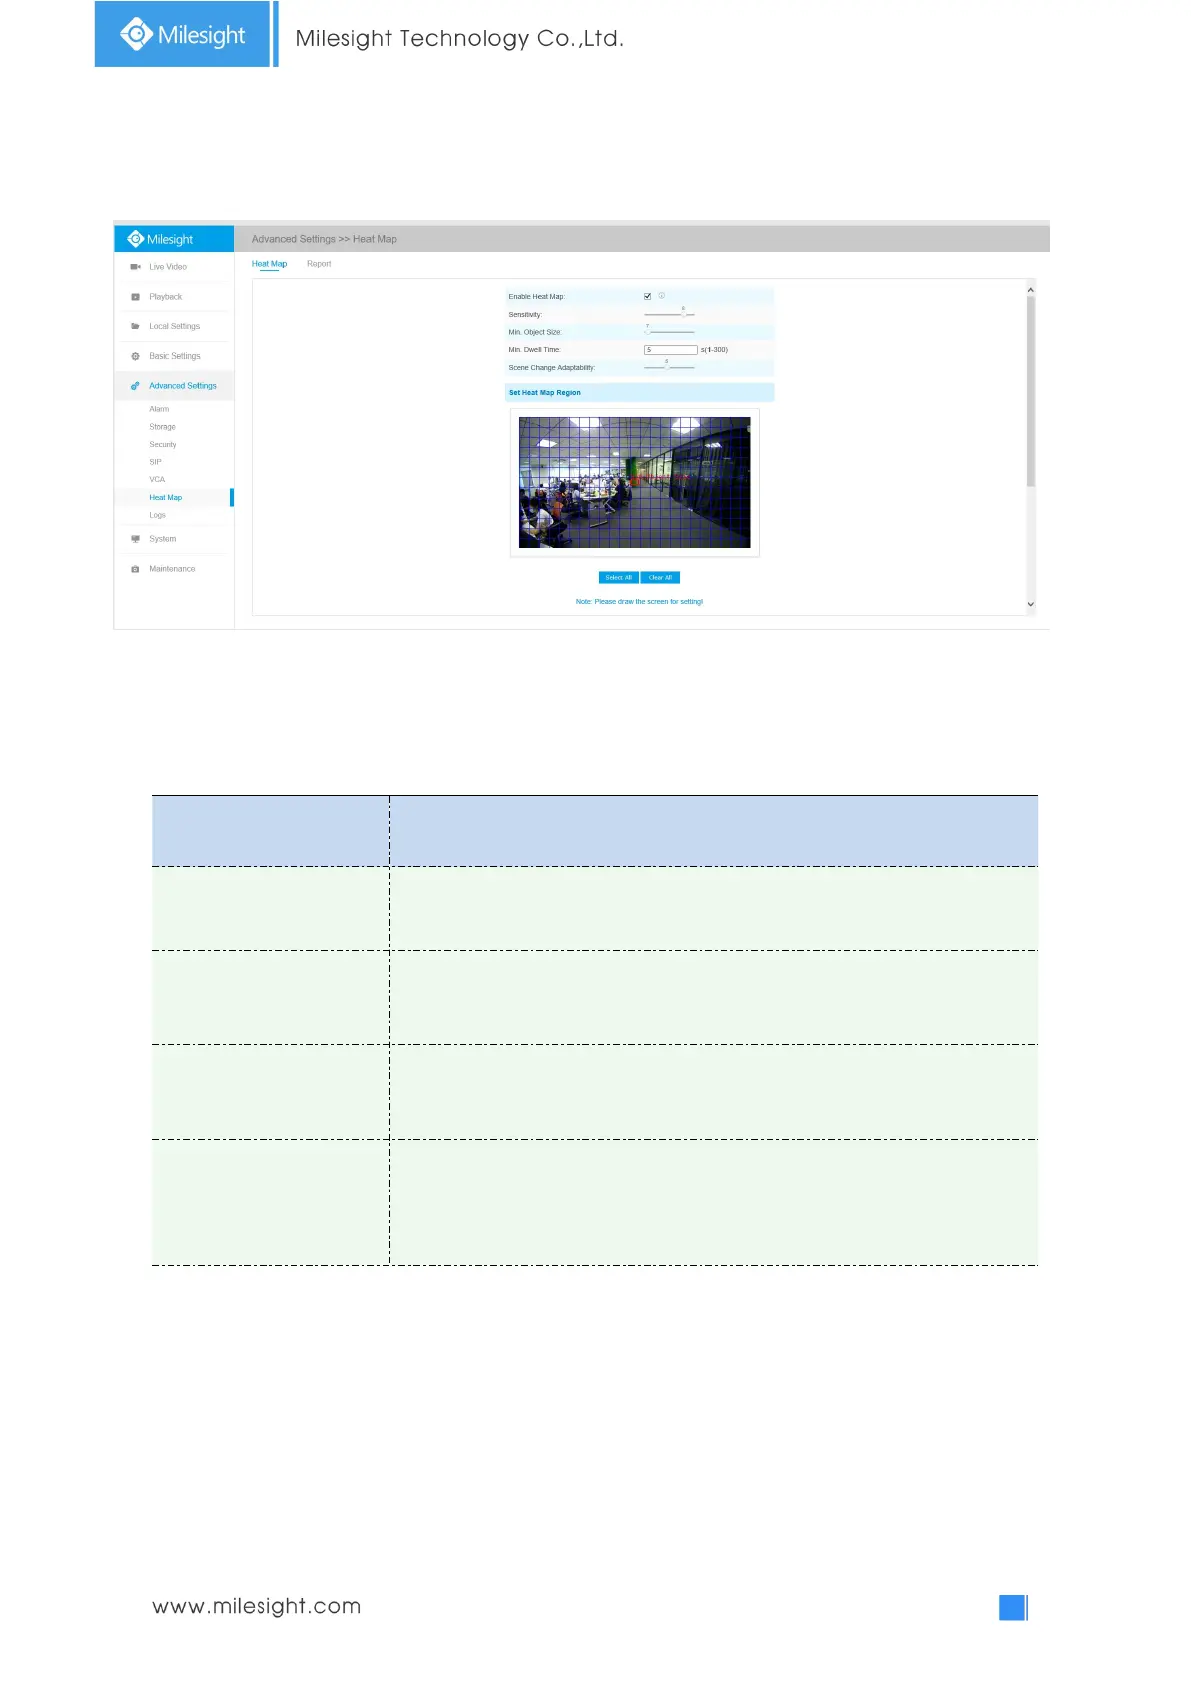
Step 1: After log in the web, go to “Advanced Settings“→ “Heat Map“. Check the checkbox
“Enable Heat Map”, then set the Heat Map settings as shown below.
Table 4-5-17 Description of the buttons
Level 1~10 are available, the default level is 5. The higher the sensitivity, the
easier it is for moving objects to be recorded in the results.
Set the minimum object size from 1 to 100, the default value is 10. Objects
smaller than this value will not be recorded in the result.
Set the minimum dwell time from 1 to 300, the default value is 30. If the
object stays in the area longer than the set "Minimum Dwell Time", it will not
be recorded in the result.
Level 1~10 are available, the default level is 5. Scene Change Adaptability
indicates the camera's adaptability to scene changes, which can increase the
accuracy of detection. The camera better adapts to faster changing scenes if
the value is higher.
Step 2: Set Heat Map Region. Draw the screen to set the detection area. You can click “Select All”
button to select all areas, or "Clear All" button to remove the current drawn area.
 Loading...