- 11 -
Standard mode
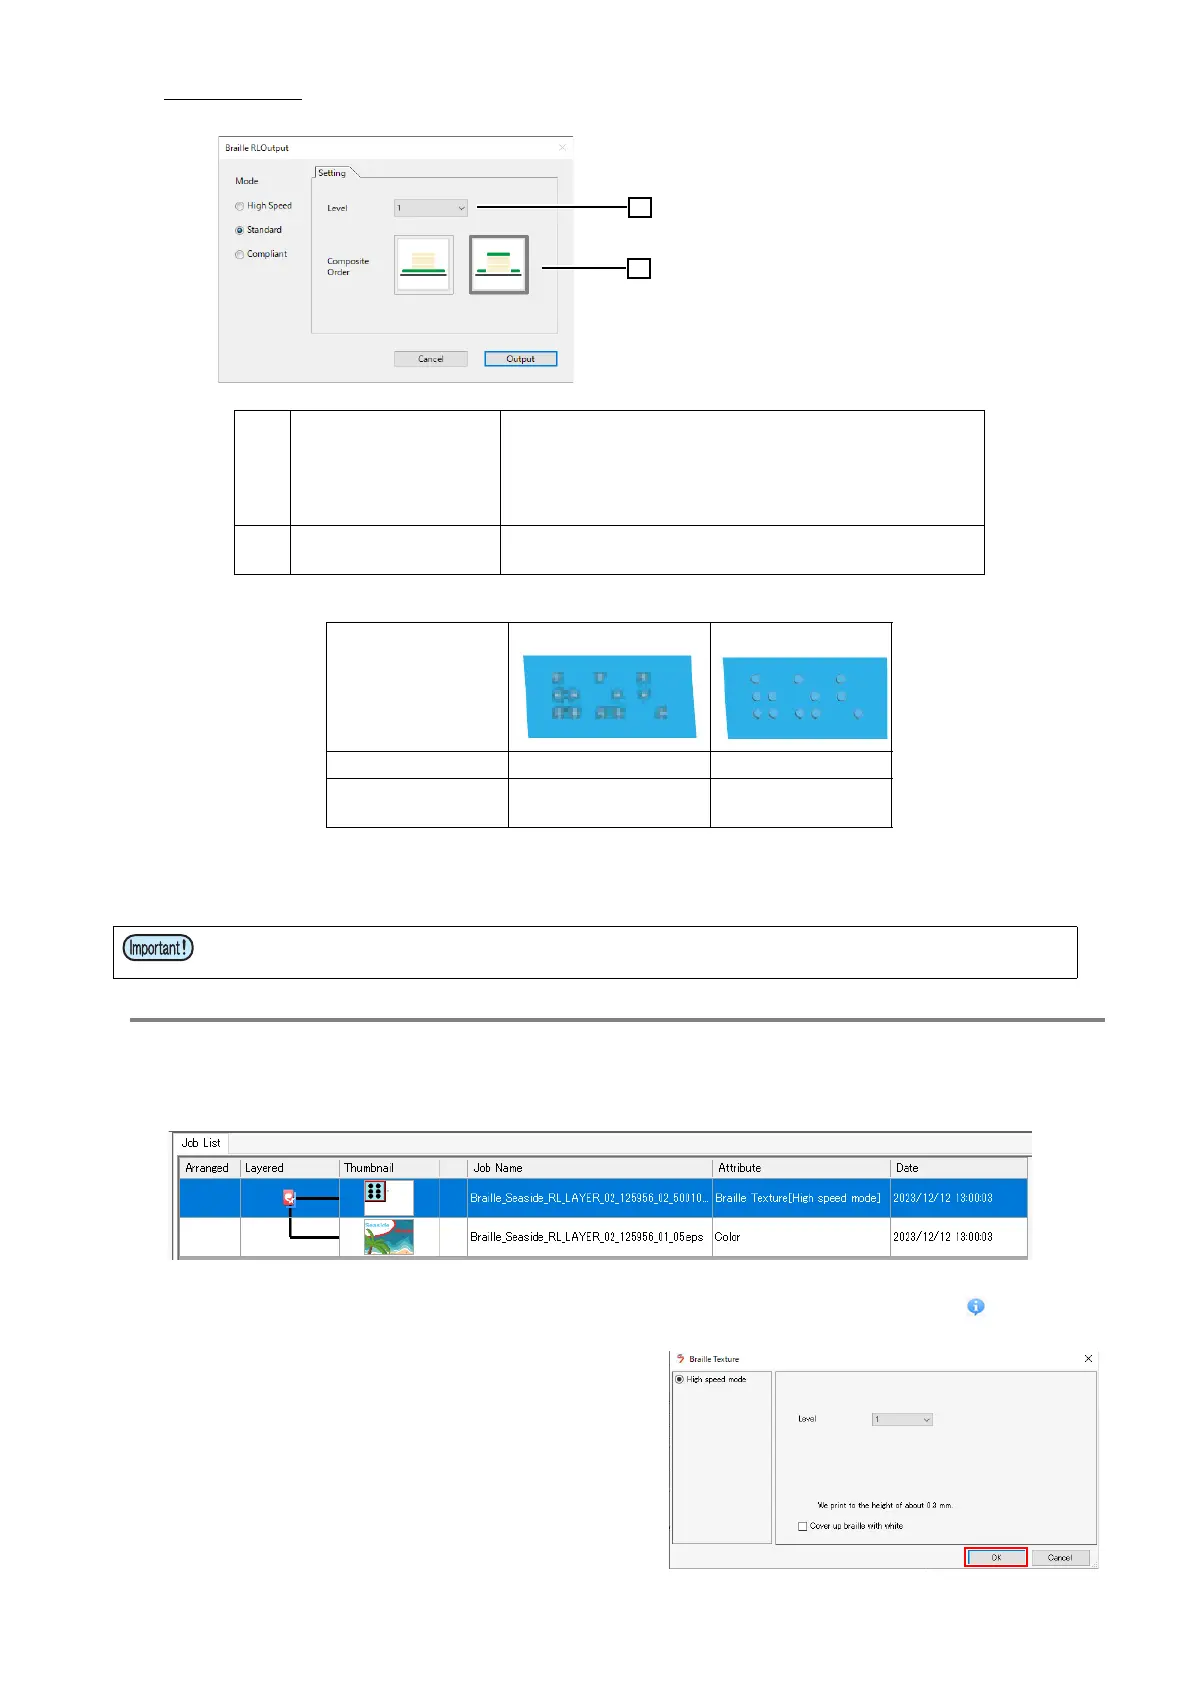
Difference in print results depending on [Composite Order] settings
(4) Once set, click the [Output] button.
• The [Save as] window appears. Enter the file name and save.
3.
[RasterLink] Check the Settings
Loading using the hot folder creates two jobs as shown below.
(1) Select “Braille Texture” for the job properties, then click the [Properties] icon .
(2) Click the [Setup] button for [Job Attribute].
•The setting window appears.
•The [Level] and [Cover up braille with
white] settings set in RasterLinkTools can
be configured.
•For details of setting items, refer to P. 10
(3) Click [OK].
1 [Level]
Varies the braille height.
Level 1: Approx. 0.3 mm
Level 2: Approx. 0.5 mm
Level 3: Approx. 0.7 mm
Level 4: Approx. 0.9 mm
2 [Composite Order]
Specifies the printing order for the color image forming
the base for the braille.
[Composite Order]
Color → Braille Braille → Color
Printed state of braille Braille is transparent Braille takes color
of color image
Be sure to output to the hot folder. If saving to another folder, be sure to load from the hot folder
when loading to RasterLink7.
 Loading...


