- 9 -
0.
[RasterLink] Initial preparation
(1) Create a hot folder
• Image data used in Standard/High-speed modes must be loaded into RasterLink7 using a
hot folder.
• For details of how to create a hot folder, refer to the [RasterLink7 NetworkConnec-
tionGuide].
(2) Install a dedicated profile
• A dedicated profile is required for printing in Standard/High-speed mode.
1.
[Illustrator] Create image containing braille data
(1) Open the color image forming the base in Illustrator.
(2) Create the braille data.
Braille data can be created as follows:
•Use braille font
(1)Input braille using a braille font.
(2)Select the braille to be input, then create an outline.
•Use Ellipse tool to position dots in accordance with braille grammar
Creating braille date using ellipse tool
(1) Based on the Braille syntax, check the
Braille arrangement for the character
you want to create.
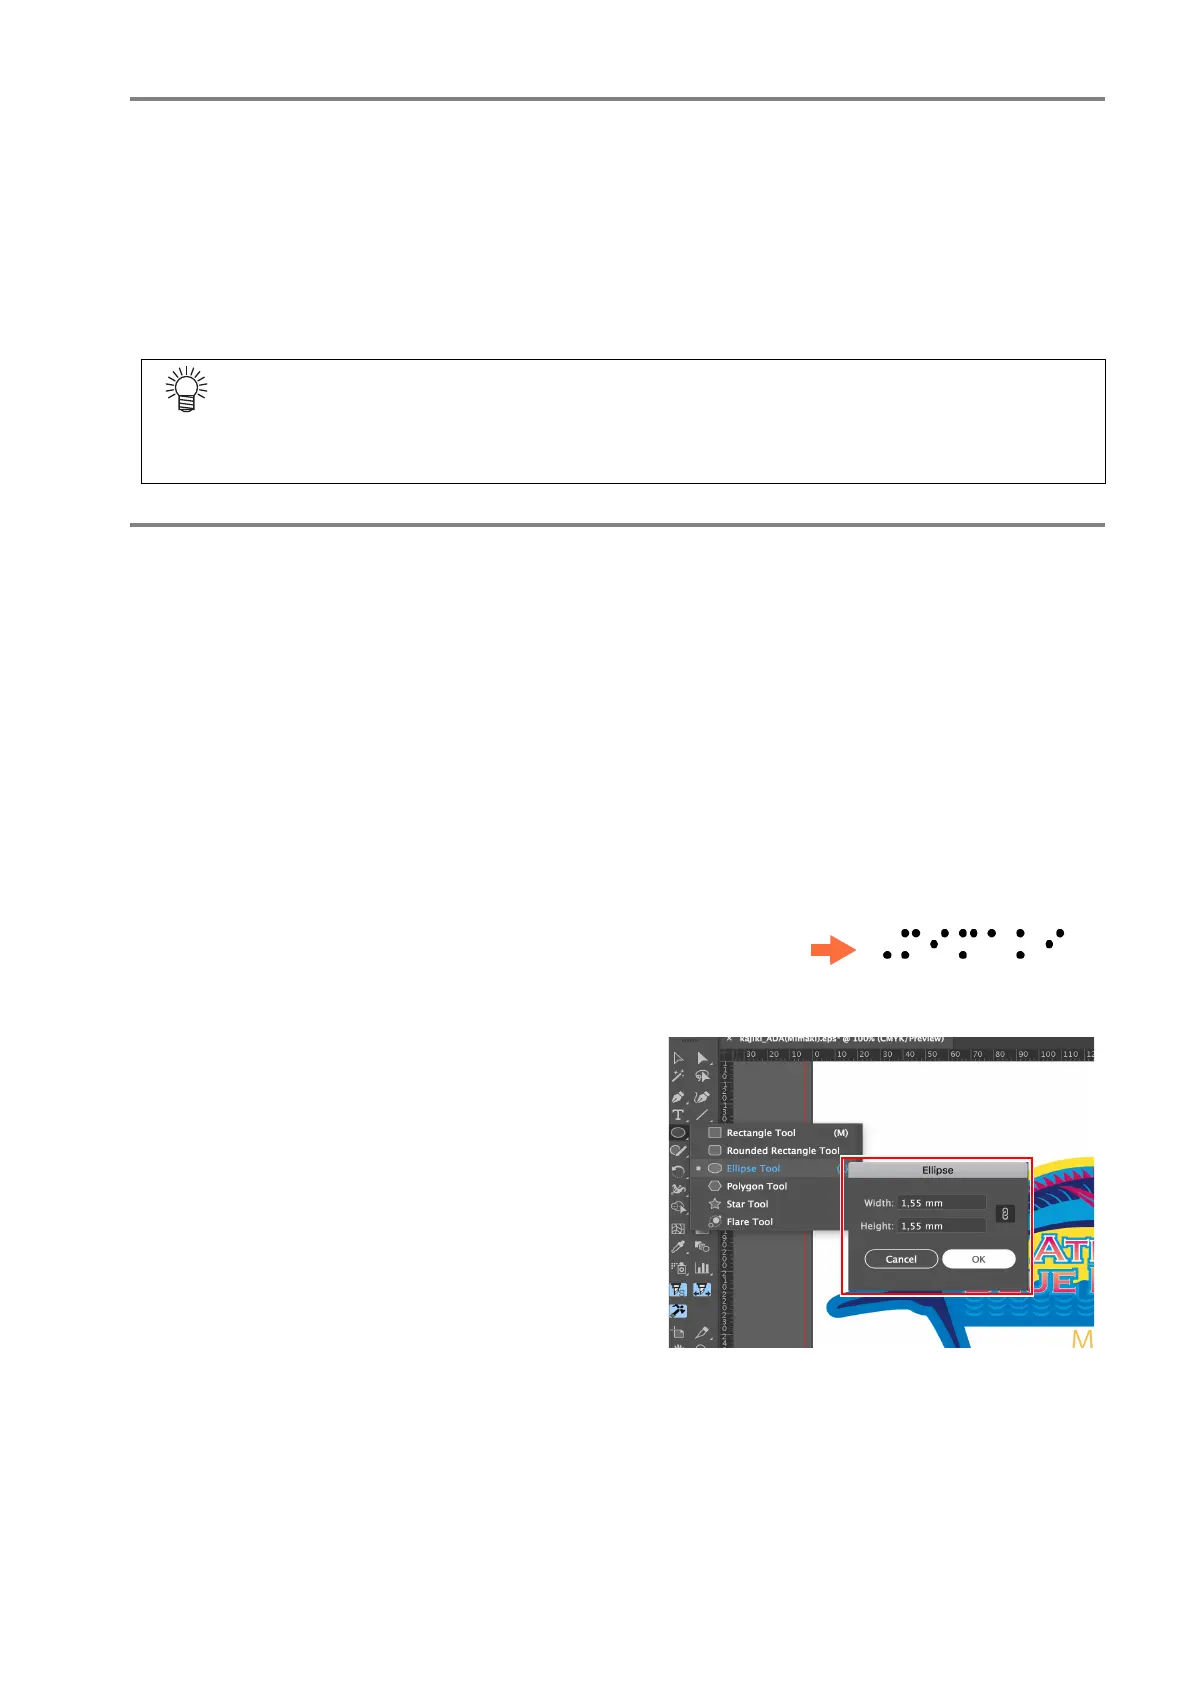
(2) Use the Ellipse Tool in Illustrator to
create the following shape.
• Shape: Perfect circle
• Diameter:
Compliant with Braille standards.
Setting the line to “None” makes
alignment easier in the next step.
Dedicated profiles may be obtained in the following two ways:
• Install via the profile manager download function.
• Download from the RasterLink7 download page.
For details of how to install profiles, refer to the [RasterLink7 Installation Guide].
 Loading...


