5-126 Image Optimization
5.16.6 Marks
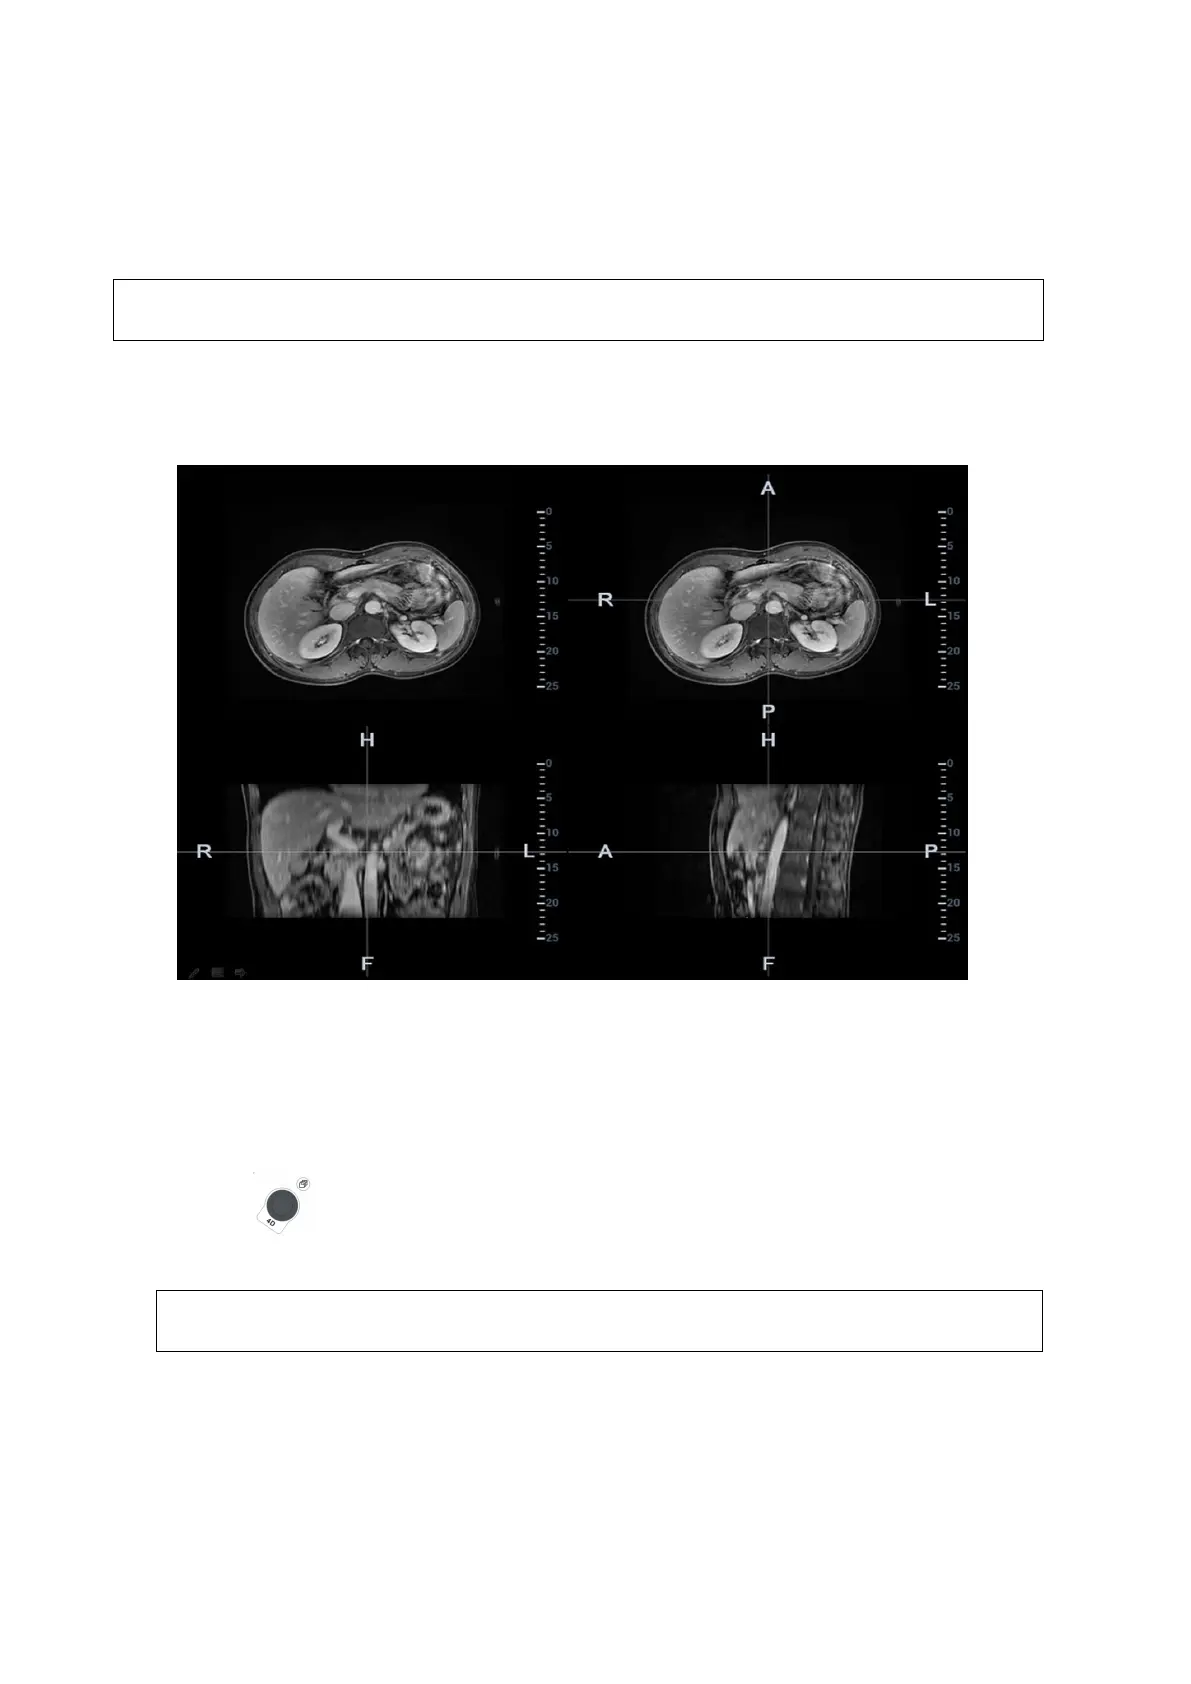
Mark tumor position, lesion position on CT/MR image. Be sure of the lesion appearing on US and
CT/MR image at the same time after the registration is completed.
Mark the tumor or lesion on CT/MR image after CT/MR data is imported. Generally, it is
available to mark the tumor or lesion before/during/after the registration.
1. Tap [Mark on CT/MR] to enter the page. Select [Add Marks][Display Marks] to activate the
mark.
Tap [Axial]/[Coronal]/[Sagittal] to toggle the top-left reference plane.
2. Press <Cursor> to show the cursor. Mark on the axial plane (top-right)/coronal plane (bottom-
left)/sagittal plane (bottom-right). The procedures to make marks are given below:
Select ―Ball‖ or ―Slice Trace‖ in the ―Marker Type‖ drop-down list.
Ball: Press <Set> to locate the center at the core of the lesion. Roll the trackball to adjust
the radius. Envelop the tumor or the lesion with the circle. Double press <Set> to
complete adding the mark.
Manual tracing: roll the trackball to manually envelop the lesion. Rotate the multifunctional
knob to scroll the CT/MR image and continue to mark the lesions. After lesions of
all the desired CT/MR planes are marked, tap [Accept Slice Trace] to add marks.
Tips: At least two CT/MR planes should be marked when performing manual tracing.
The Ultrasound System adds 3-dimesnsional sphere mark to CT/MR volume data.
Set the target mark based on your sphere center and sphere radius.
Rotate [Ablative Margin] to add the ablative margin for this mark. See also ―Ablative
Margin‖ description below.
Mark the tumor (a maximum of 20 tumors can be marked). The color of the mark can be
green, blue, or red in turn. These colors appear in circle. The sphere diameter and
ablative margin appear in the result pane.