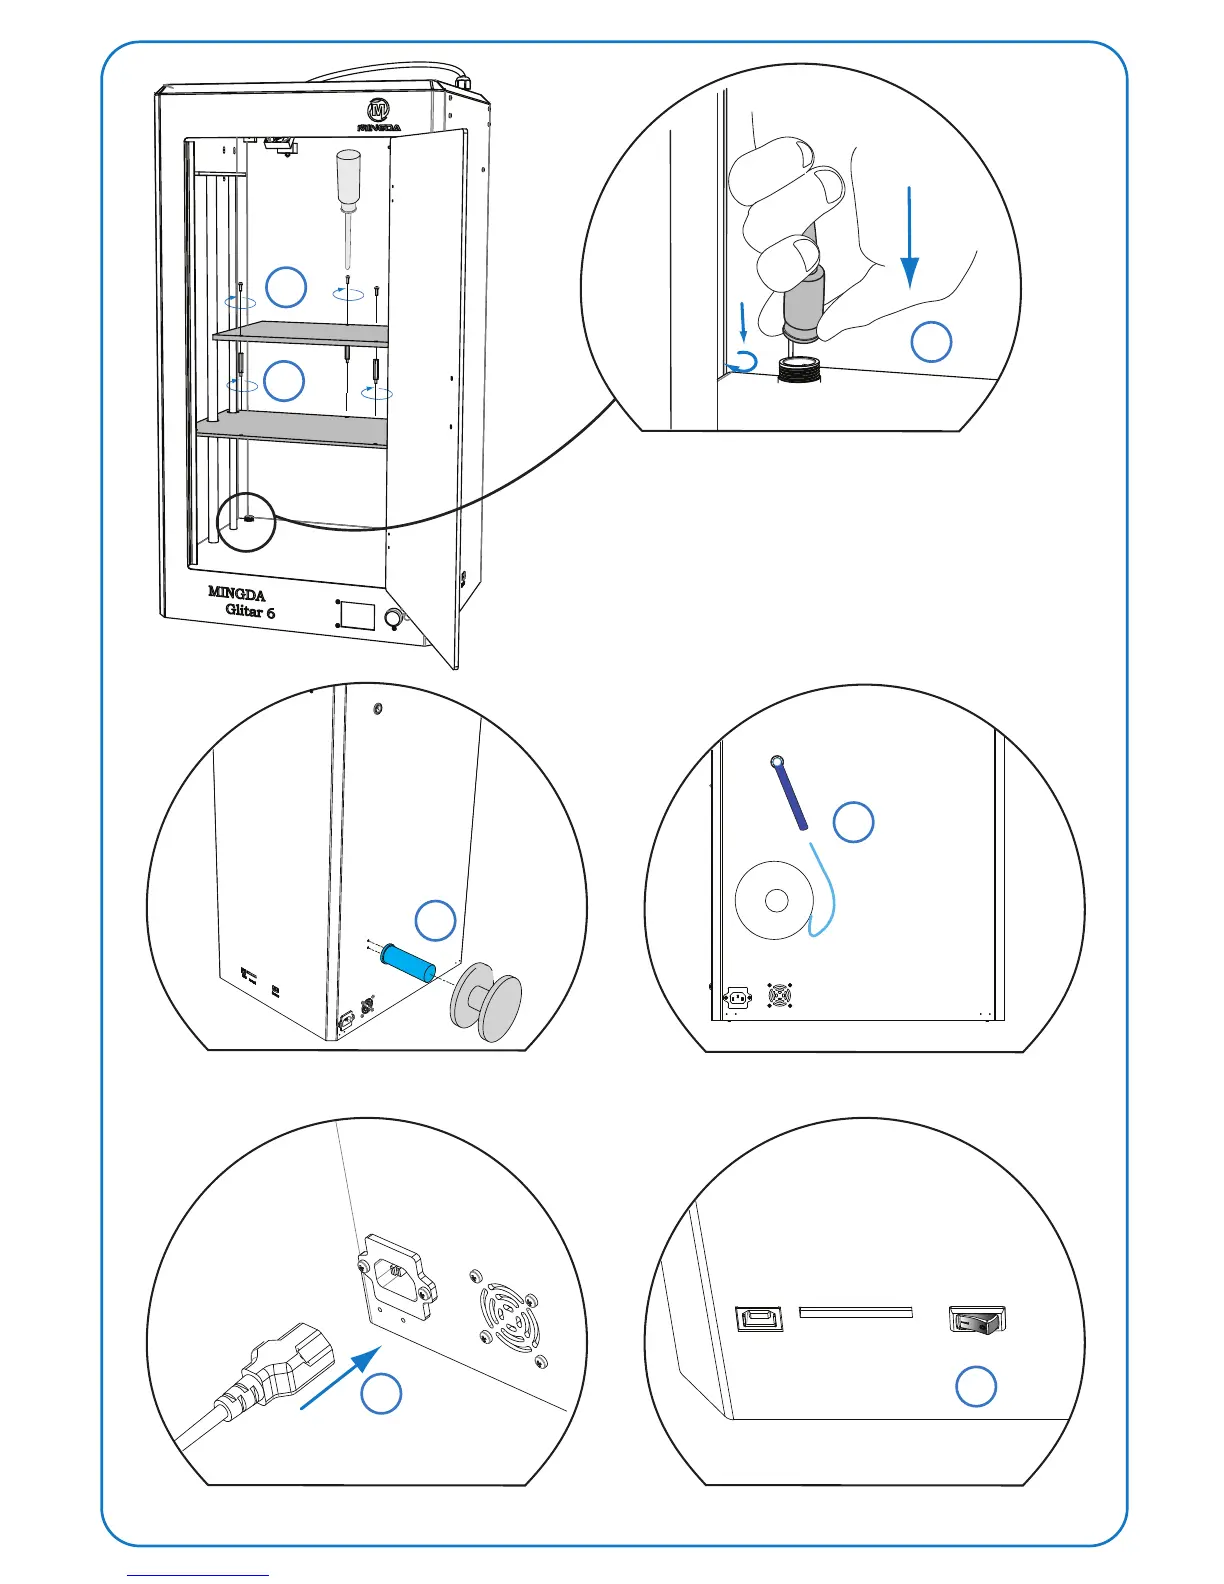
6
Install material bracket&filament material
7
Insert filament material to tube
Connect power cable Turn the power ON
3
4
5
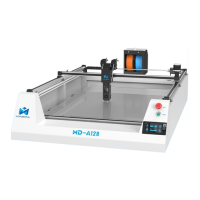
Install hot bed
8
9
USB
SD Card
Power
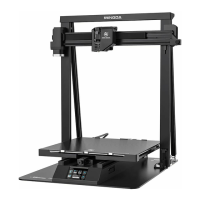
Because Mingda 3D printer is very exact, in case of hot bed has
deviation during transportation, hot bed was packed individually.
Note: