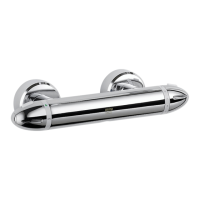
6. Tighten the offset connectors using a spanner on the spanner ats. Make sure
that the connectors are level and set at the correct distance apart, using the
bar valve as a guide to spacing.
7. Fix the mounting bracket to the wall through the small hole, using the appropriate
wall xings for the type of wall (not supplied).
Caution! Take care not to drill though any concealed pipework.
8. Screw the concealing plates onto the offset connectors until they come into
contact with the wall.
Spanner Flats
Concealing Plates
9. Caution! Make sure that the supply
pipework is ushed before installing
the bar valve.
Assemble the bar valve with a sealing
washer/lter in each inlet and attach
to the offset connectors.
Note! Connections are: Hot-Left,
Cold-Right.
10. Tighten the connection using a
20 mm spanner.
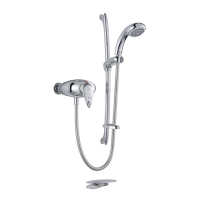
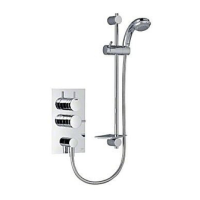
11. Install the shower ttings (refer to
your shower ttings installation and
user guide).
12. Turn on the hot and cold water
supplies and check for leaks.
13. Before using the shower, refer to
section: ‘Commissioning’.
35 - 40 mm
Sealing Washer
/ Filter
 Loading...