31
Installation of outdoor unit
Step one: x the support of outdoor unit (select it according to the
actual installation situation)
1. Select installation location according to the house structure.
2. Fix the support of outdoor unit on the selected location with expansion
screws.
Note:
• Take sucient protective measures
when installing the outdoor unit.
• Make sure the support can with-
stand at least four times of the unit
weight.
• The outdoor unit should be installed
at least 2’’ above the oor in order to
install drain joint.
• For the unit with cooling capacity
of 2300W ~5000W, 6 expansion
screws are needed; for the unit with
cooling capacity of 6000W ~8000W, 8
expansion screws are needed; for the
unit with cooling capacity of 10000W
~16000W, 10 expansion screws are
needed
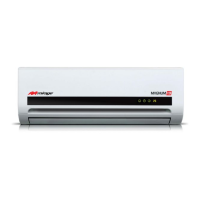
Step two: install drain joint (Only
for cooling and heating unit)
1. Connect the outdoor drain joint
into the hole on the chassis, as
shown in the picture below.
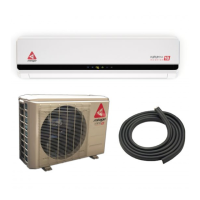
2. Connect the drain hose into the
drain vent.
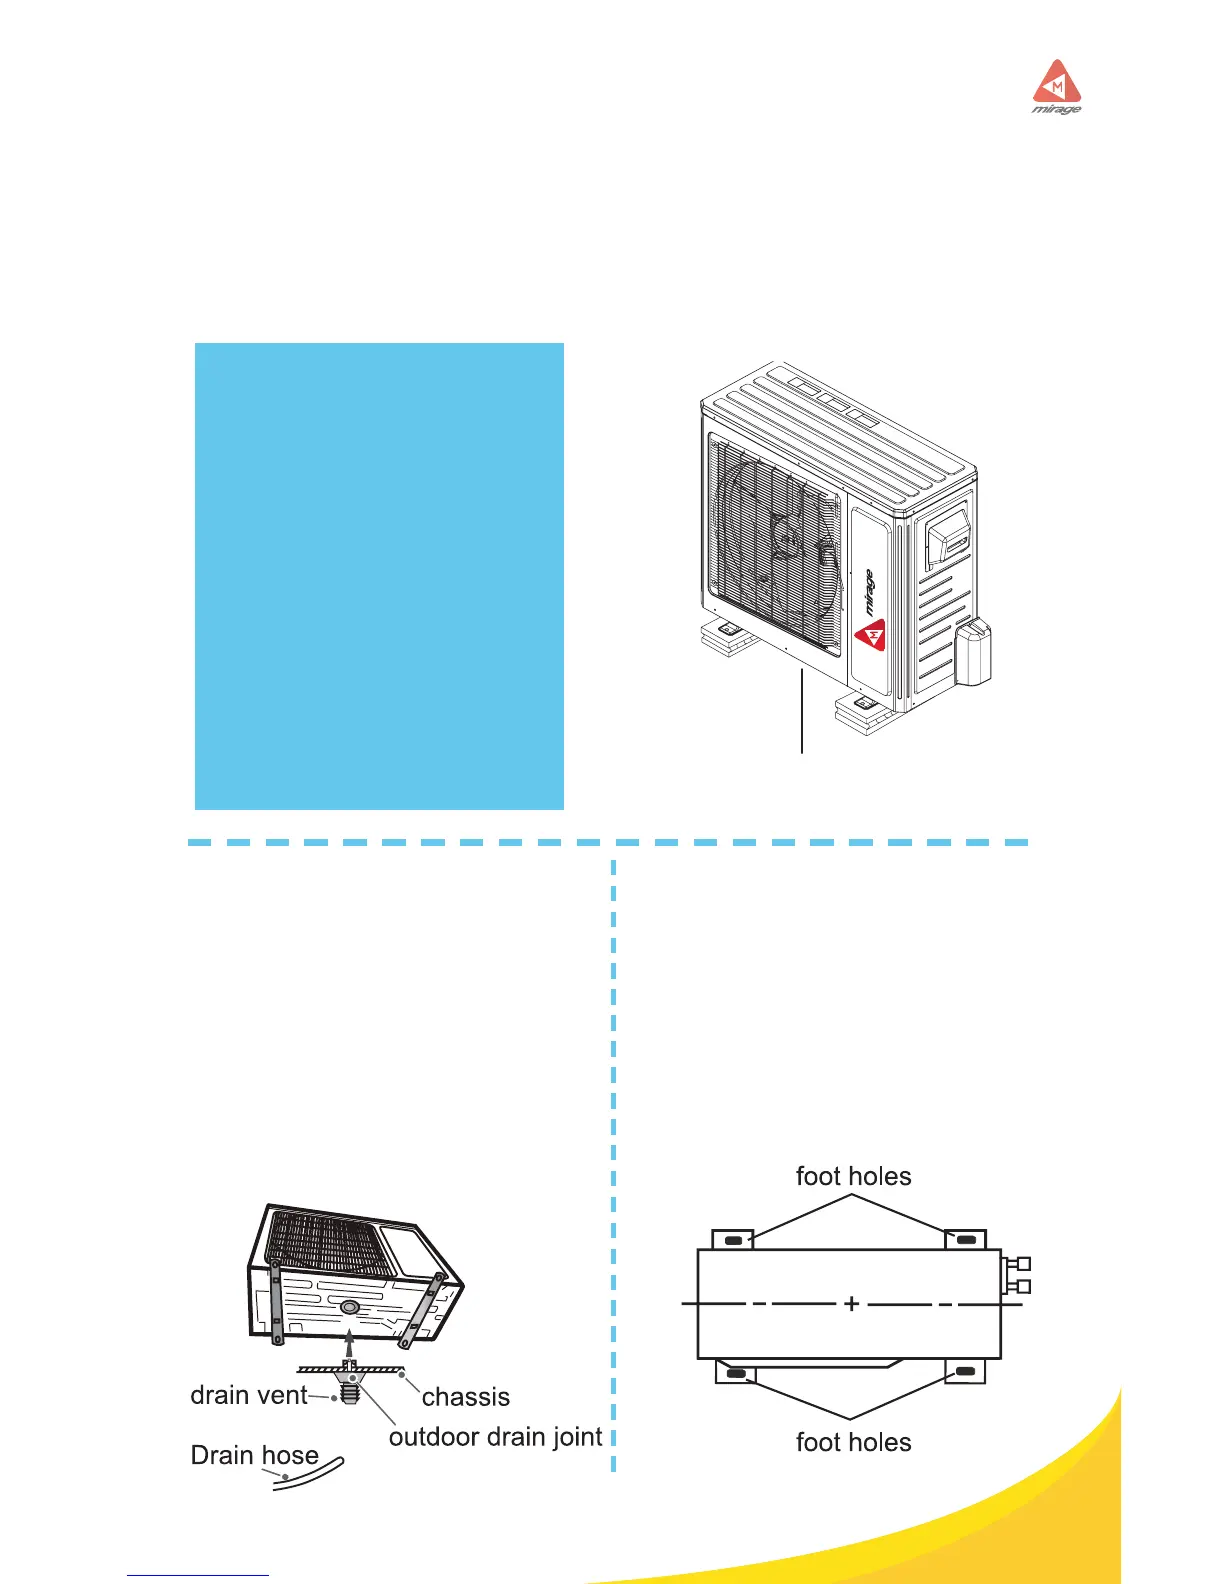
Step three: x outdoor unit
1. Place the outdoor unit on the
support.
2. Fix the foot holes of outdoor unit
with bolts.
at least 2’’ above the floor